
Cabriolet Chair Upholstery Tutorials, Step by Step
| Style | Louis XV · Louis XVI · Louis-Philippe · Napoleon III |
| Level | Intermediate |
| Traditional padding | 32 h |
| Foam padding | 19 h |
| Covering & finishing | 9h |
| Springs | 8 or 9 springs, 14 cm (5½ in) |
| Fabric | 1.5 m (1⅝ yd), plain fabric 140 cm (54 in) wide |
| Braid or double piping | 6.5 m (7 yd) |
| Decorative nails | About 650, 11 mm (⁷⁄₁₆ in) |
A cabriolet chair is a French armchair whose back curves inwards to wrap around the person sitting in it, with small padded, bean-shaped arm rests and a visible wooden frame. You’ll find it in the Louis XV, Louis XVI, Louis-Philippe and Napoleon III styles. This page gathers every tutorial you need to restore one, in the order you’ll use them, with a traditional and a modern option at each stage.
The stages: 1. Plan and prepare · 2. Webbing · 3. Springs · 4. Seat padding · 5. Back · 6. Arms · 7. Covering · 8. Finishing · FAQ
Step 1: Plan the Project and Prepare the Frame
There are many ways to restore the same cabriolet: redo everything, keep the back and redo only the seat, or simply change the fabric. Know where you’re going before you remove a single tack. Many of my students have stripped the arms straight away, only to realise later that they were in perfect condition. Press the seat, the back and the arms, decide what really needs redoing, then strip only that and repair the frame if needed.
- How to strip and prepare a wooden chair frame
- How to remove tacks and decorative nails
- Easy trick to glue an arm junction on a cabriolet chair
- Fixing and gluing back the wood
Step 2: Web the Seat
Jute webbing for a traditional sprung seat, elastic webbing for a foam seat.
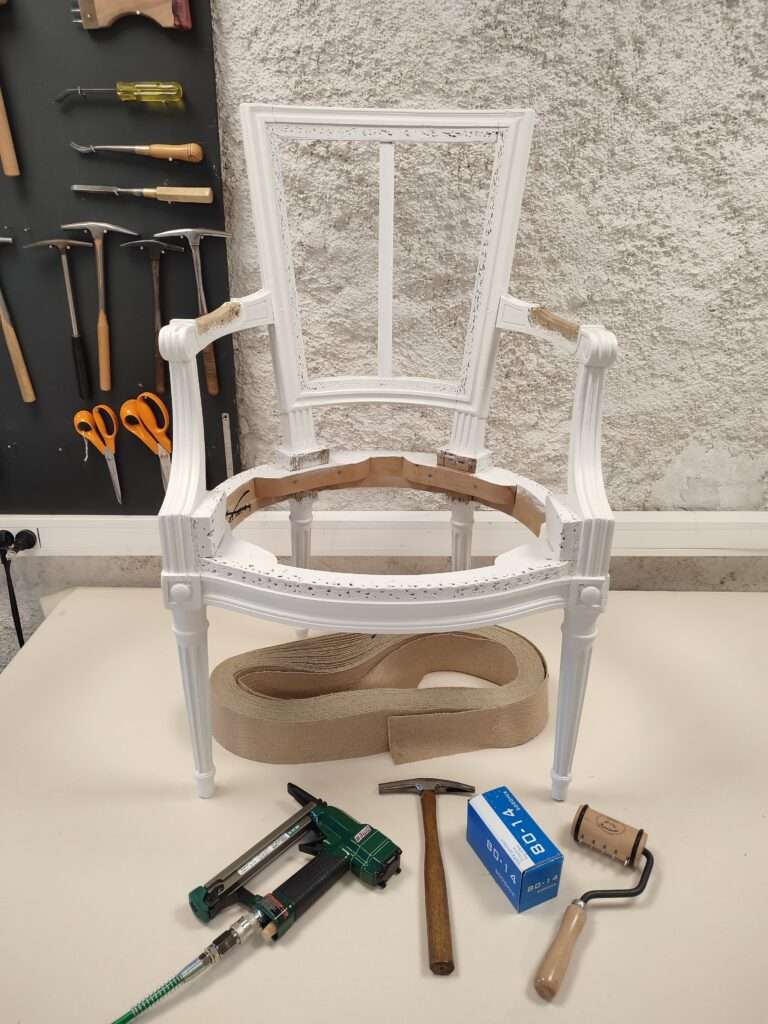
Jute webbing tutorial (with cuts to avoid legs)
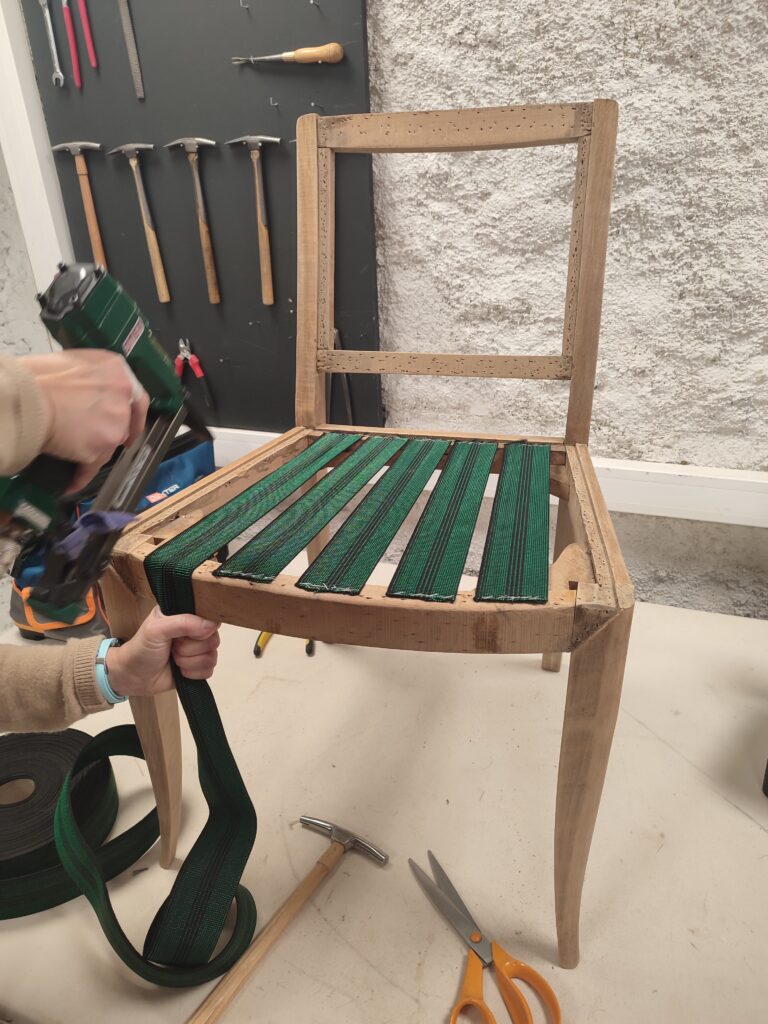
How to web with elastic webbing
Step 3: Fit and Tie the Springs (traditional or semi-traditional seat)
A traditional cabriolet seat takes 8 springs of 14 cm (5½ in), sewn to the webbing, tied with laid cord and covered with hessian. For a foam seat, go straight to step 4.
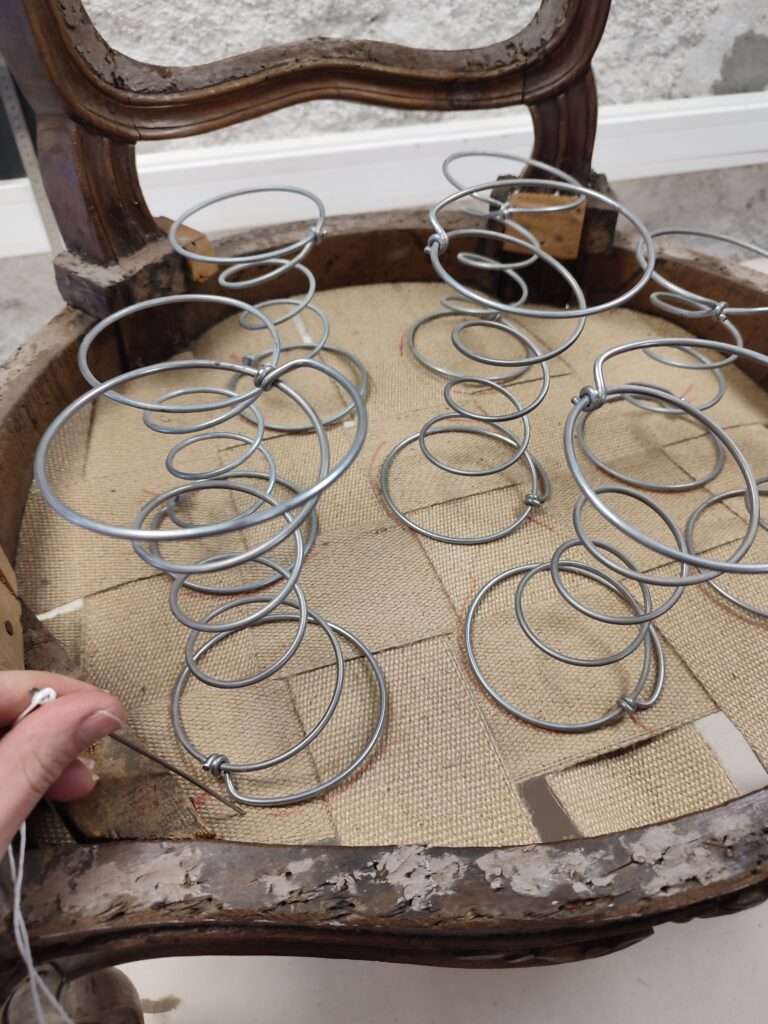
Springs positioning tutorial
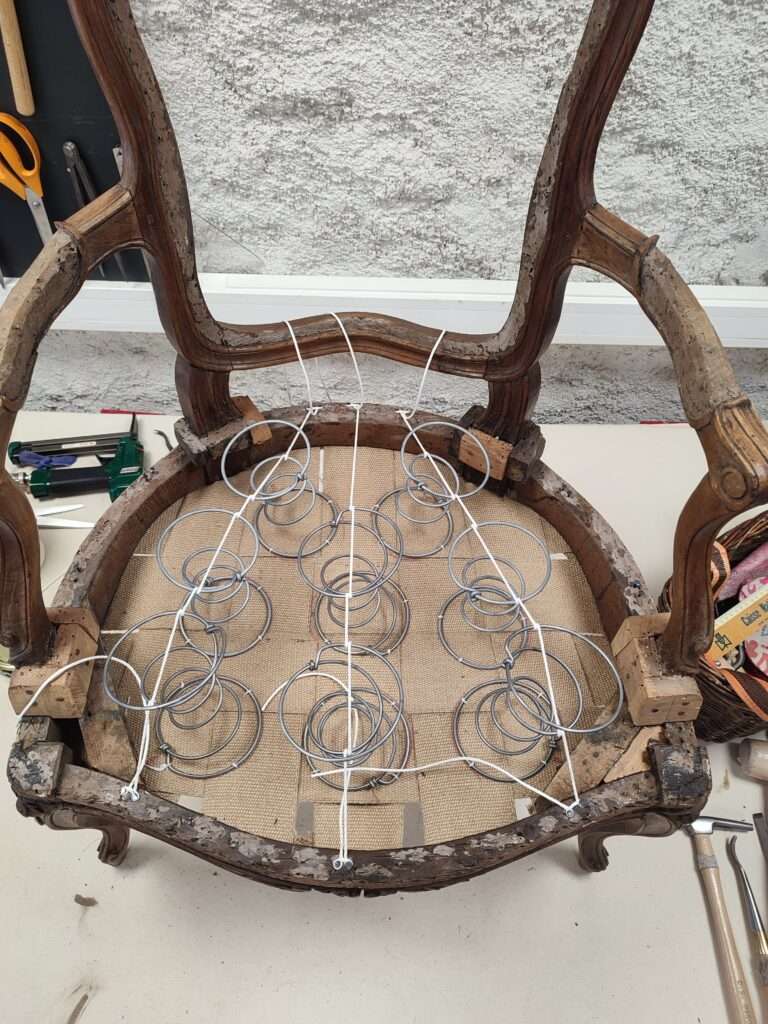
How to compress the springs properly
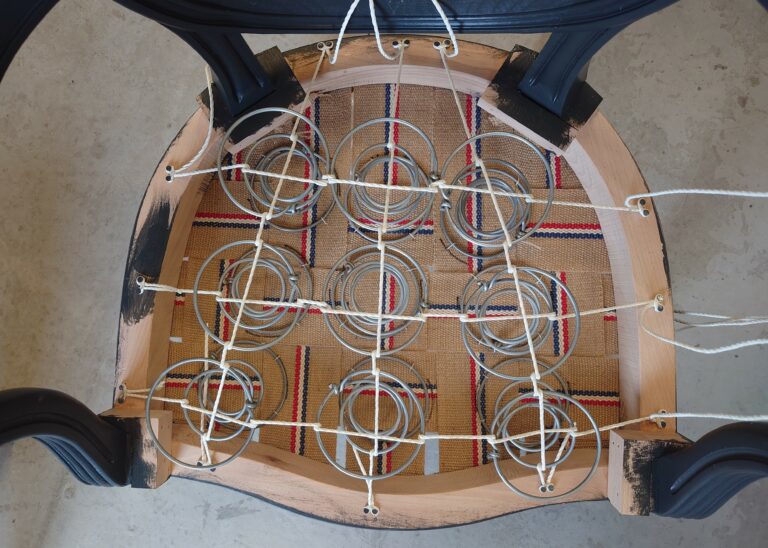
Springing: How to tie coil springs (two way method)
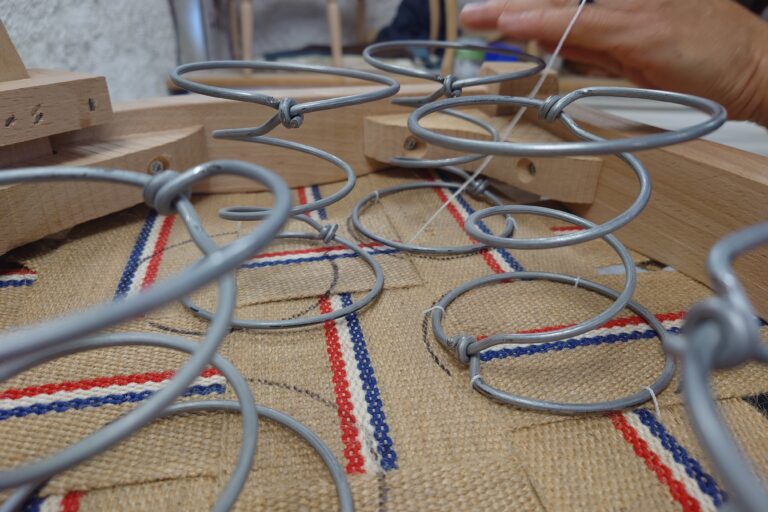
Sewing springs on the webbing
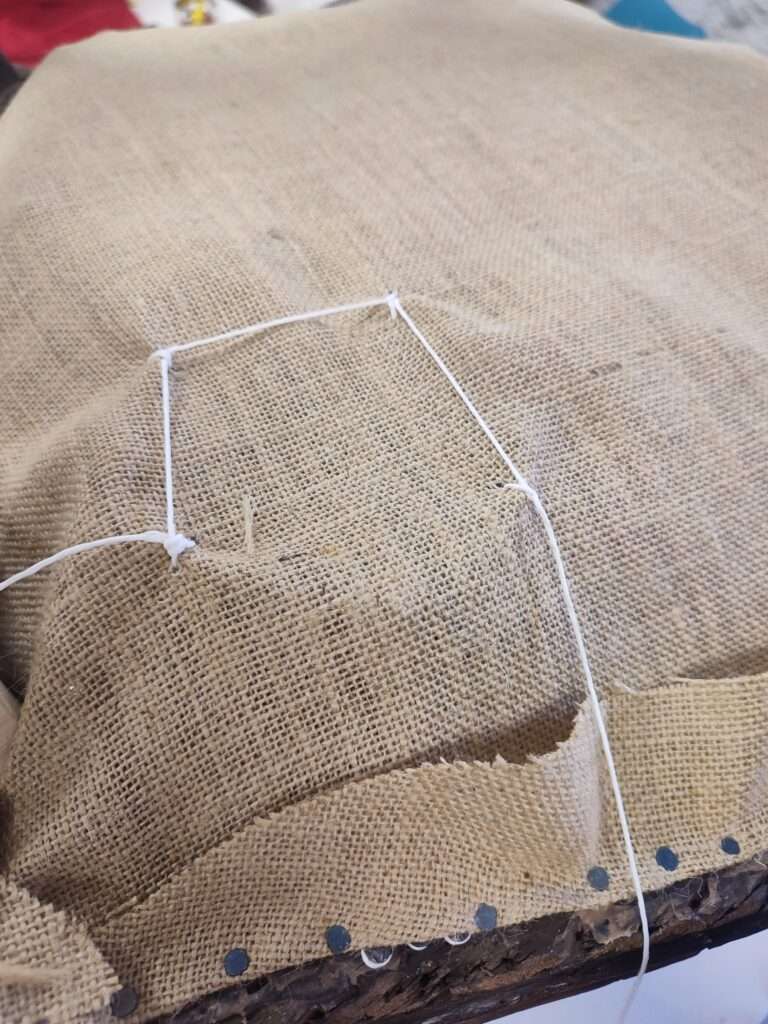
Sewing springs on the hessian
Step 4: Pad the Seat
Natural fibres for a traditional seat, about 32 h of padding for the whole chair; foam for a modern one, about 19 h. To weigh them up, read how to choose the right padding.
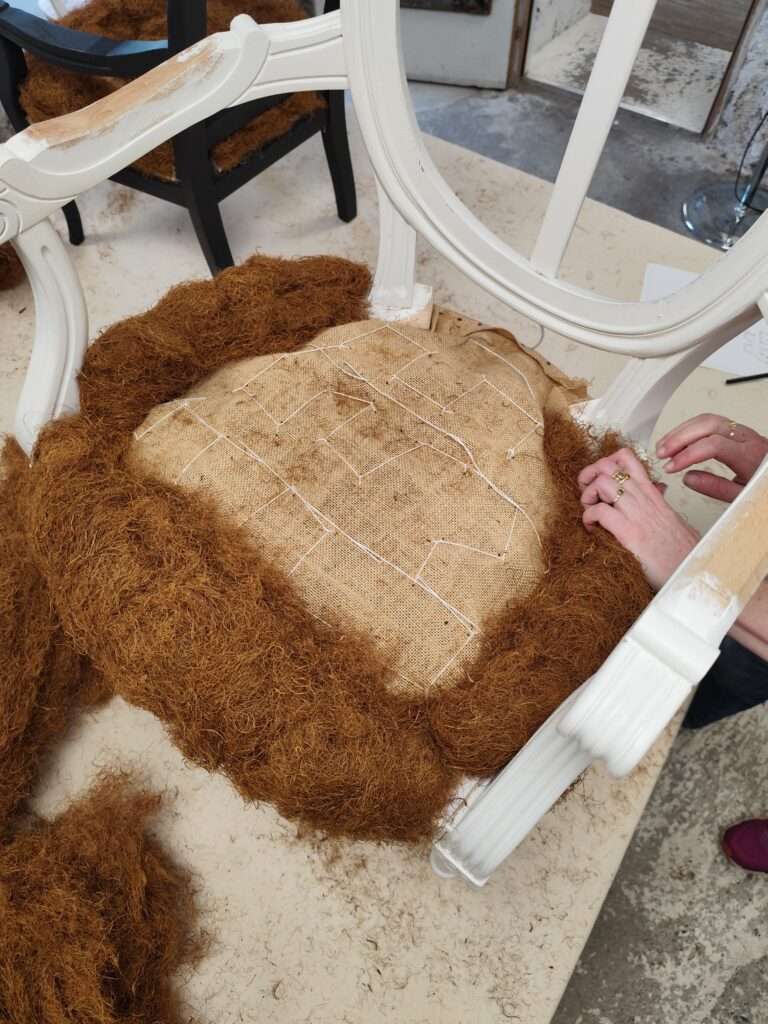
First stuffing on a cabriolet chair
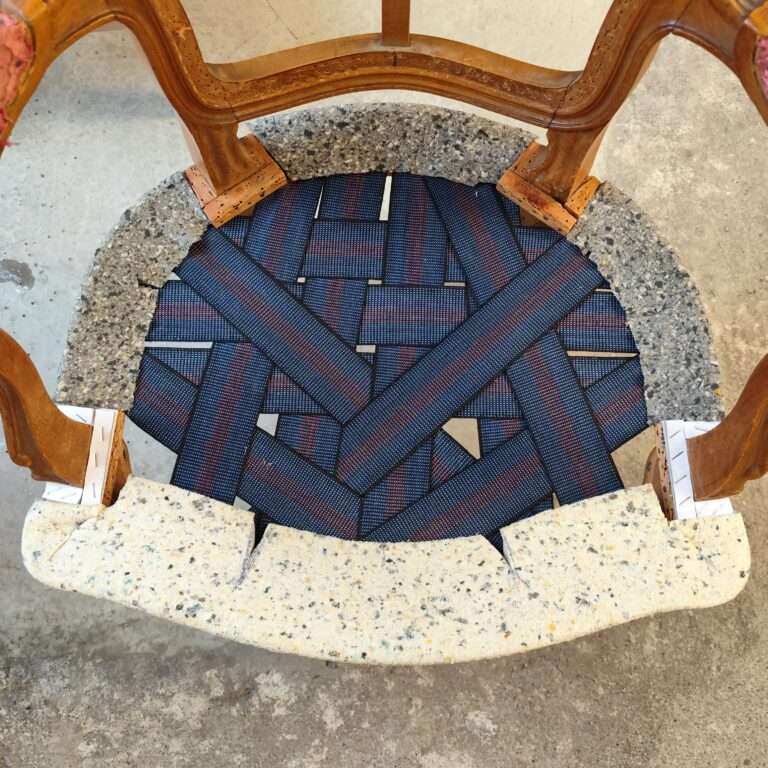
How to do a foam seat with edgeroll
Step 5: Pad the Back
The back of a cabriolet is a picture back: you remove it to pad and cover it properly. It curves inwards, which makes it the most delicate part of the chair.
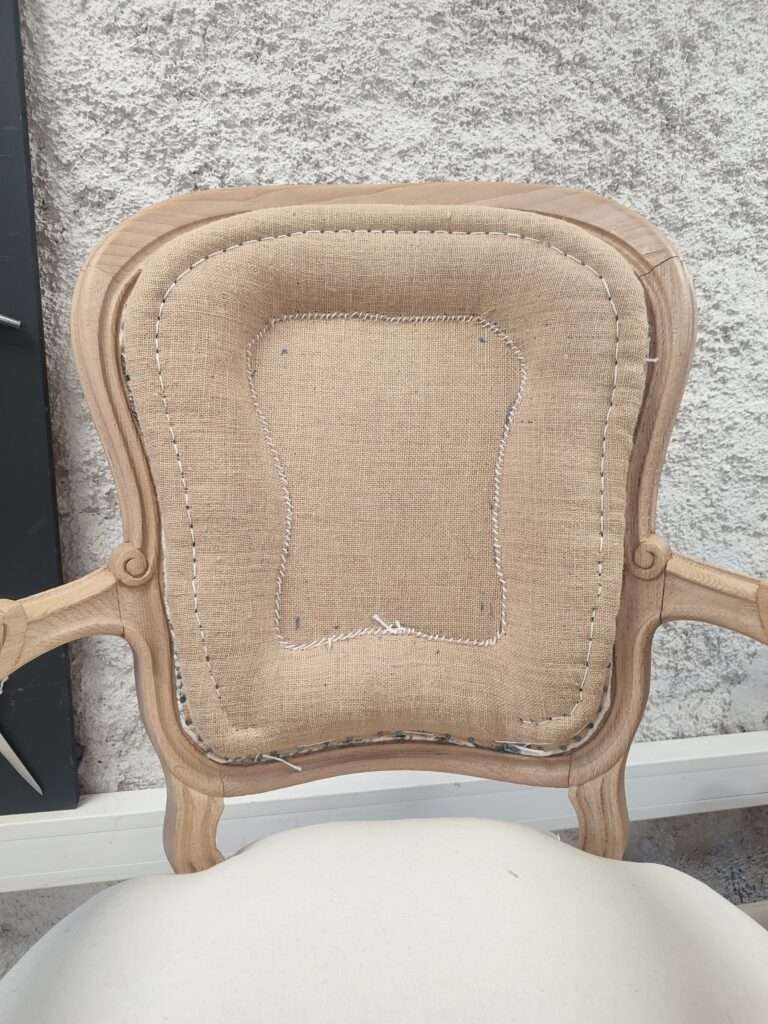
Well back tutorial
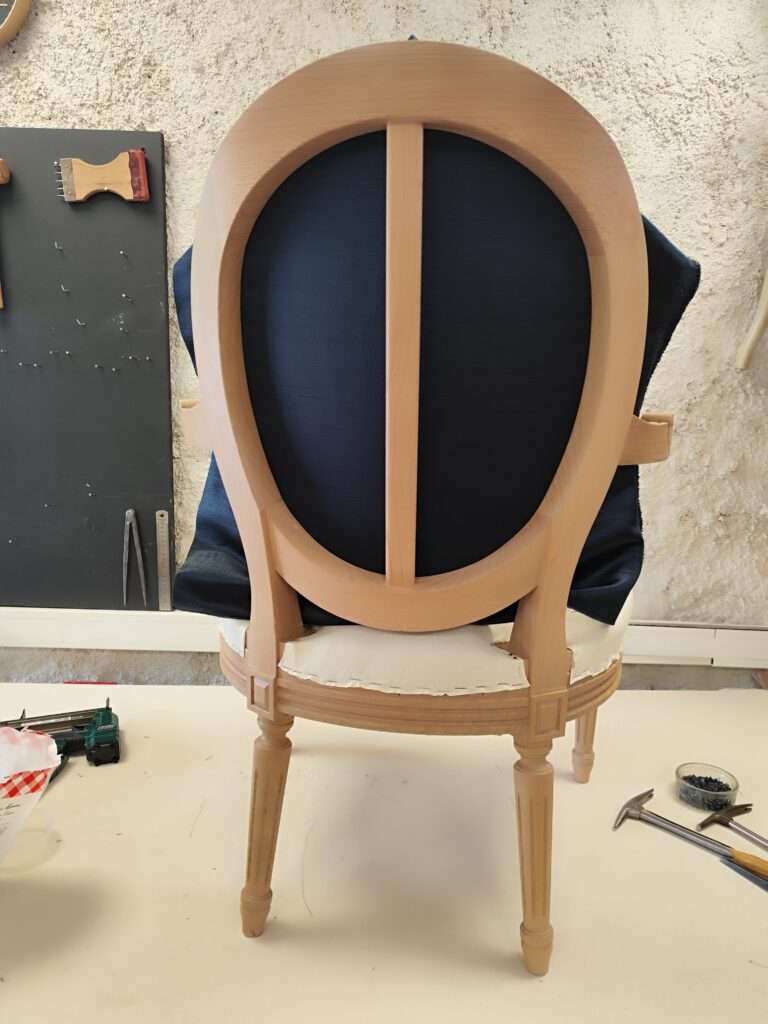
How to upholster a picture back “medallion” chair with foam and edge roll.
Step 6: Pad the Arms
The small bean-shaped arm pads can be made in foam, in cotton wadding or in horsehair. Horsehair is the best and most traditional option: horsehair arm pads can last for hundreds of years.
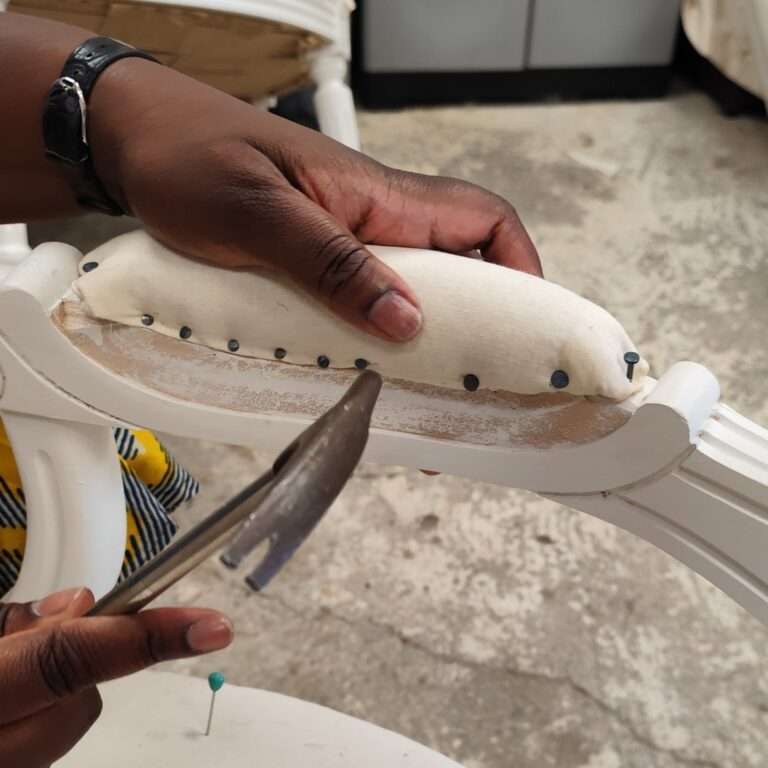
How to create arms with horsehair
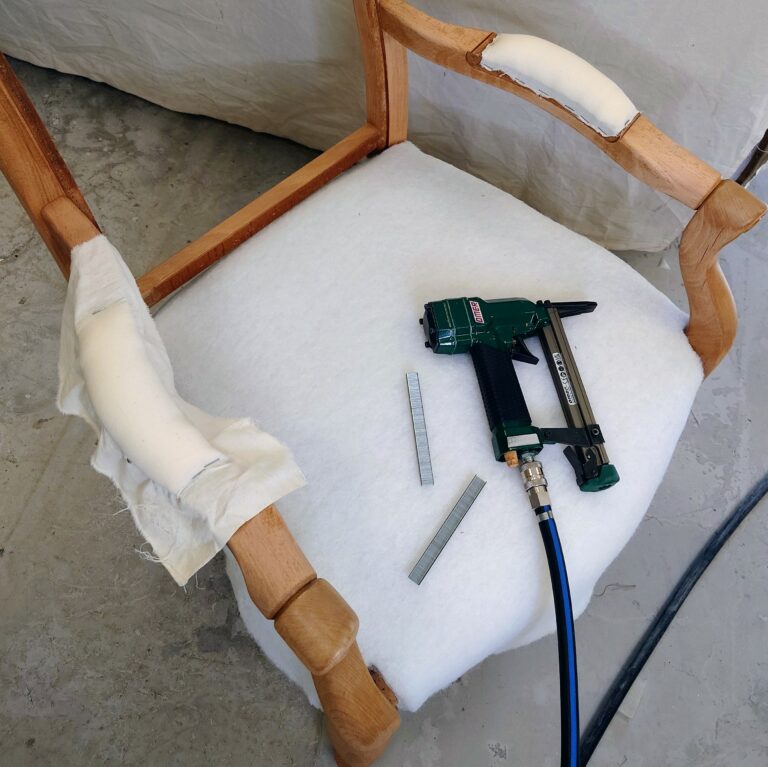
The easiest way to upholster arms with foam
Step 7: Cover the Chair
Every centimetre of fabric shows against the wood, and the curved back asks for real control. Choose your fabric with the upholstery fabric guide and plan about 1.5 m (1⅝ yd), 140 cm (54 in) wide.
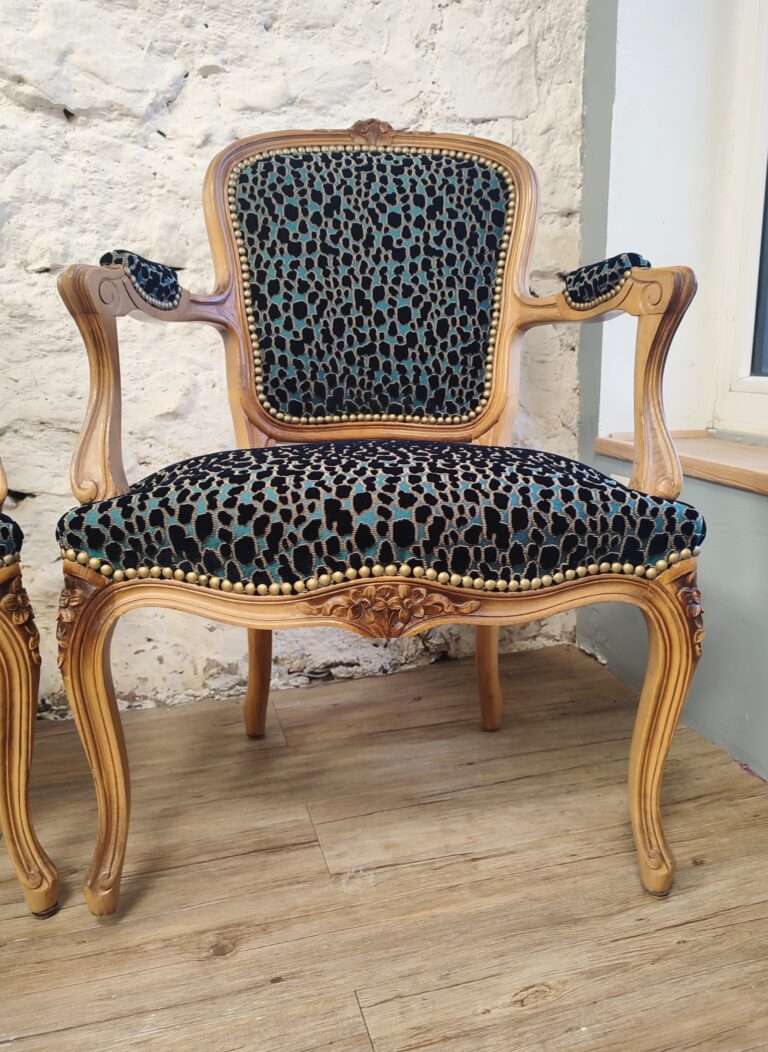
How to cover a “cabriolet” chair
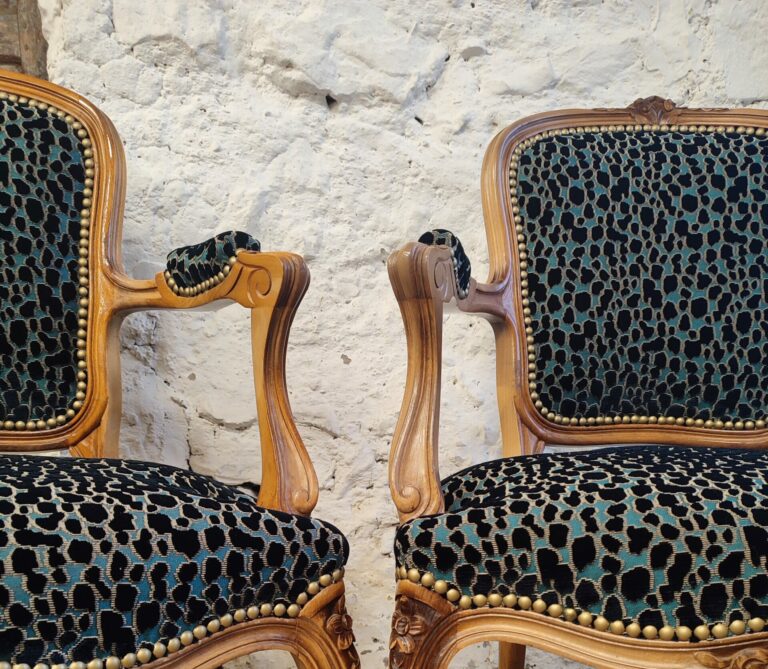
How to cover the arm of a Louis 15 style chair
Step 8: Finish the Edges
Braid, double piping or decorative nails along the wood: about 6.5 m (7 yd) of trim, or about 650 nails of 11 mm (⁷⁄₁₆ in). Then close the underside with a dustcover.
- The different ways to finish a seat
- How to attach braid or double piping
- How to apply decorative nails
- Contouring with decorative nails
- Dustcover
Cabriolet Chair: Frequently Asked Questions
How much fabric do I need for a cabriolet chair?
About 1.5 m (1⅝ yd) of plain fabric 140 cm (54 in) wide. For the finish, plan about 650 decorative nails of 11 mm (⁷⁄₁₆ in), or 6.5 m (7 yd) of braid or double piping. Check your own chair with the fabric calculator.
Is a cabriolet chair a good first project?
It’s an intermediate project: the curved back is delicate to pad and to cover. Start with a stool or a simple chair, then a bridge chair, and come to the cabriolet with the basics in hand.
Do I have to redo the arms?
Not necessarily. Check them before you strip anything: if they’re still firm and even, you can keep their padding and simply re-cover them.
Why is the back of a cabriolet harder to cover than a flat back?
Because it curves inwards. On a flat “à la reine” back, the fabric lies flat; on a cabriolet, it has to follow a hollow shape without wrinkling, which asks for a precise padding and a well-controlled tension.
Cabriolet or “À la Reine”: What Is the Difference?
It’s all in the back. On an à la reine armchair, the back is flat. On a cabriolet, it curves inwards to follow the body: more comfortable, and harder to pad and cover. Cabriolets are always armchairs, with small bean-shaped arm pads, called manchettes in French. Looking for one? Try auctions, second-hand markets and antique shops, or start from a brand-new frame.
Keep Exploring
- Corners and pleats: how to choose the right fold.
- Bergère chairs: the next step after the cabriolet.
- Guide 3: Full upholstery projects: all the chairs and projects.
- Guide 2: Core upholstery techniques: every stage, from webbing to finishing.
Some questions left? Leave a comment below and share a photo of your chair: I’ll be happy to have a look.
Learn upholstery in three steps
Start with a simple project, learn the techniques behind every seat, then take on complete chairs.
Guide 1
Beginners
Simple, forgiving projects that teach the basics: cushions, seats and easy chairs. Ideal if you have never upholstered before.
Start with Guide 1Guide 2
Techniques
The steps professionals use every day: prepare, webbing, springs, padding, covering, finishing and sewing.
Explore the techniquesGuide 3
Projects
Complete projects from frame to finished piece: stools, cushions, headboards, chairs and armchairs.
See the projectsAll of these techniques, and many more, are available in full detail inside the Hammer Club. Every tutorial is filmed step by step in my workshop, on real pieces, so you can follow along at your own pace, pause, rewind, and come back whenever you need a refresher.