
Covering: Where All the Work Becomes Visible
Covering is the stage everyone sees. It is also the stage where every decision you made earlier, in the stripping, the foundation and the padding, either pays off or catches up with you. A well-built seat practically covers itself. A poorly built one will fight you at every corner.
But even on a perfectly prepared piece, covering has its own complexity. Fabric placement, tension, sequence, cuts, pleats and corners: each one is a skill in itself, and each one is immediately visible. This page gives you an overview of every covering technique and links to the full step-by-step tutorials inside the membership.
Before you start: choose your fabric with the upholstery fabric guide, work out how much you need with the fabric calculator, check your tools, and look up any unfamiliar word in the upholstery glossary.
On this page: What is covering? · Calico and wadding · How to cut · How to cover a chair · Chair backs · Stools · Corners and pleats · FAQ
What Is Covering in Upholstery?
Covering is the stage where the final fabric is fitted over the padding and fixed to the frame. It comes after webbing, springs and padding, and before the finishing details such as braid, double welting or decorative nails. A good covering is taut without being strained, follows every curve of the piece, and hides its fixings completely.
Four principles apply to every piece:
- Order: each panel is fitted in a set sequence, so the next one hides the fixings of the one before.
- Tension: the fabric is tensioned evenly in both directions, from the centre outward, never one full side at a time.
- Grain: the straight grain stays straight from the first staple to the last, or the fabric will pull and twist.
- Corners: they are cut and folded, never bunched.
Before the Final Fabric: Calico and Wadding
On any project with complex padding or an irregular shape, applying a calico underlayer before the final fabric is one of the most important professional habits you can build. The calico reveals every imperfection in the padding, every uneven area, every tension issue and every difficult corner, while you can still fix them easily. By the time the final fabric goes on, everything should already be resolved.
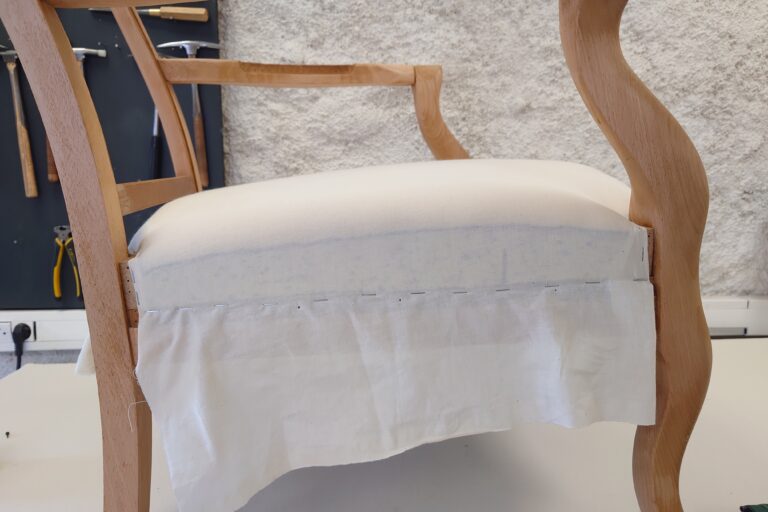
White calico on a seat before final fabric
On a simple foam seat, a layer of wadding under the fabric is often enough: see polyester wadding on a seat and wadding on a big curvy outside back.
How to Cut
Cutting is where fabric is lost or saved: a cut too short can’t be undone, and a cut in the wrong place shows forever. These tutorials teach you to cut around legs, posts and frames with confidence.
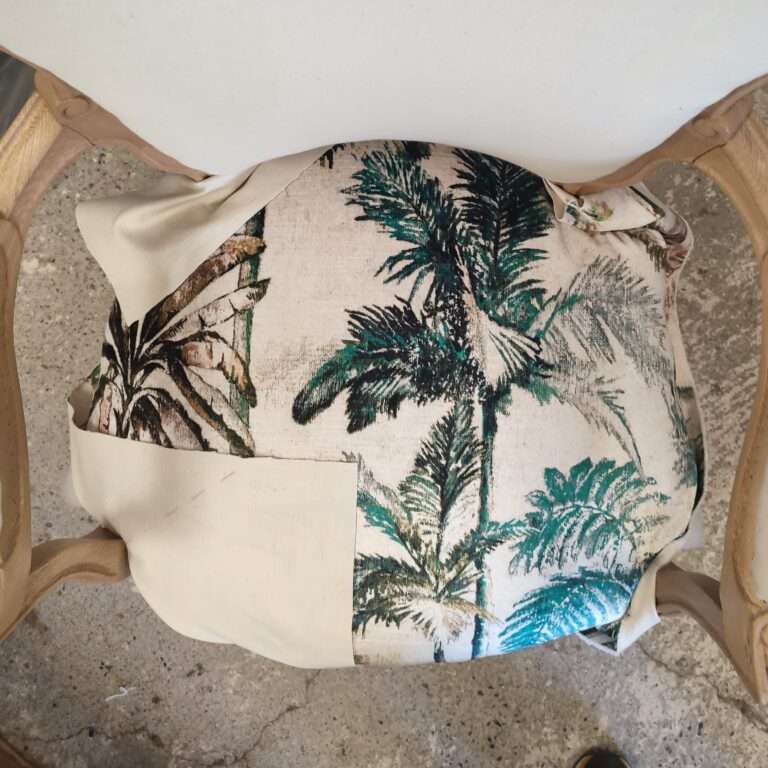
How to cut the fabric on a seat
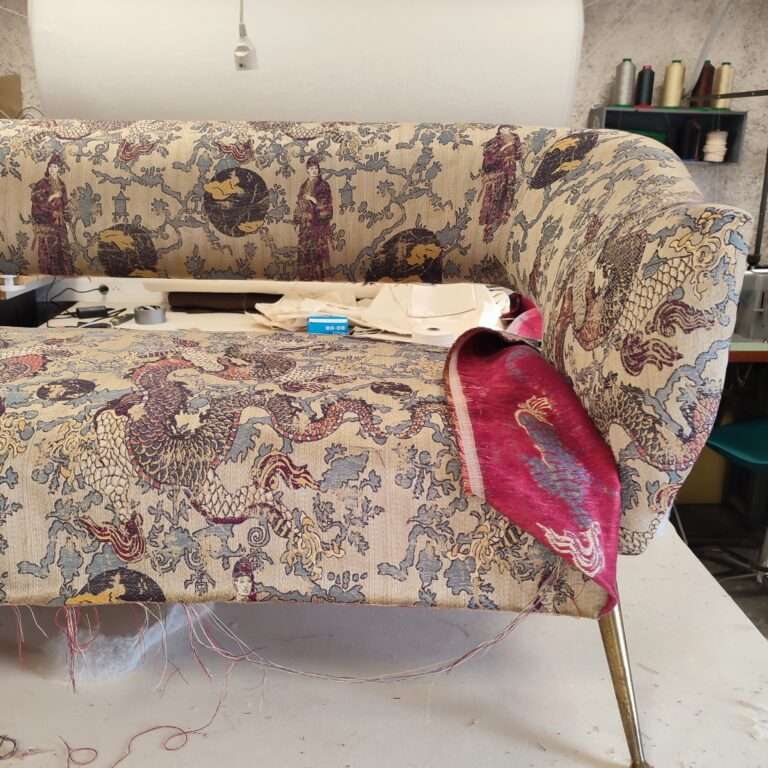
How to cut when you can’t see
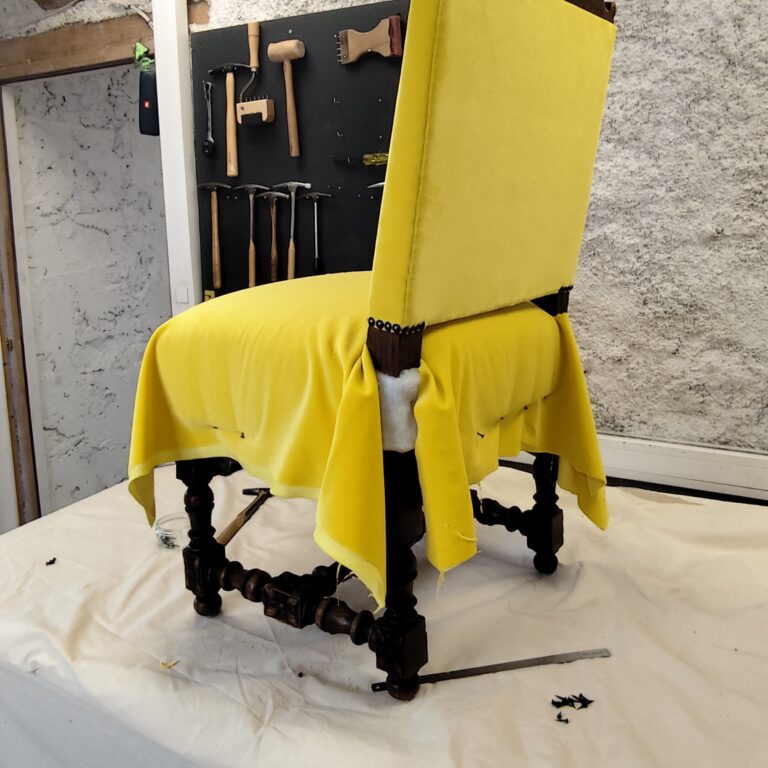
How to upholster a seat with a wrap-around cut
How to Cover a Chair
Every type of chair has its own covering logic. The sequence, the tensions and the cuts are different on a cabriolet chair, a modern chair, a bergère or a small occasional chair, and using the wrong approach produces results that range from slightly off to completely wrong.
How to cover a drop-in seat
The easiest seat to cover, and the best place to learn the method you’ll use everywhere: tension along the length, then the width, fix, fold the corners, close the underside.
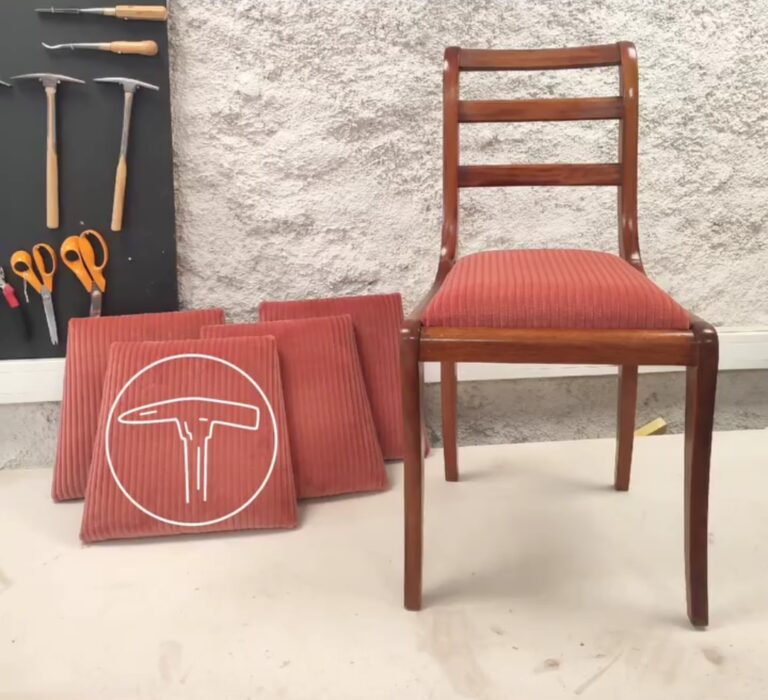
How to cover a drop in seat chair
How to cover a small chair
For a smaller, simpler chair, a great confidence-builder, there is a clean and efficient approach that covers all the key techniques without the complexity of a larger or more ornate piece.
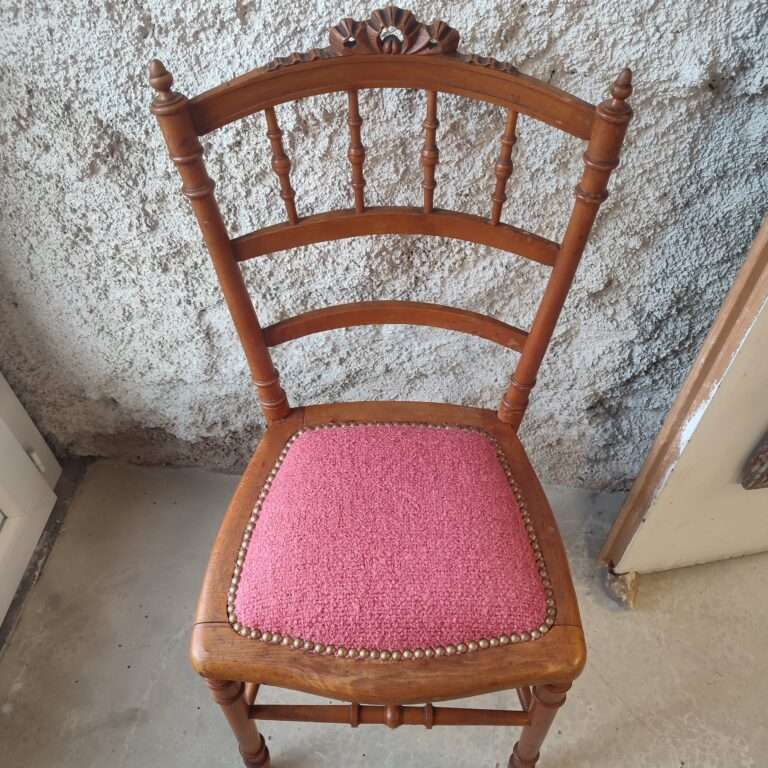
How to cover a chair with a solid wooden seat
How to cover a modern chair
Modern chairs have their own constraints: clean geometric lines make any imprecision in tension or placement immediately obvious.
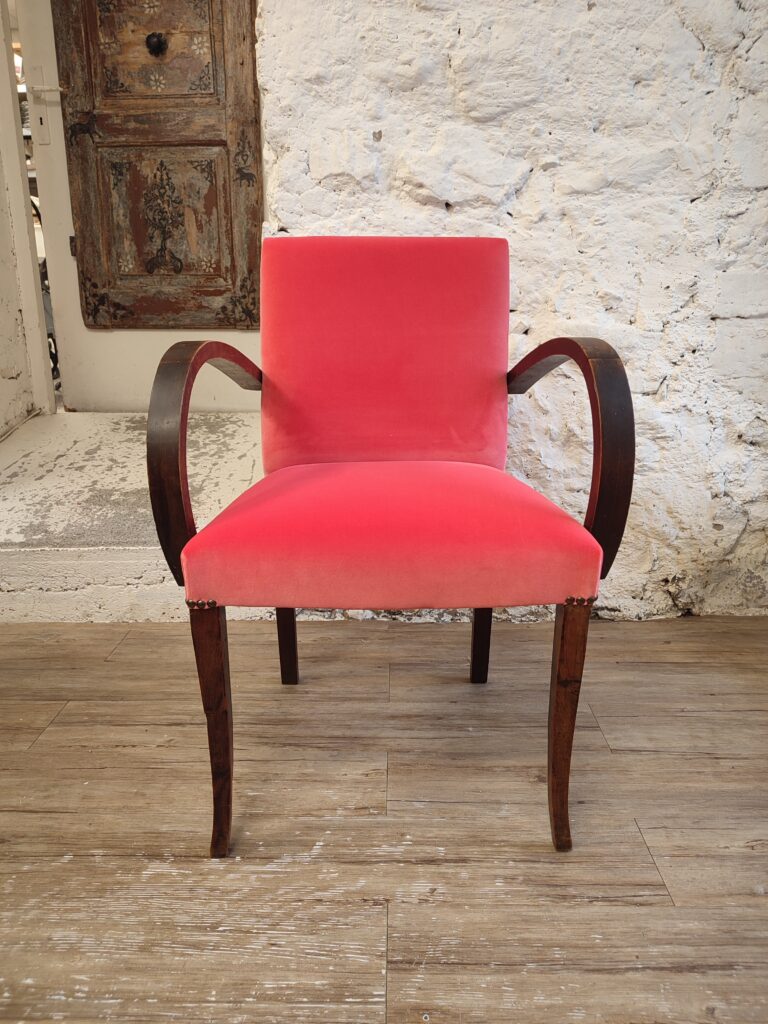
How to cover a modern bridge chair (3 videos tutorials)
How to cover a cabriolet chair
The cabriolet chair, with its exposed curved frame and tight surface areas, is one of the most technically demanding pieces to cover cleanly. Every centimetre of fabric is visible against the wood.
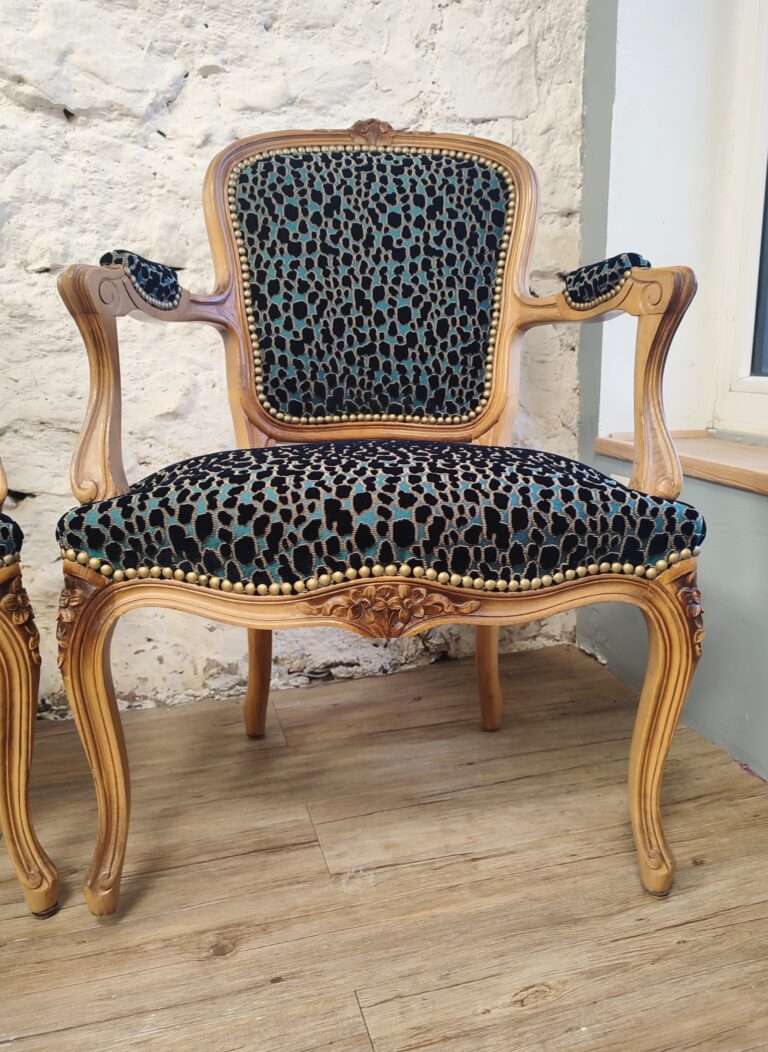
How to cover a “cabriolet” chair
How to cover the arms of a Louis XV chair
The curved arm rail, the exposed wood on either side and the small surface area all require precision and a very controlled sequence.
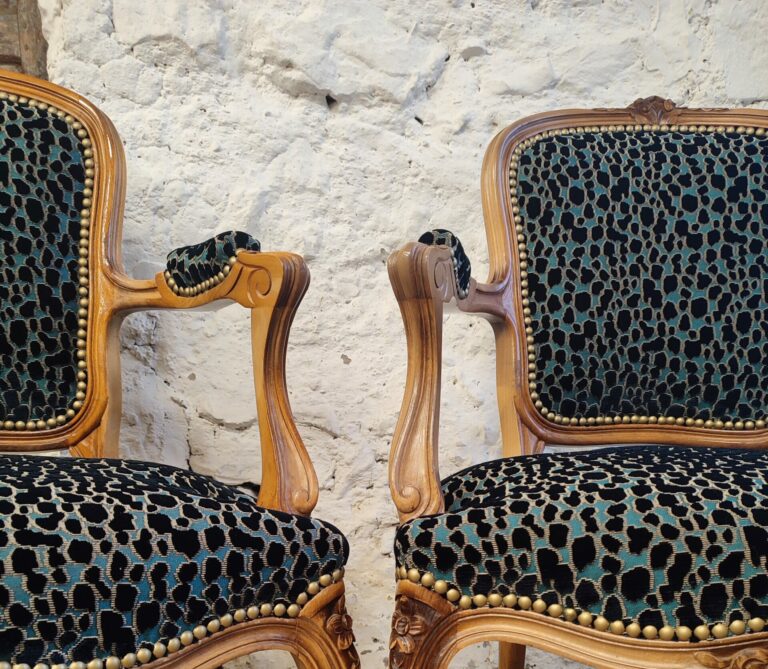
How to cover the arm of a Louis 15 style chair
How to cover an armchair seat
On an armchair, the seat fabric has to pass around the arms and the back posts, with clean cuts and an even tension from front to back.
- Full tutorial: how to cover the seat of an armchair
- Full tutorial: covering the seat of a Voltaire armchair
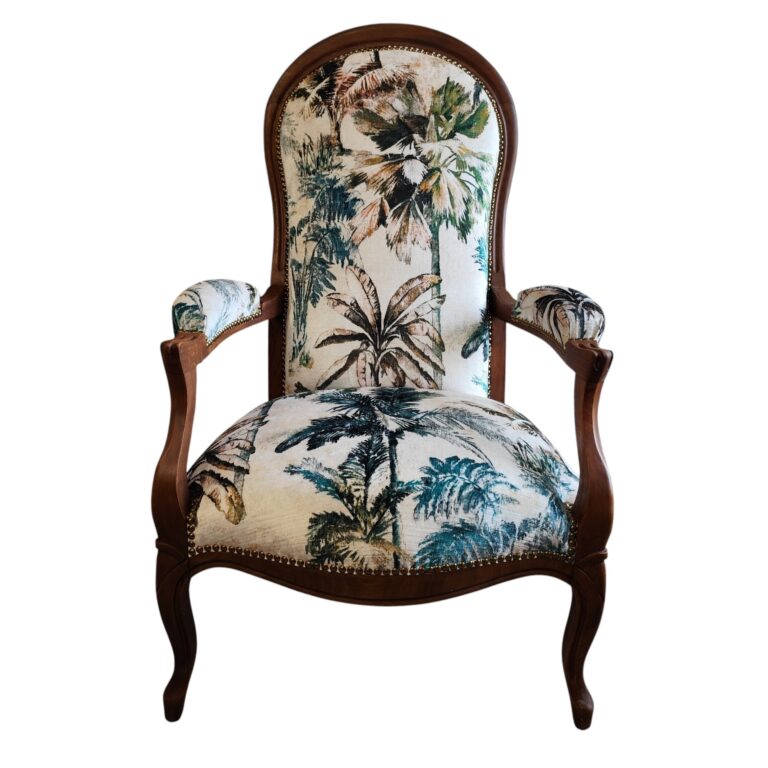
How to Reupholster a Voltaire Armchair: Materials, Projects & Tutorials
How to cover a club chair
Deep seat, rounded arms, generous volumes: the club chair project follows a complete change of cover, from dismantling the removable parts to sewing the new seat cushion.
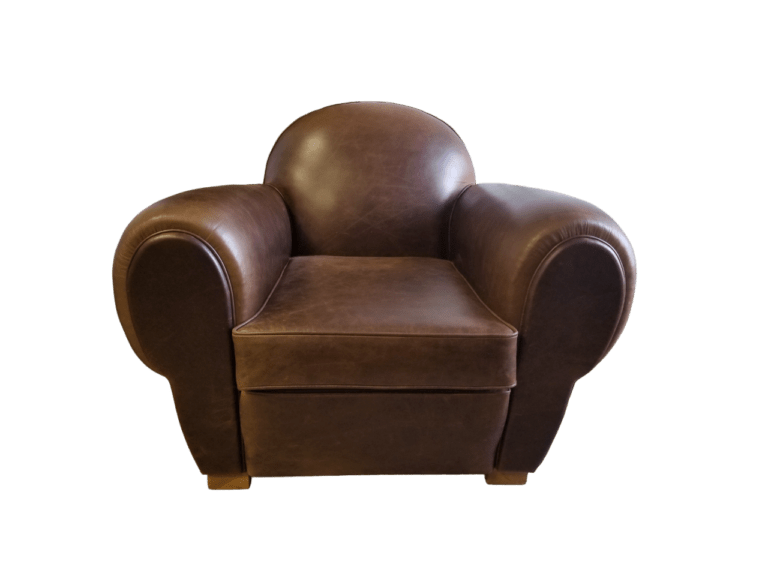
Club Chair Covering Project: Step by Step
How to Cover a Chair Back
Chair backs bring their own challenges, especially when the fabric needs to be joined cleanly, or when the shape of the back requires specific cuts and tensions to sit without pulling or puckering. To close an outside back invisibly by hand, see top stitching in the Sewing techniques.
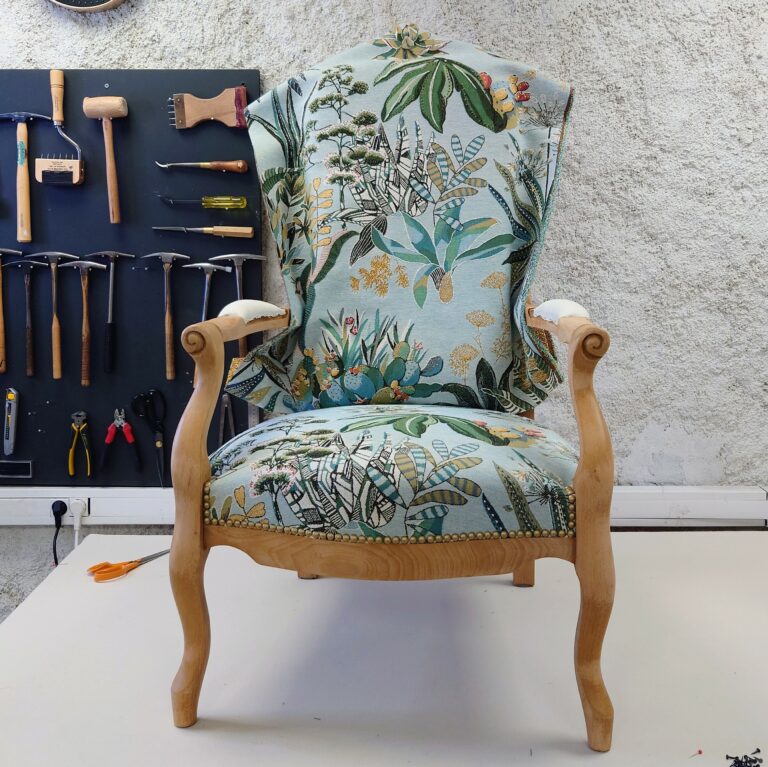
How to cover the back of a Voltaire Chair
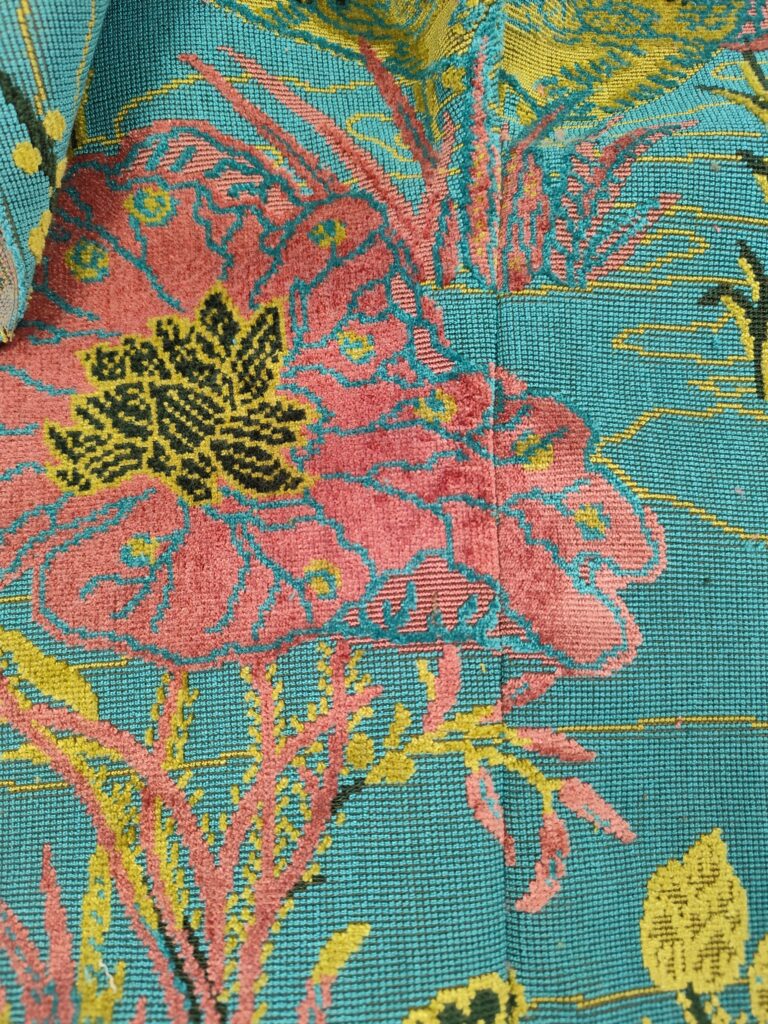
How to cover a back with a fabric junction?
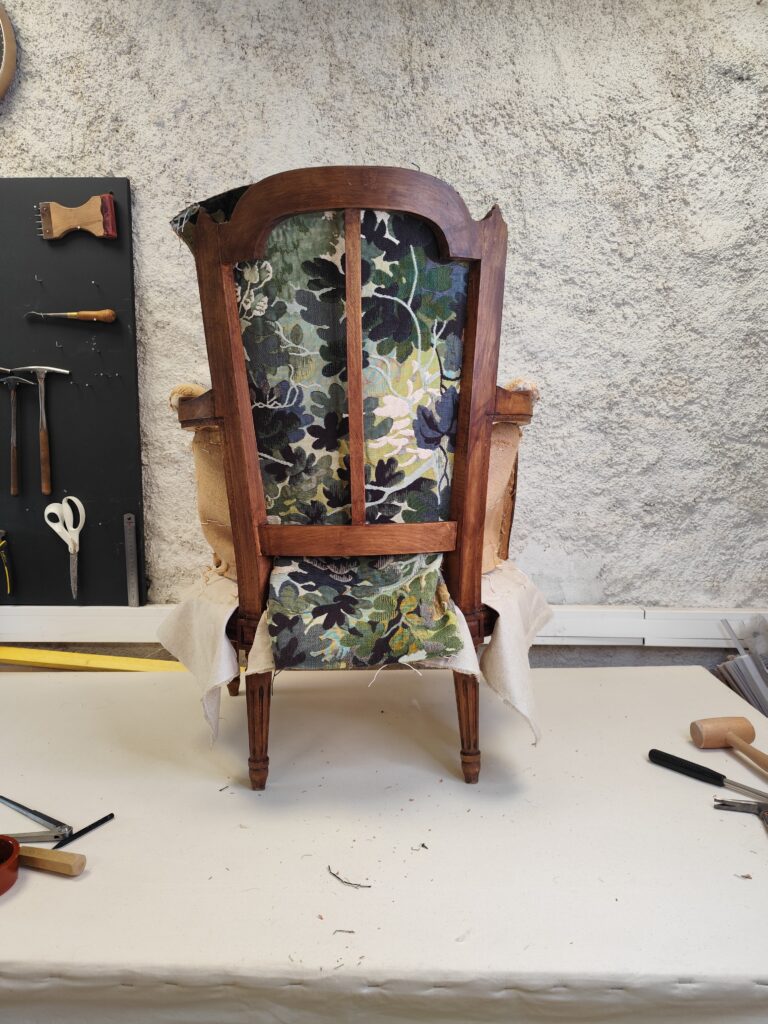
How to upholster the back of a bergere chair
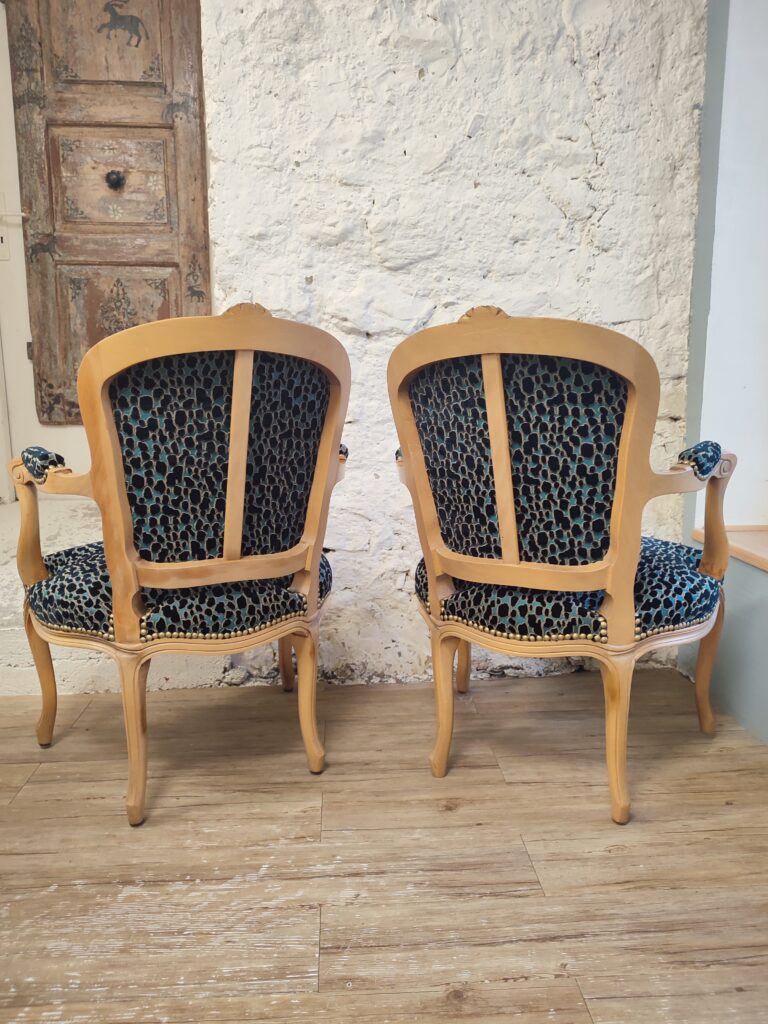
How to cover a picture back chair
How to Cover a Stool
Stools are deceptively instructive projects. They look simple, and most are, but they cover a wide range of techniques depending on their shape and construction. They are excellent for practising corners, pleats and tension control without the complexity of a full chair.
The mock cushion stool cover is a classic technique that creates the illusion of a separate cushion sitting on top of the stool, using a single piece of fabric handled in a specific way.
- Full tutorial: mock cushion stool cover
- Full tutorial: how to cover a rounded stool
- Full tutorial: how to cover a squared stool with a wooden structure
Corners and Pleats: The Details That Define the Finish
Wherever a flat piece of fabric needs to wrap around a curve or a corner, you need a pleat. The type of pleat, and the way you execute it, determines whether the result looks clean and intentional or lumpy and improvised. The shape of the seat defines the type of pleat you need. To choose the right one, see the complete guide to corners and pleats.
How to cover a mitered corner
Corners are where covering is most visible and most unforgiving. A clean mitered corner looks deliberate and professional. A poorly folded one looks exactly like what it is: fabric forced into a shape it was not guided into.
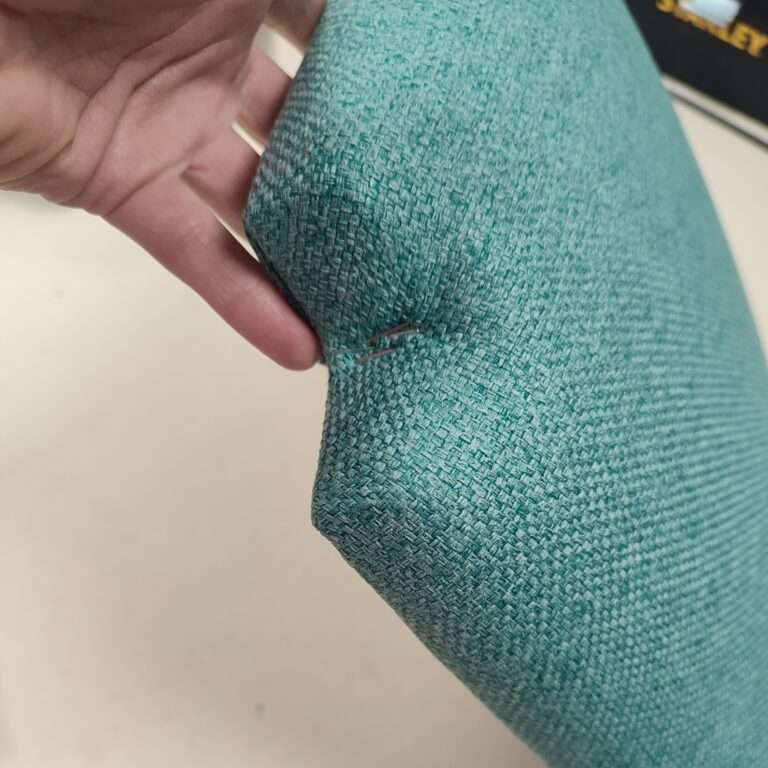
How to cover a Mitered Corner
V pleat on a drop-in seat
The most common technique for drop-in seats: the corner is folded underneath, stays flat so the seat drops back into the frame, and leaves room for the dustcover. Clean, controlled and forgiving for beginners.
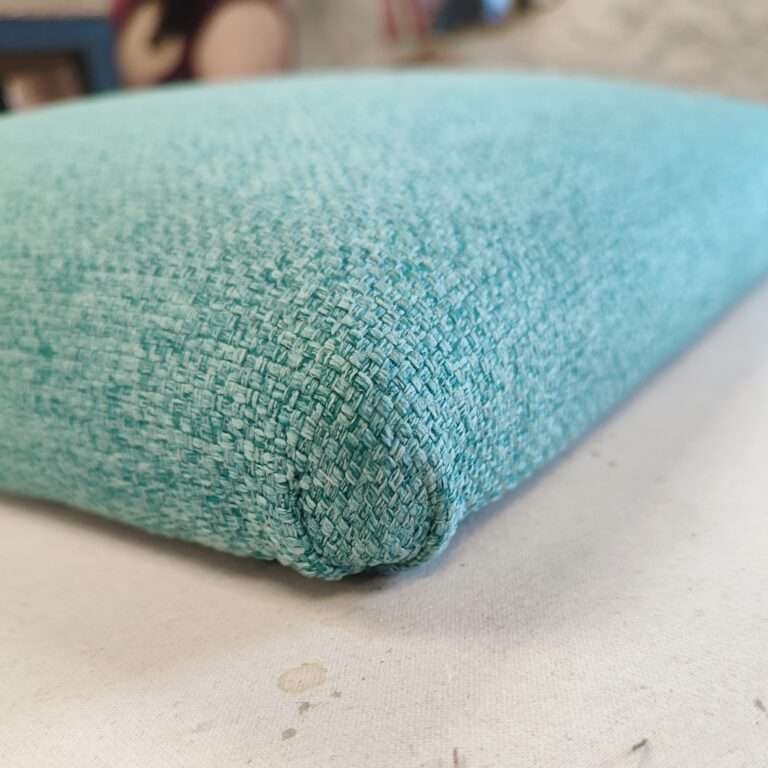
V pleat on a drop in seat
Simple pleat on a square corner
A foundational technique: clean, efficient, and the right choice for many square-cornered seats, finished with braid or decorative nails.
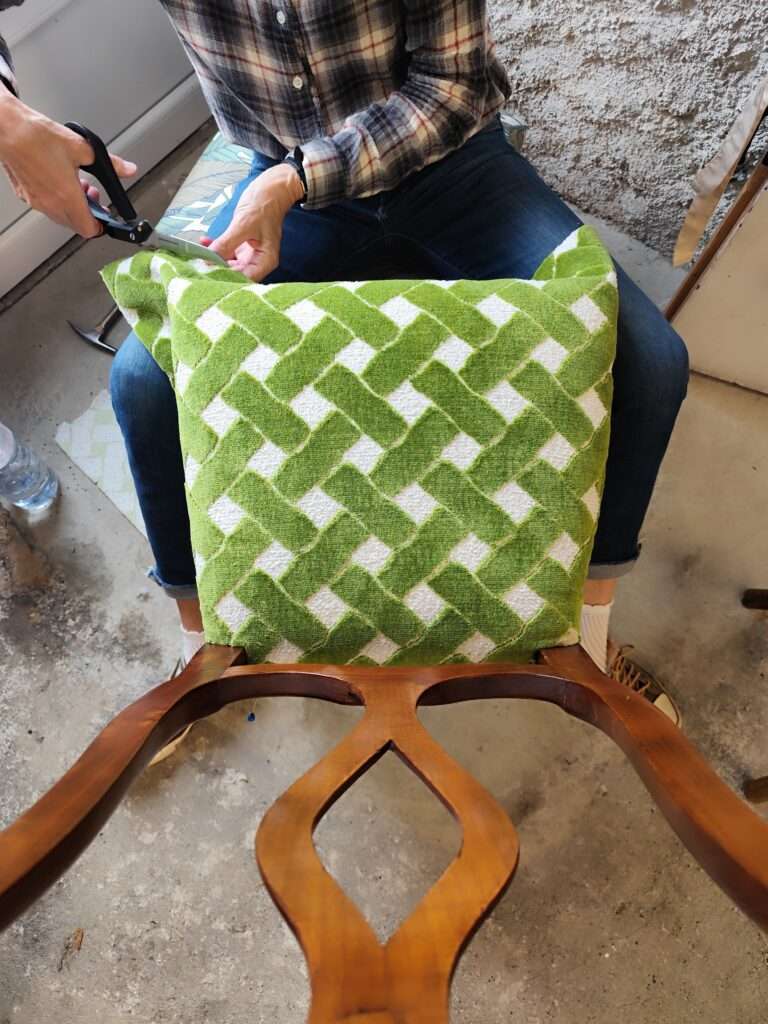
How to do a simple pleat on a square corner
Tulip pleat with decorative nails
A more refined finish where the pleat itself becomes part of the decoration, finished with a nail or a series of nails along the edge.
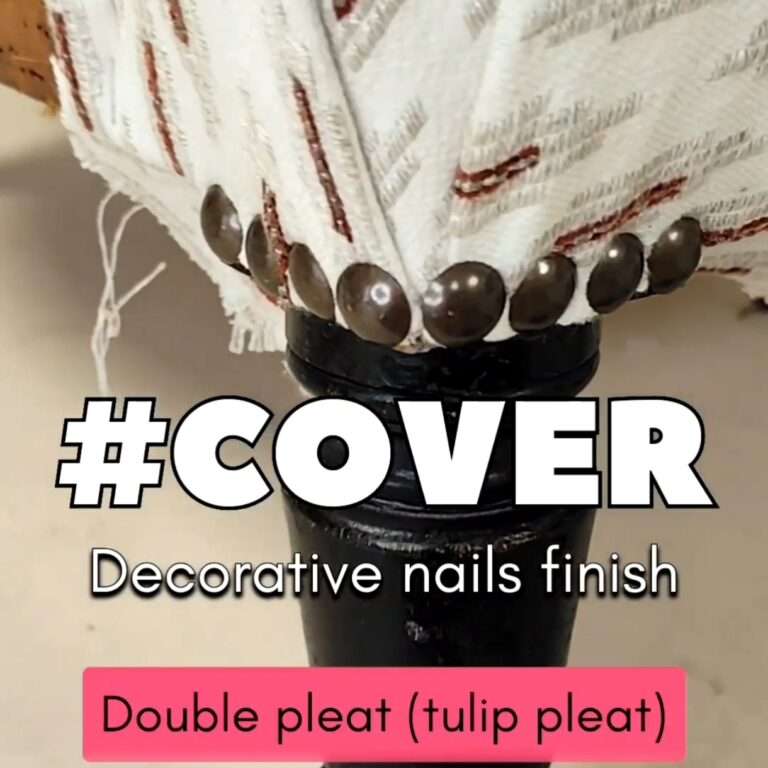
How to create a V pleat (tulip pleat) ending with decorative nails
Double pleat with braid or piping
A more complex fold used on seats finished with braid or piping, so the trim sits cleanly without bulk.
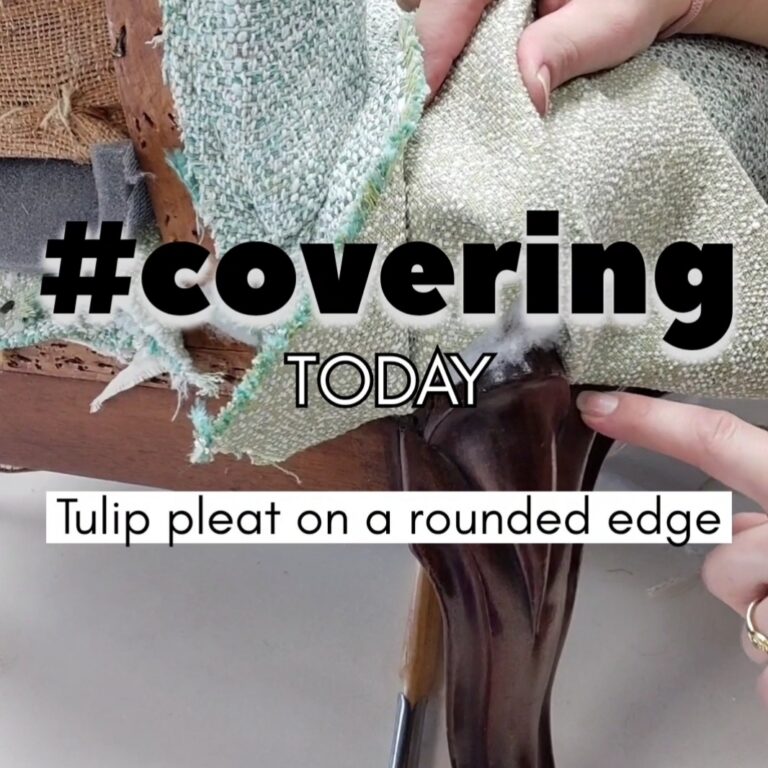
Double pleat with braid or piping
Invisible stitching on a square corner
The technique used to close the fabric at a square corner without any visible fixing: a clean, hand-stitched finish that is the hallmark of professional upholstery.
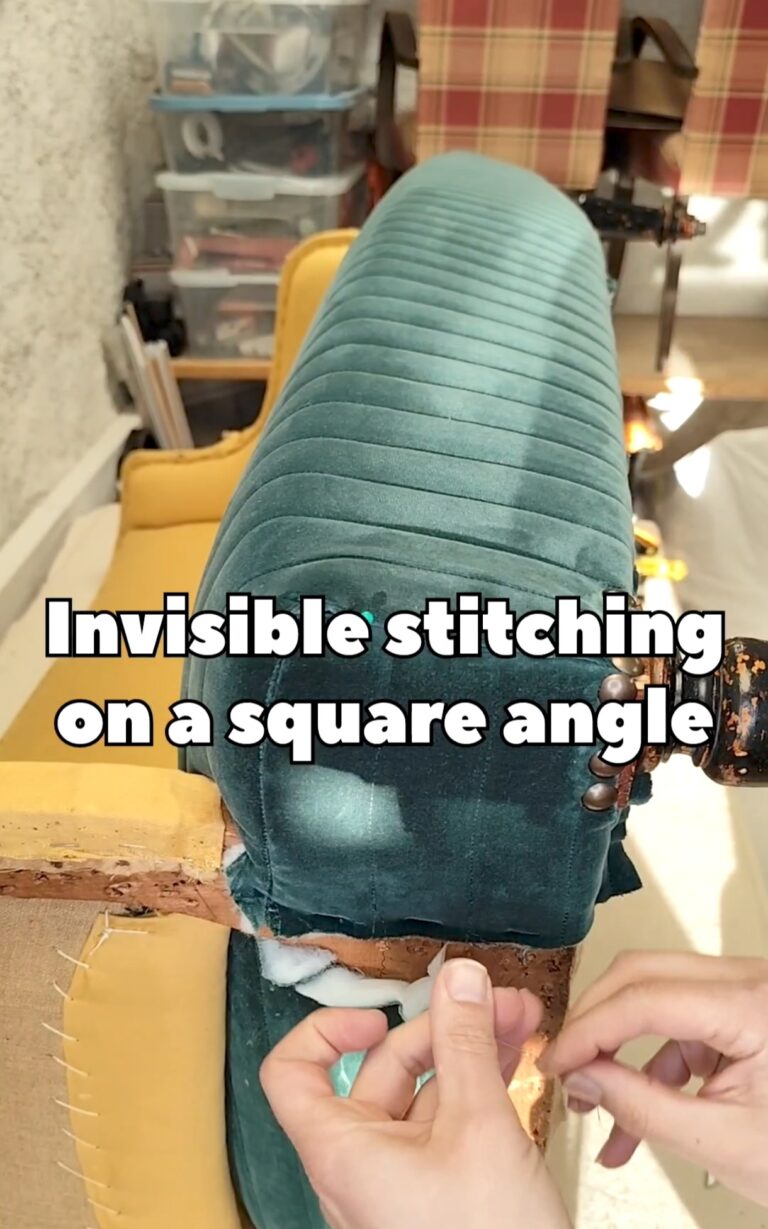
Invisible stitching on a square angle (seat)
Control Is Everything
Covering is a sequence, not a race. Every staple placed too early locks in a tension that will pull something else out of position. Every rushed corner will show. Professionals work slowly and deliberately at the covering stage: not because they are less confident, but because they know the final result is built one controlled gesture at a time.
Temporary tacking, placing fixings loosely before committing, is the habit that separates people who consistently get clean results from people who are always fighting their fabric. It is learnable, and once it becomes second nature, everything else gets easier.
Covering: Frequently Asked Questions
How do you cover a chair with fabric?
Work in a set order: seat first, then arms, inside back, and outside back last, so each panel hides the fixings of the one before. On each panel, fix the centre of every side first, then work outward, alternating sides and keeping the grain straight.
Why does my fabric keep pulling or wrinkling?
Almost always because of the stapling order or a lost grain. Fixing one full side before the opposite one, or pulling harder in one direction, twists the fabric. Remove the last staples, realign the grain and rebalance the tension from the centre.
Do I need calico under the final fabric?
In traditional upholstery, yes: the calico holds the padding in shape and makes the final covering smoother and longer-lasting. On a simple foam seat, a layer of wadding under the fabric is often enough.
Which pleat should I use on a corner?
It depends on the shape of the seat: a V pleat folded underneath on most drop-in seats, a simple pleat or a mitered corner on square corners, and a double pleat when the seat will be finished with braid or piping. Whatever the pleat, turn it so that dust can’t settle in it and it shows as little as possible. See the guide to corners and pleats.
What Comes Next?
Finishing
Braid, double welting, decorative nails and bottom cloth: the details that hide the fixings and give the piece its final character.
Sewing
Cushion covers, piping, loose covers and hand stitching: everything you need when the covering calls for sewn pieces.
Coming from an earlier stage? Go back to Padding, or see all the steps in Guide 2: Core Upholstery Techniques.
Learn upholstery in three steps
Start with a simple project, learn the techniques behind every seat, then take on complete chairs.
Guide 1
Beginners
Simple, forgiving projects that teach the basics: cushions, seats and easy chairs. Ideal if you have never upholstered before.
Start with Guide 1Guide 2
Techniques
The steps professionals use every day: prepare, webbing, springs, padding, covering, finishing and sewing.
Explore the techniquesGuide 3
Projects
Complete projects from frame to finished piece: stools, cushions, headboards, chairs and armchairs.
See the projectsAll of these techniques, and many more, are available in full detail inside the Hammer Club. Every tutorial is filmed step by step in my workshop, on real pieces, so you can follow along at your own pace, pause, rewind, and come back whenever you need a refresher.