
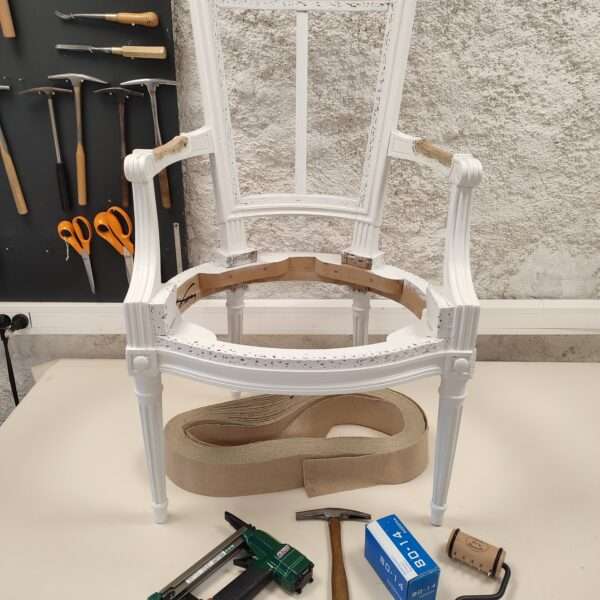
Webbing: The Foundation of Every Great Seat
Before the springs, before the padding, before the fabric, there is the webbing. It is the invisible backbone of traditional upholstery, and getting it right makes the difference between a seat that lasts decades and one that sags within few years.
Whether you are restoring a bergère, re-doing a drop-in seat or tackling a fully sprung armchair, choosing the right webbing material and applying the correct technique is the first serious decision of your project. This page gives you a clear overview of all the methods and links to the full step-by-step tutorials inside the membership.
You need to know more about materials, webbing stretchers or upholstery suppliers for webbing before starting ?
Webbing materials: link
Webbing tools: link
What Is Upholstery Webbing?
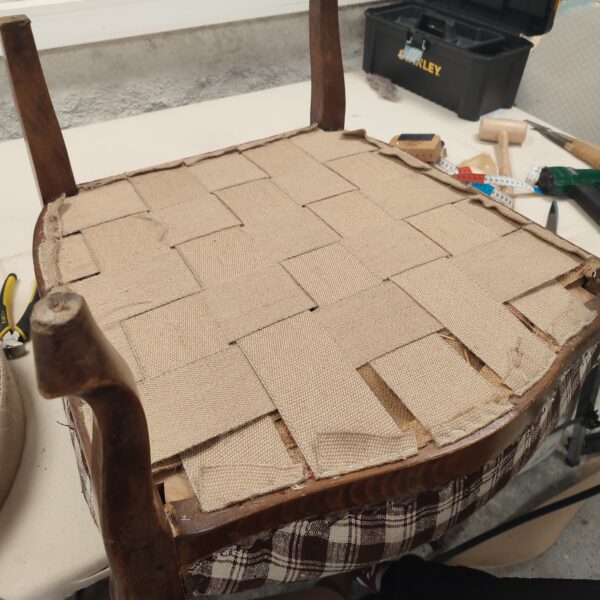
Webbing is an interlaced grid of strong straps tacked to the underside – or back – of a frame. It creates a tensioned platform that supports everything placed on top of it: springs, stuffing, padding, and finally the person sitting in the chair.
Two main families exist in traditional upholstery:
- Jute webbing: the classic choice. A firm, woven natural fibre strap that has been used for centuries. It is the backbone of traditional French and English upholstery and works beautifully whether you are using springs or not.
- Elastic webbing: a modern alternative. More forgiving and quicker to install, it is often found on contemporary pieces and can be a smart choice for certain projects.
Choosing between them depends on your chair, your technique and the result you want. Both are covered in detail inside the tutorials below.
Seat Webbing Tutorials
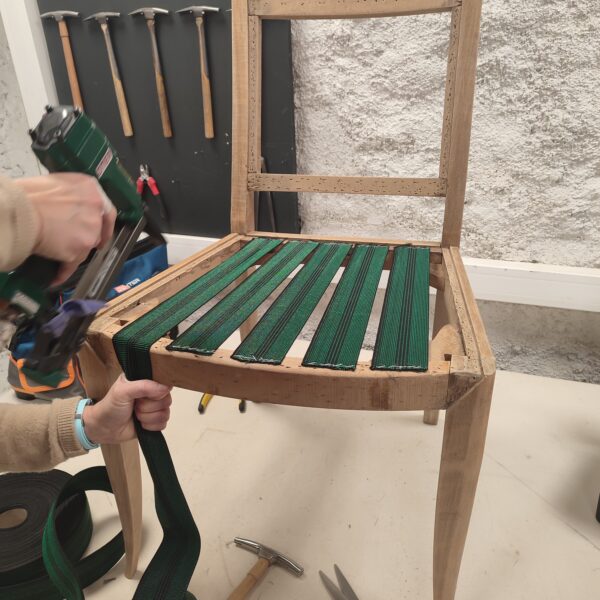
Traditional Jute Webbing on a Chair Seat
This is the fundamental technique every upholsterer must master. The method itself stays the same whether your seat will have springs or not but the position of your webbing changes depending on the answer. Understanding why is the key to a solid foundation.
The full tutorial also covers how to handle frames with protruding legs, a very common situation that trips up beginners if they don’t know the right cut to make.
Jute webbing tutorial (with cuts to avoid legs)
Traditional Webbing on a Bergère Chair
The bergère is a French upholstery classic — a deep, comfortable armchair with a fully enclosed frame. This tutorial walks you through webbing a sprungless bergère, one of the most satisfying beginner projects because the structure is forgiving and the results are immediately visible.
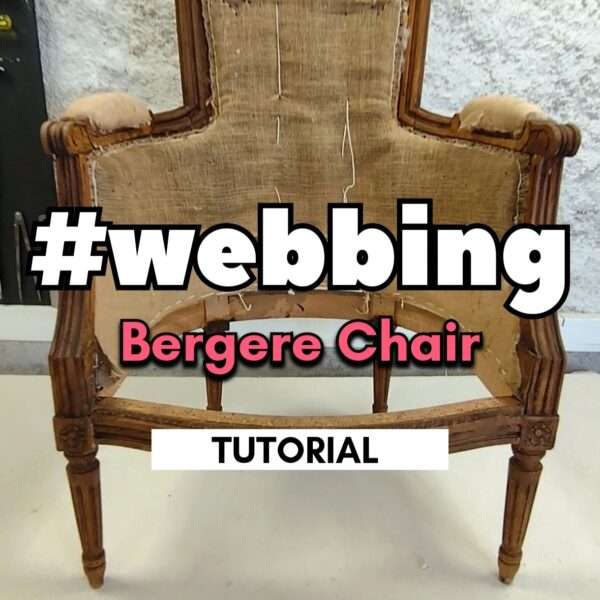
Traditional webbing a bergere chair
Elastic Webbing
Elastic webbing uses different tools, different tension logic, and different fixing methods compared to jute. It is not a shortcut it is simply another technique with its own strengths. Used on the right project, it gives excellent support and a slightly softer feel underfoot.
This tutorial covers everything: choosing the right elastic, calculating your tension, and securing the ends properly so nothing shifts over time.
How to web with elastic webbing
Back Webbing
Large chair backs – like the iconic French Voltaire armchair – need more than a taut burlap layer to hold their shape over the years. A properly webbed back provides the structural depth that thick padding alone cannot give: it is at once firmer, more comfortable, and far more durable.
Back webbing uses a lighter grid than seat webbing, but the principle is the same. The full tutorial shows you exactly how to adapt the technique for a vertical surface.
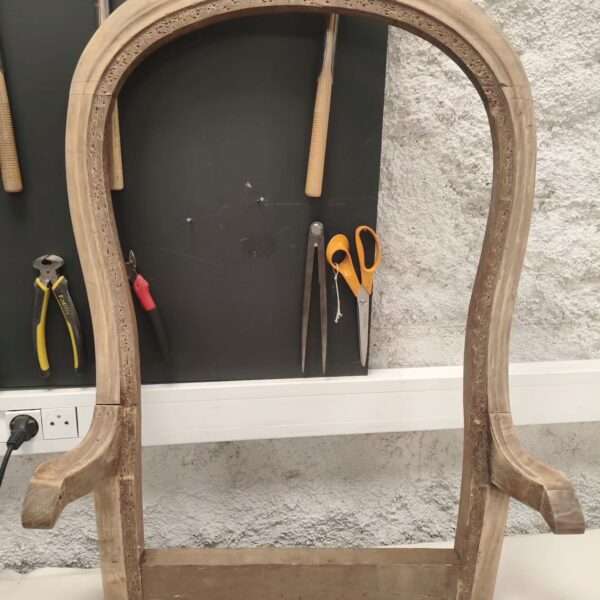
Webbing on the back of a chair
Webbing Tips and Pro Tricks
How to Plump a Seat Without Redoing the Whole Padding
This is one of the most popular techniques in the membership and for good reason. If a seat has lost its bounce but the padding is still in decent condition, you do not always need to strip everything back. A carefully retensioned webbing layer can restore the plump, lifted shape that makes a seat look and feel new again without touching the stuffing.
How to plump easily a seat with a new webbing
The Drop-In Seat Series Hack
Working on a set of chairs? This small but clever trick will save you a significant amount of time when webbing drop-in seats one after another. Once you know it, you will use it every time.
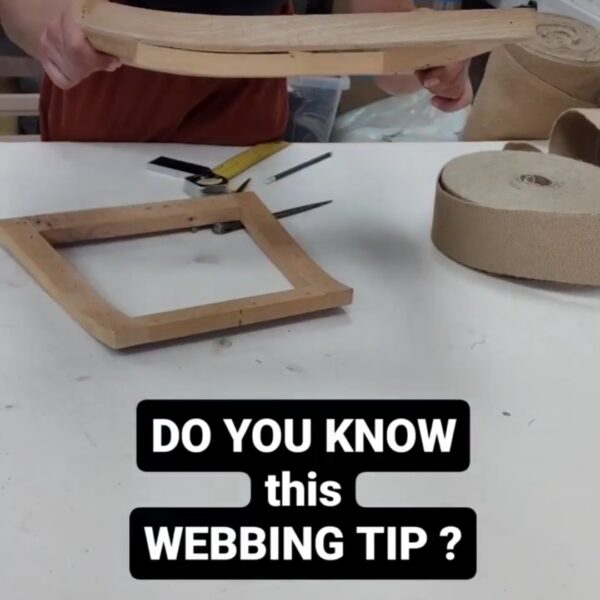
Webbing tip for drop-in seat serie
What Comes Next?
Webbing is your starting point. Once your foundation is solid, you are ready for the next stage of the build. Depending on your chair and the look you want, two paths open up:
→ Springing Techniques
If your chair is designed to have springs or you want to add that characteristic bouncy depth to the seat, the next step is learning how to tie and position coil springs over your webbing. A sprung seat is the mark of a truly traditional, high-quality restoration.
→ Padding
For sprungless seats or once your springs are tied it is time to build up the padding. This is where the shape of the seat truly comes to life, layer by layer, using traditional materials like horsehair, wadding, and tow fibre.
All of these techniques and many more are available in full detail inside the membership. Every tutorial is filmed step by step, so you can follow along at your own pace, pause, rewind, and come back whenever you need a refresher.
Your Upholstery Journey in 3 clear guides
Start simple, learn the right techniques, then move to real projects. A clear method, built to last.