Start upholstery here, even if you’ve never touched a staple gun
This is where upholstery really starts. No random tutorials, no guessing: just the right beginner projects, in the right order, with the right tools.
I’m Céline, a professional upholsterer trained with the Compagnons du Devoir. I’ve run my own atelier near Lake Annecy since 2012 and taught students from complete beginners to confident makers. This guide is the path I give them: simple, forgiving projects first, harder techniques later.
Your first steps, in order
- Understand how a seat is built (5 minutes of reading)
- Get the basic tools, and nothing more
- Pick your first project and finish it
- Learn the small skills you’ll reuse on every piece
Doing upholstery for fun? Good, this guide is made for you. You don’t need a workshop, a big budget or years of experience. A table, a few tools and one finished project are enough to start.
Step 1: understand how a seat is built
The biggest beginner mistake is starting with the fabric. Every upholstered piece is built in the same four layers:
- Structure: the wooden frame or base. It holds everything.
- Foundations: webbing, springs or foam. They give support and bounce.
- Comfort layers: padding and shaping. They make the seat feel good and look right.
- Finish: fabric, edges and details. What the eye sees, and it only looks good if everything underneath is right.
A lumpy seat or fabric that pulls is almost always a foundation problem, not a fabric problem. And before rebuilding, you strip back the old upholstery in reverse order: it shows you exactly how the piece was made. It’s not demolition, it’s diagnosis.
Step 2: get the basic tools, and nothing more
The most common trap is buying too much too soon. For your first projects you need:
- To strip: a ripping chisel or tack lifter, pliers, and patience.
- To rebuild: a good staple gun (your most important purchase), sharp scissors, the right foam and a fabric that can take tension.
Everything else can wait until a project actually needs it.
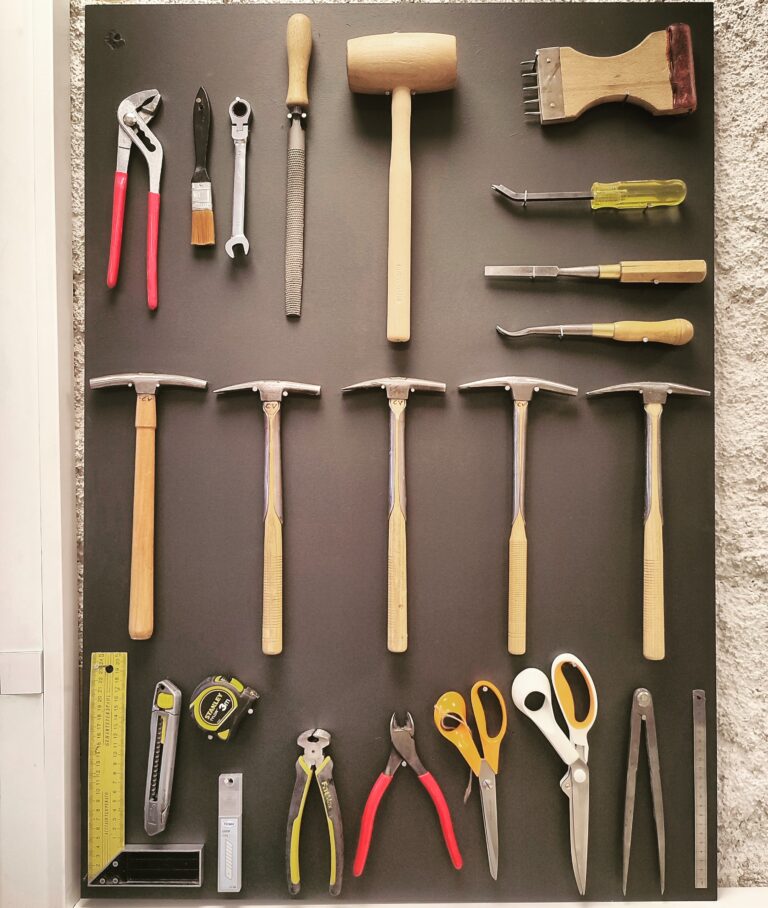
Basic manual tools for upholstery
Go further when you need to:
- Which staple gun to buy
- Which foam for which seat
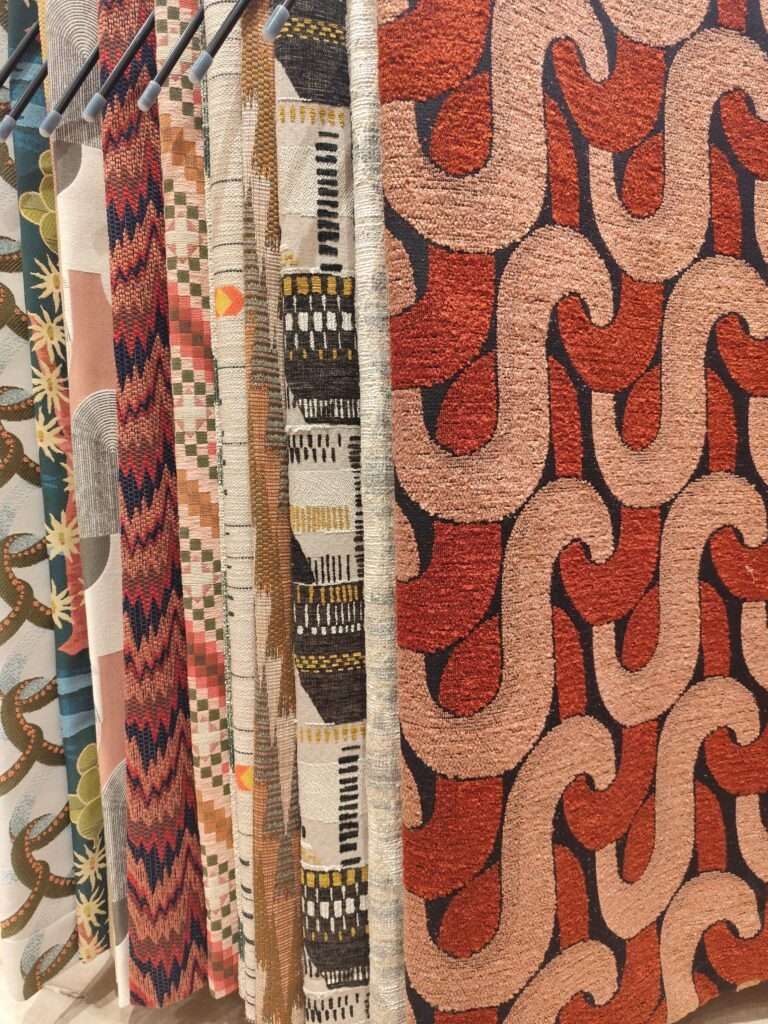
- Which fabric to choose for a seat
- How much fabric you need (free calculator)
- Where to buy your supplies
- Upholstery glossary, if a word in a tutorial stops you
Before you start, take two minutes to read the safety rules for beginners.
Step 3: pick your first project and finish it
The goal isn’t to collect tutorials. It’s to finish one piece cleanly and understand why each step matters. These projects are ordered from the simplest to the most demanding. Pick one, finish it, then move to the next.
Project 1: a foam pouf
You’ll learn: how foam behaves and how to get a taut, even cover. No frame to deal with, no complex shape. The best possible first win.
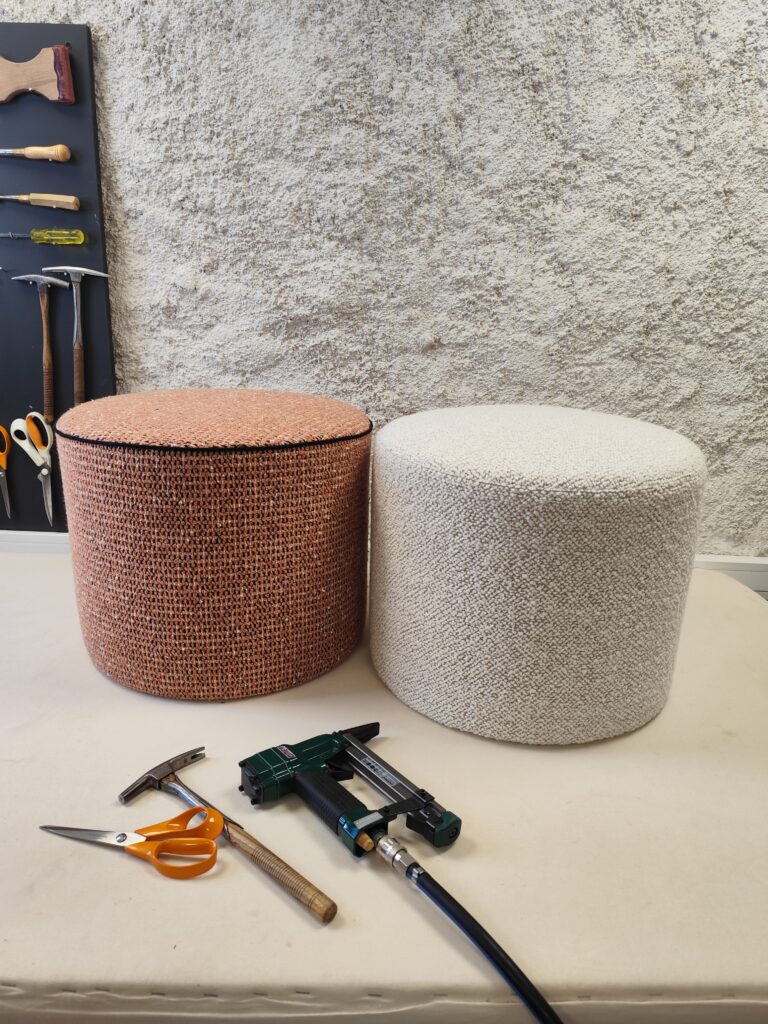
How to make a foam pouf
Project 2: a chair with a solid wooden seat
You’ll learn: fabric tension, staple alignment and clean lines on a three-dimensional shape. The core challenge of upholstery, on a forgiving piece.
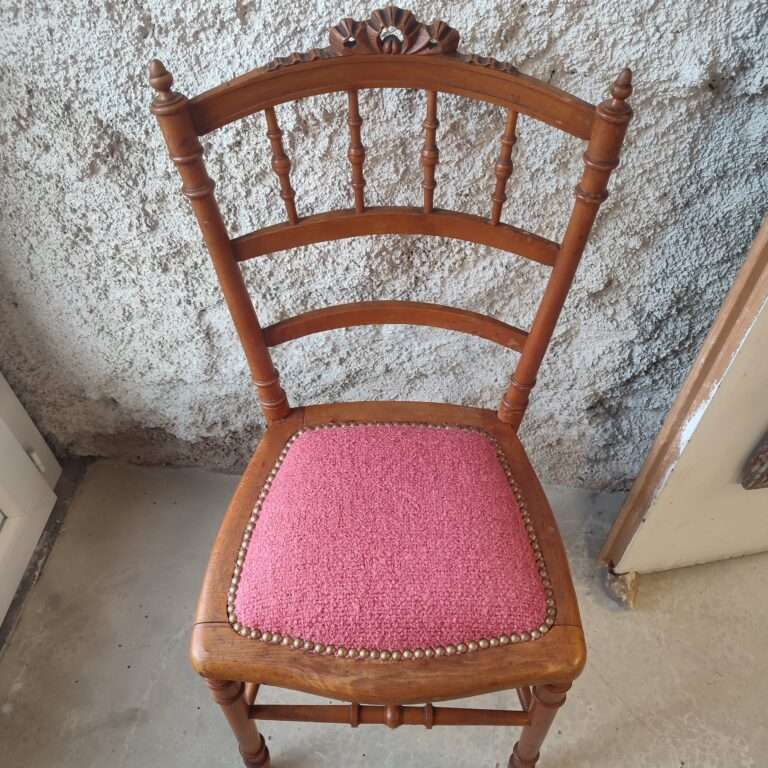
How to cover a chair with a solid wooden seat
Project 3: a drop-in dining chair seat
You’ll learn: the exact sequence professionals use on every seat: strip, web, pad, cover. Drop-in seats appear on hundreds of chair styles and are easy to redo if needed. If you only do one project, do this one.
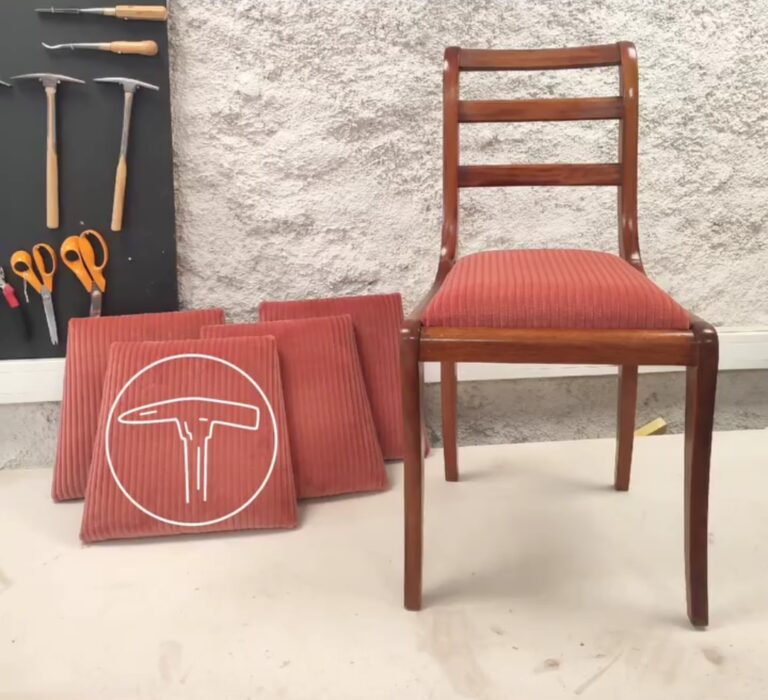
How to upholster a drop-in seat chair
Project 4: a foam seat with an edge roll
You’ll learn: how to give a foam seat a crisp, professional edge that holds its shape. A small step up that makes your work look finished.
See the foam seat with edge roll tutorial
Project 5: a modern bridge chair
You’ll learn: how to bring everything together on a full chair with a seat and a back. Your graduation project for Guide 1.
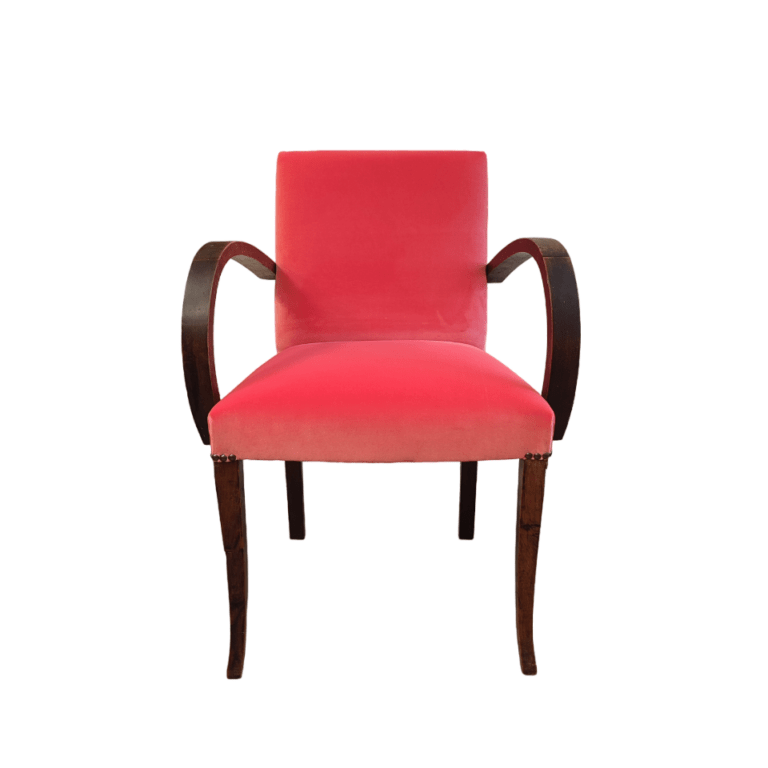
Bridge Chairs Upholstery Tutorials
Want to follow every step on video?
Members get the full step-by-step tutorials behind these projects: 80+ videos with numbered photo steps, filmed at my workbench, so you see the exact gesture before you do it.
See the memberships, from €9.99/monthStep 4: the small skills you’ll use on every project
Short tutorials that make the difference between a tidy result and a professional one. Each takes very little time to learn and pays off on every piece.
Remove old tacks and nails cleanly
The first thing you’ll do on any old chair, and the easiest way to damage a frame if done wrong. See the tutorial.
Temporary tacking
Hold your fabric in place, check, adjust, then fix it for good. This habit alone saves most beginners from crooked covers. See the tutorial.
Firm up a sagging seat with new webbing
A quick fix when you don’t want to redo the whole seat, and a good first contact with webbing tension.
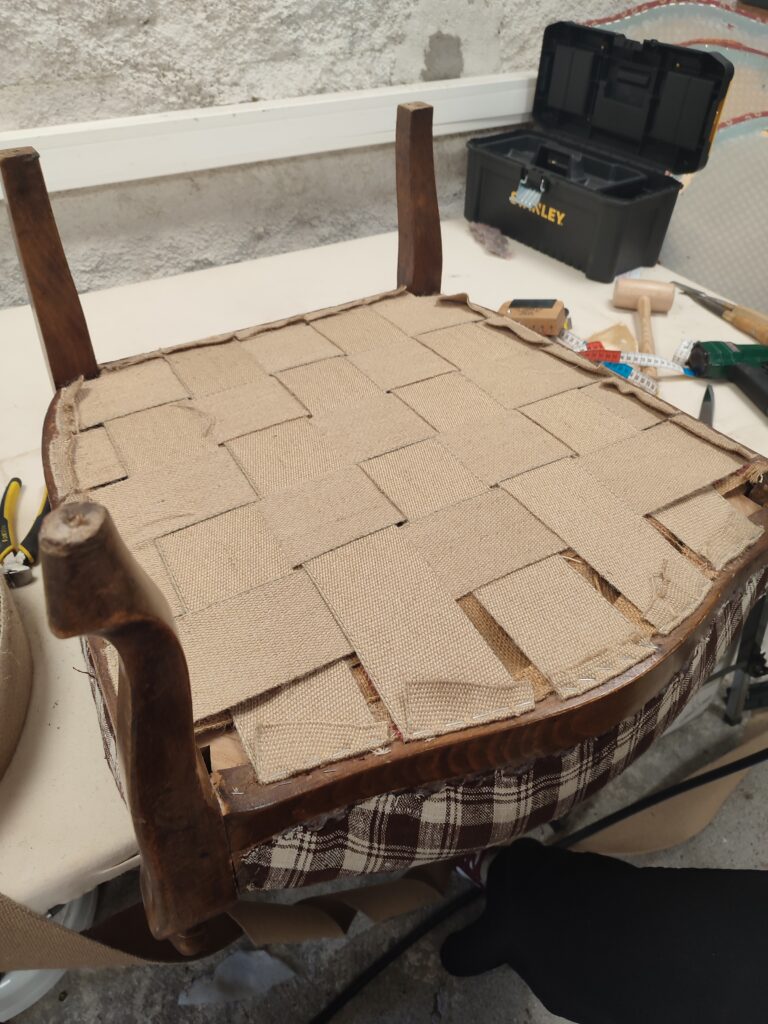
How to plump easily a seat with a new webbing
Hand-sew a cover closed
The cleanest way to close a cover invisibly where a machine can’t reach.
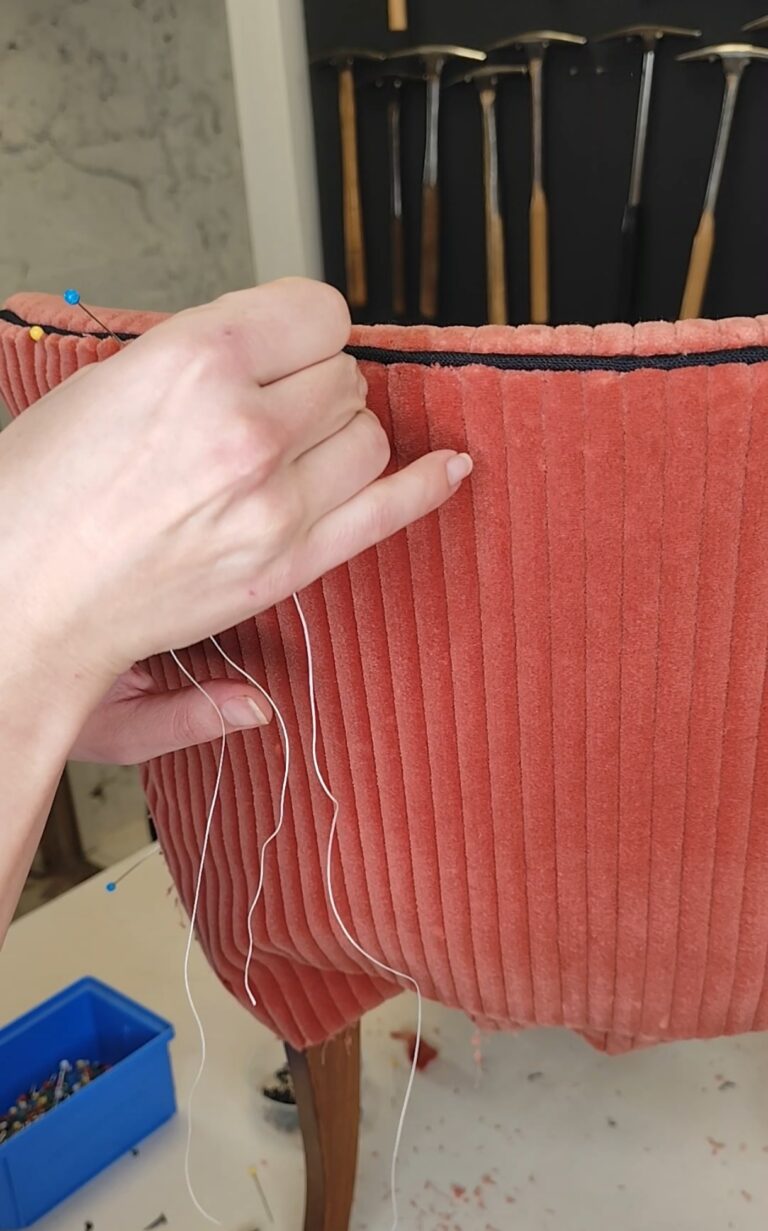
How to HANDSEW
Attach a button properly
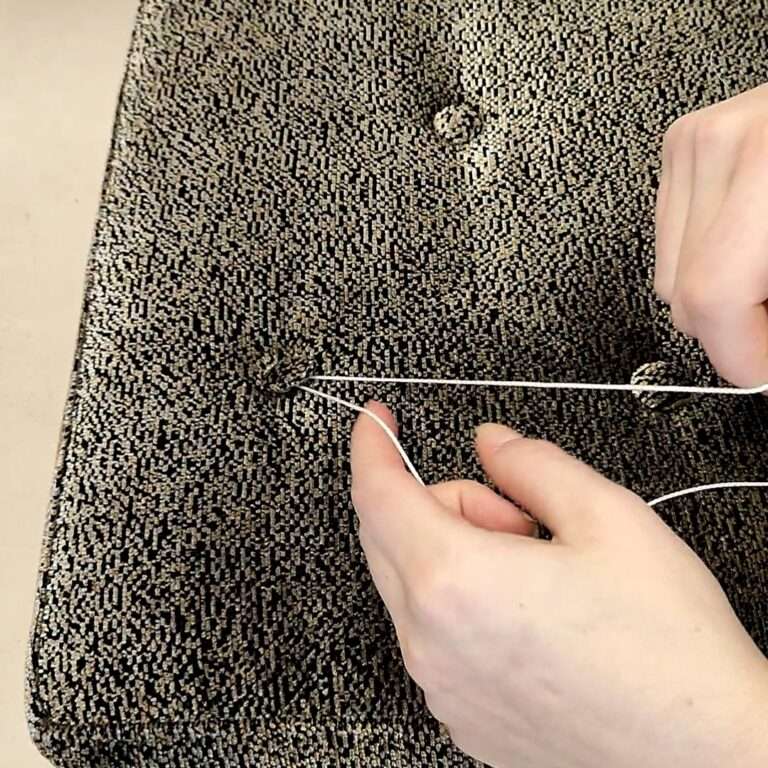
Bonus: simple sewing for cushions
No sewing machine? You can skip this section for now: the first projects above don’t need one. When you’re ready, upholstery sewing is about straight seams and accurate shapes, not fashion skills.
Sew a simple inside cushion
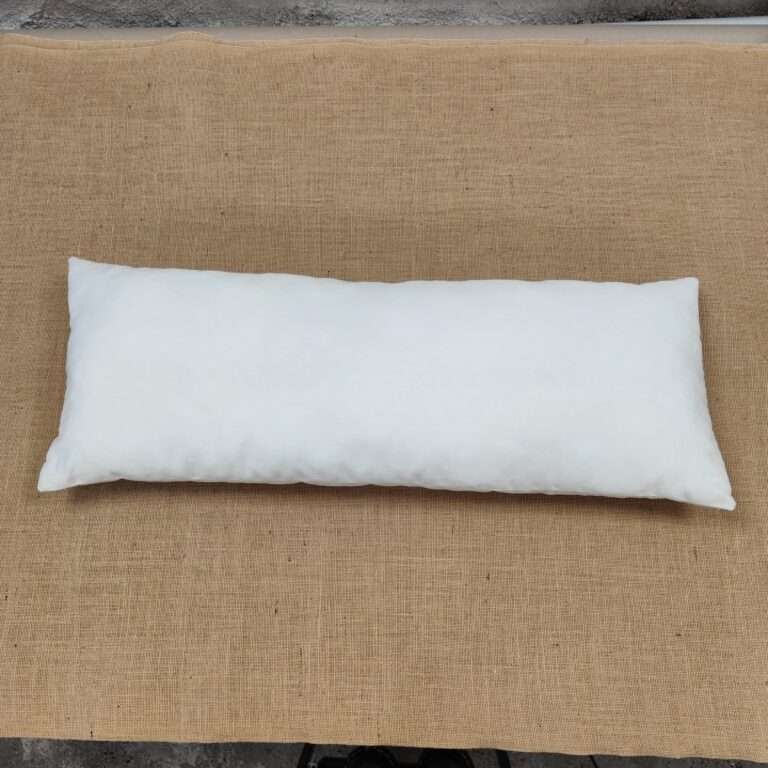
How to sew a simple inside cushion
Sew a cushion cover with a hidden zipper
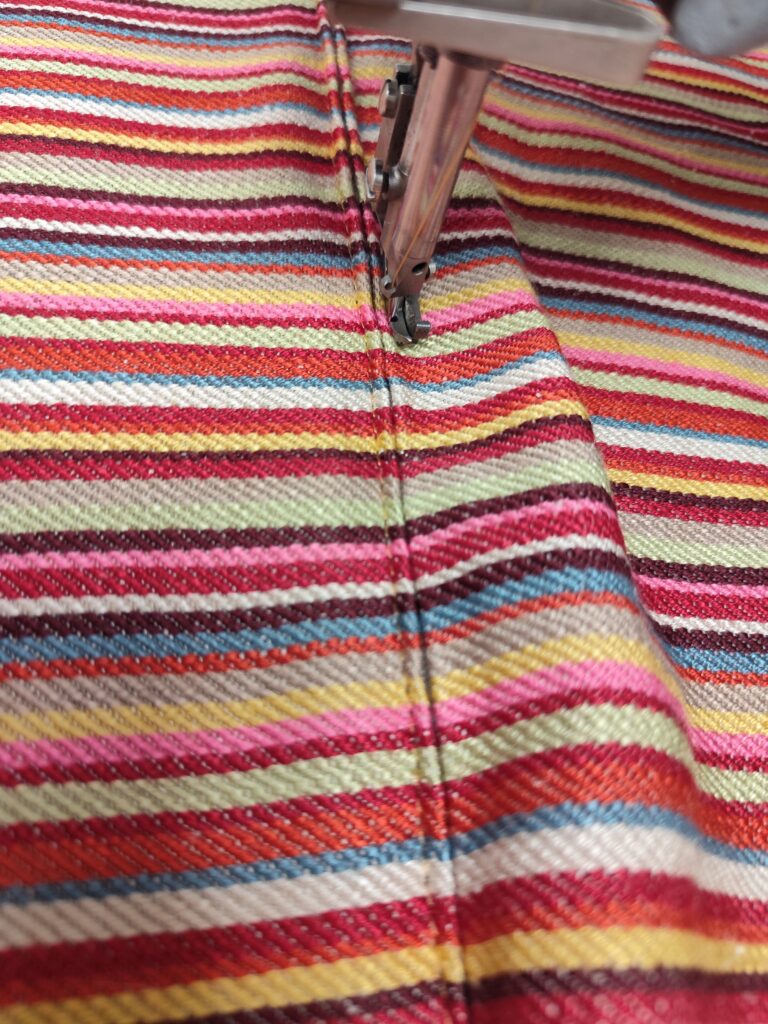
Simple cushion cover tutorial
Then add piping: 9 steps to sew a decorative cushion with piping. Ready for box cushions? Read my 7 sewing tips for professional results.
Beginner questions
Do I need a workshop to start upholstery?
No. A sturdy table, basic tools and good tutorials are enough for beginner and intermediate projects.
Which project should I start with?
A foam pouf if you want a quick win, a drop-in dining chair seat if you want to learn the real professional sequence. Avoid starting with a sprung armchair: springs come later.
Do I need a sewing machine?
Not for your first projects. You’ll need one later for cushions, piping and fitted covers.
Foam or traditional upholstery: which should I learn first?
Foam is the easiest way in: fewer tools, faster results. Traditional upholstery (jute webbing, hand-tied springs, natural padding) is covered in Guide 2 once you’re comfortable.
What if I get stuck on my project?
Leave a comment under any tutorial. Premium members can also send me their questions directly on WhatsApp and get an answer from me.
Finished a project? Here’s what comes next
Once you’ve completed one or two projects from this page, you’re ready for springs, traditional padding and bigger pieces. Take it one step at a time: skills built in the right order give consistent results, not lucky ones.
Your first armchair: the Voltaire (no springs)
A high-back French armchair with a foam and elastic webbing seat. Bigger, but still without springs.
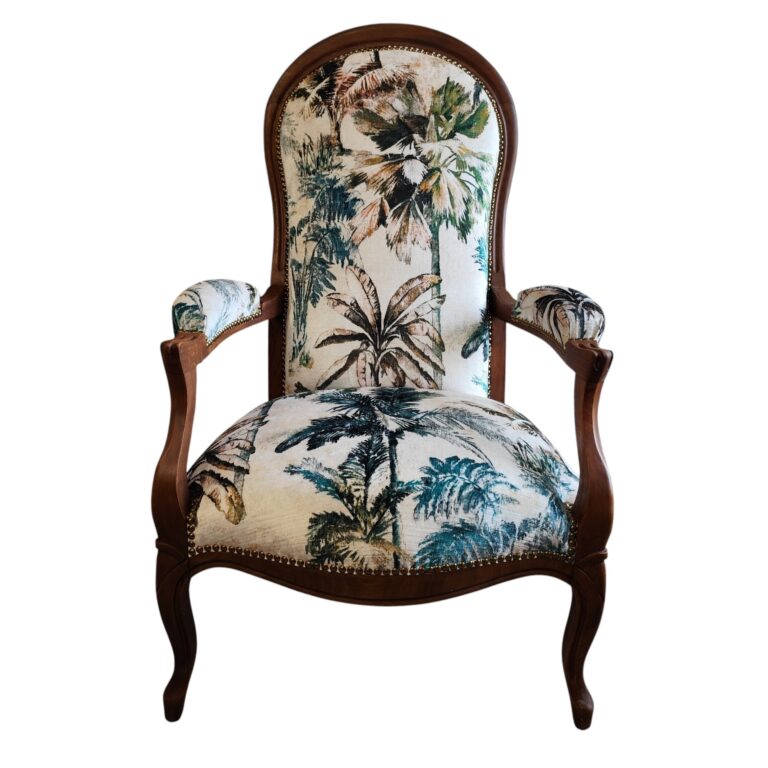
Voltaire Armchair Upholstery: Every Tutorial You Need in One Place
Your first sprung seat: the cabriolet armchair
The classic French chair with a rounded back. You’ll work with springs for the first time, in a context that stays manageable. Learn the basics of springs and knots in Guide 2 before you start.
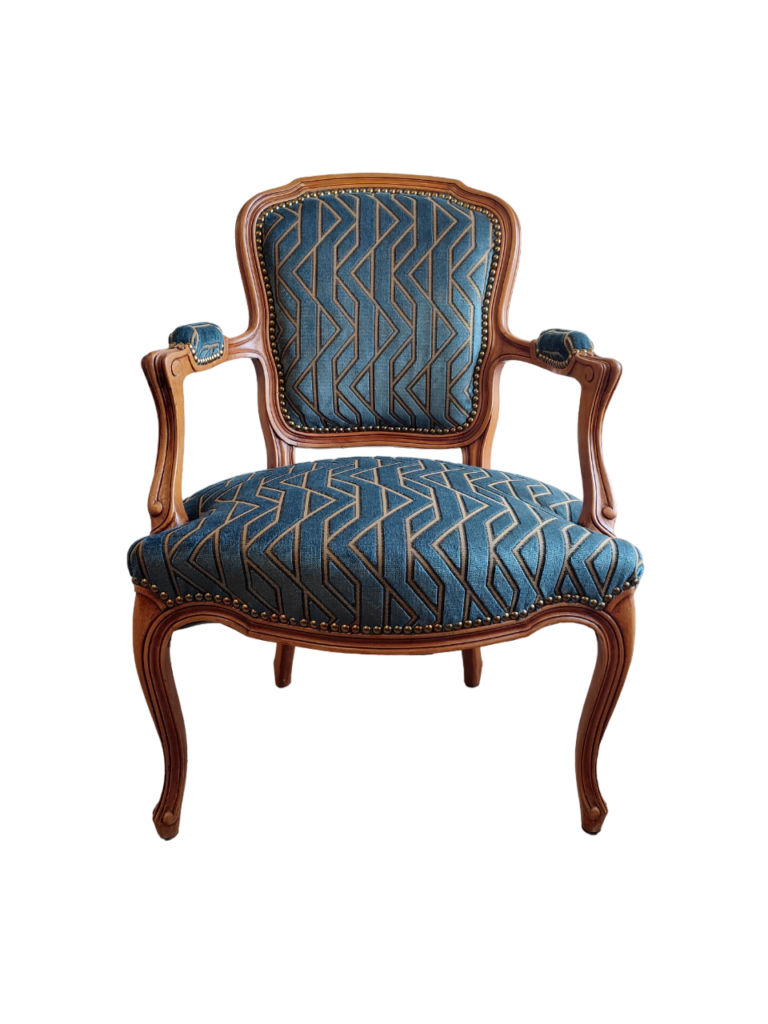
Cabriolet chair upholstery tutorials
Your upholstery path in 3 guides
Start simple, learn the core techniques, then take on full projects.
Learn with me, step by step
- 80+ video tutorials with numbered photo steps, from your first pouf to a full sofa.
- A clear path: you always know which tutorial comes next.
- Professional methods, the ones I use every day in my atelier.
- Your price stays the same for as long as you stay a member.
- Premium: send me your questions on WhatsApp and get answers on your own project.
Not ready yet? Create a free Guest account to read the blog, the fabric guides and the strip & prepare tutorials, and to leave comments.
Missing a beginner tutorial? Tell me in the comments below which piece or technique you’d like to learn next. I create new tutorials based on your requests.
More beginner-friendly tutorials and tips
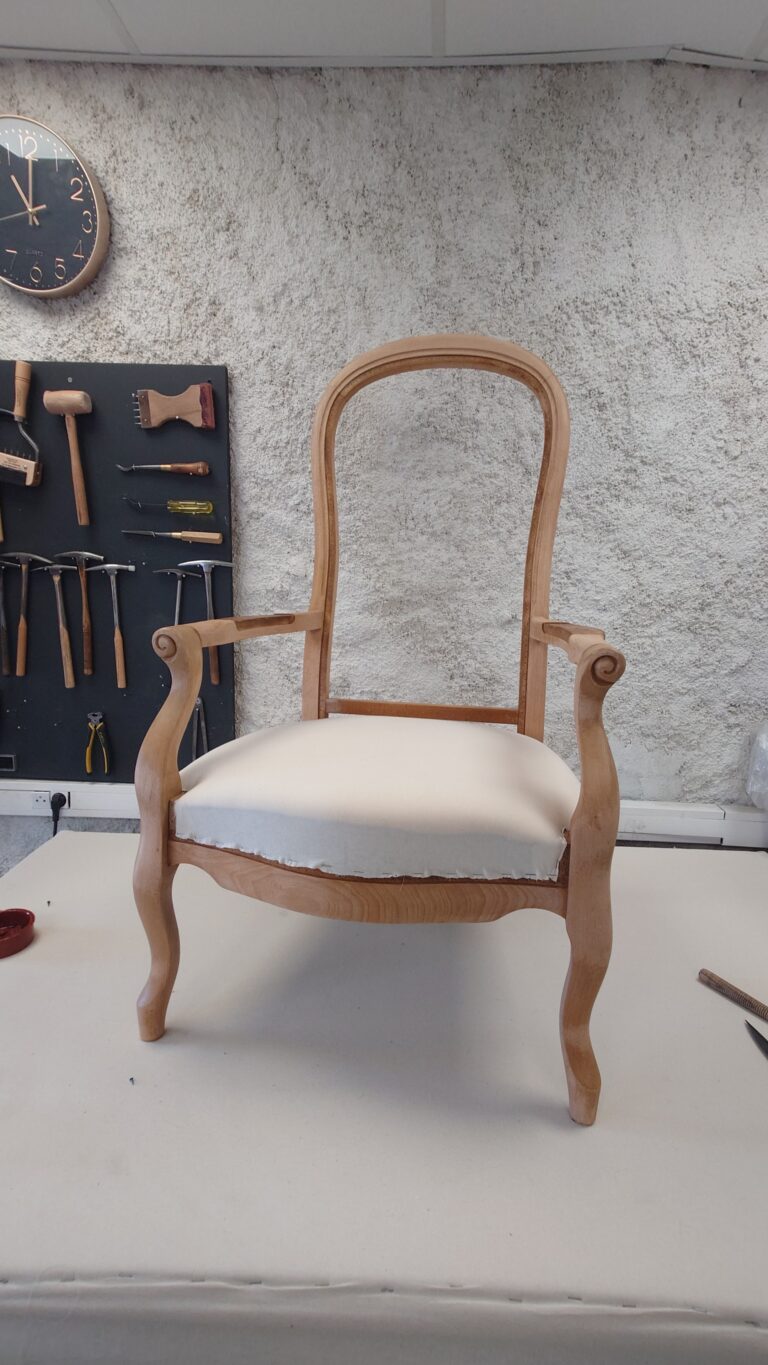
Modern Foam Upholstery with a Traditional Shape: Voltaire Armchair SEAT Tutorial
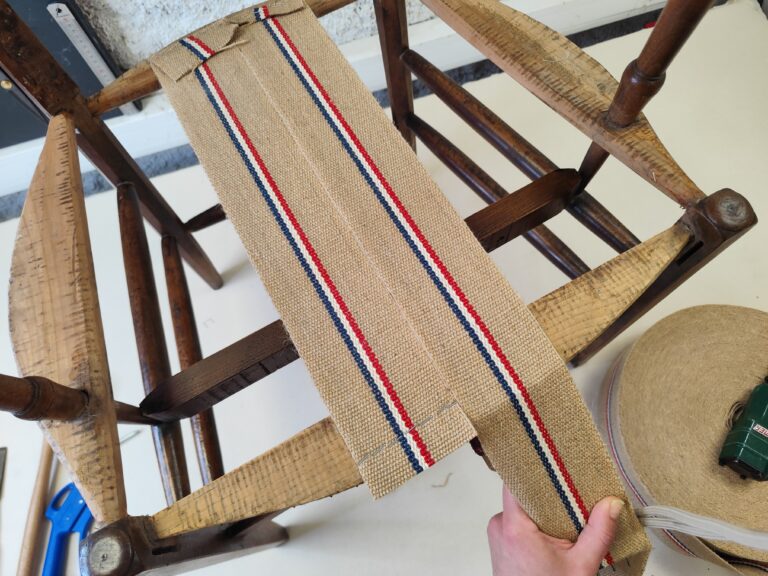
9 Essential tips for starting upholstery
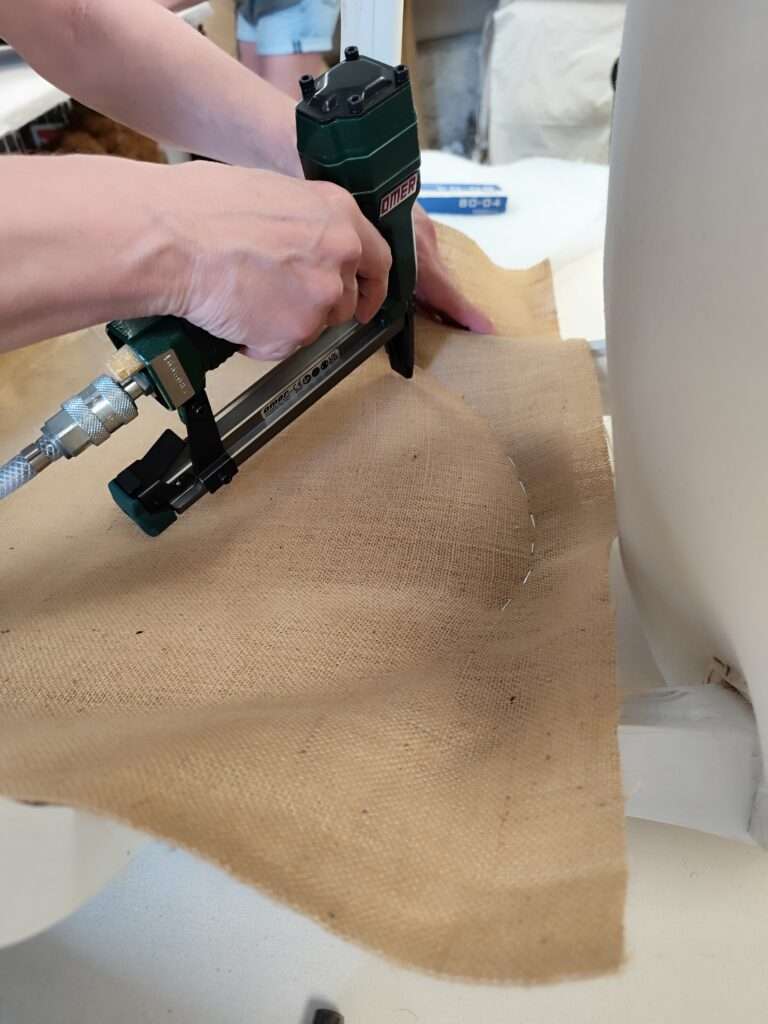
Starting upholstery: safety rules and advice
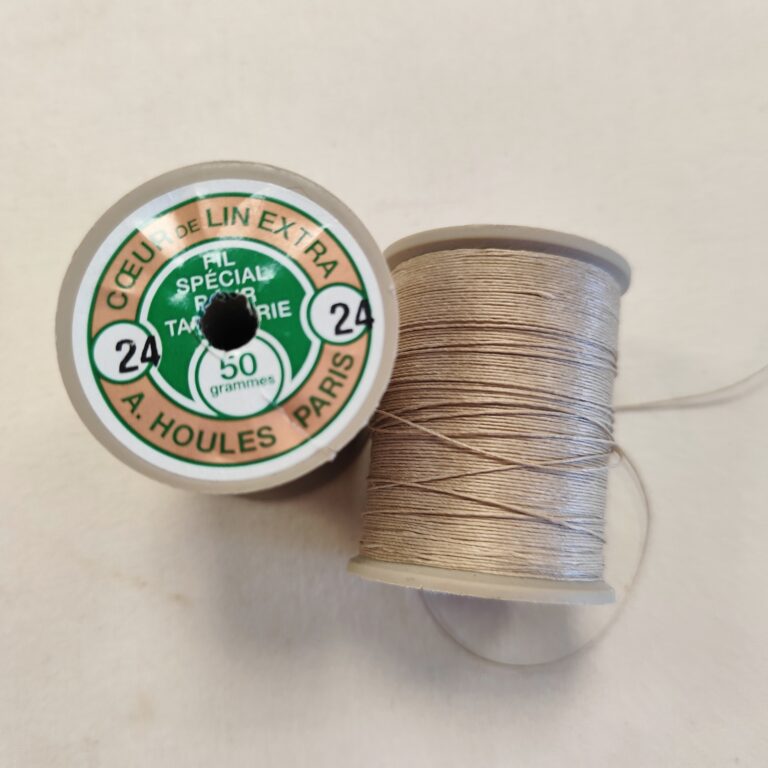
All about thread: What thread to use for upholstery work ?
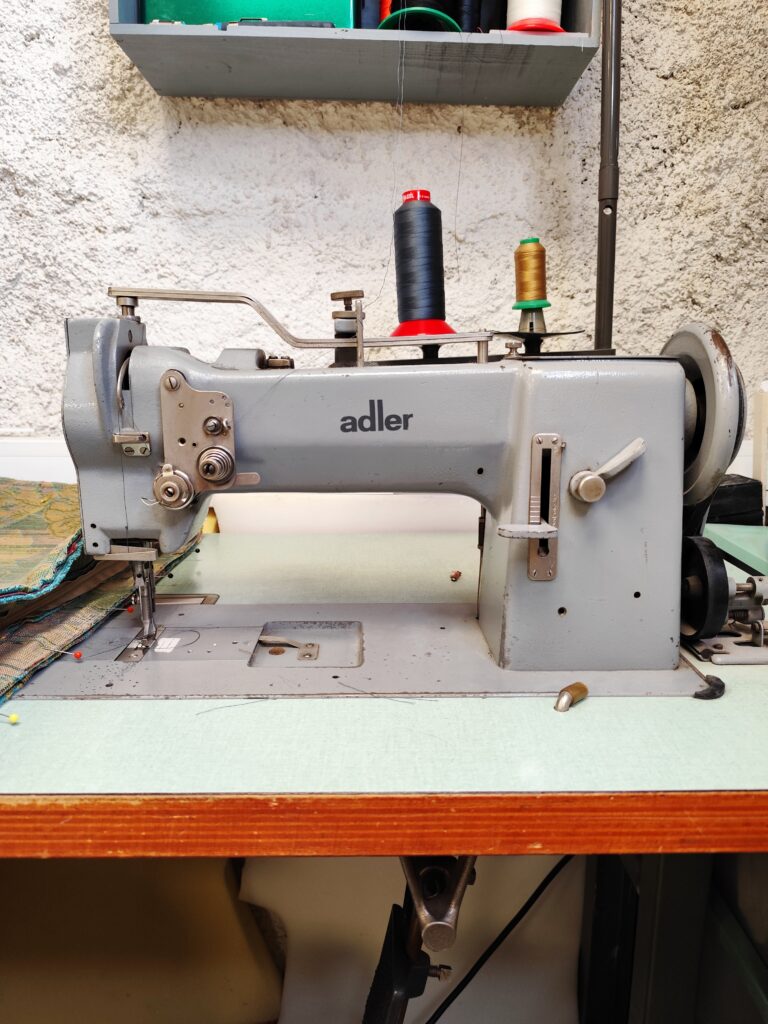
The perfect sewing machine for upholstery work
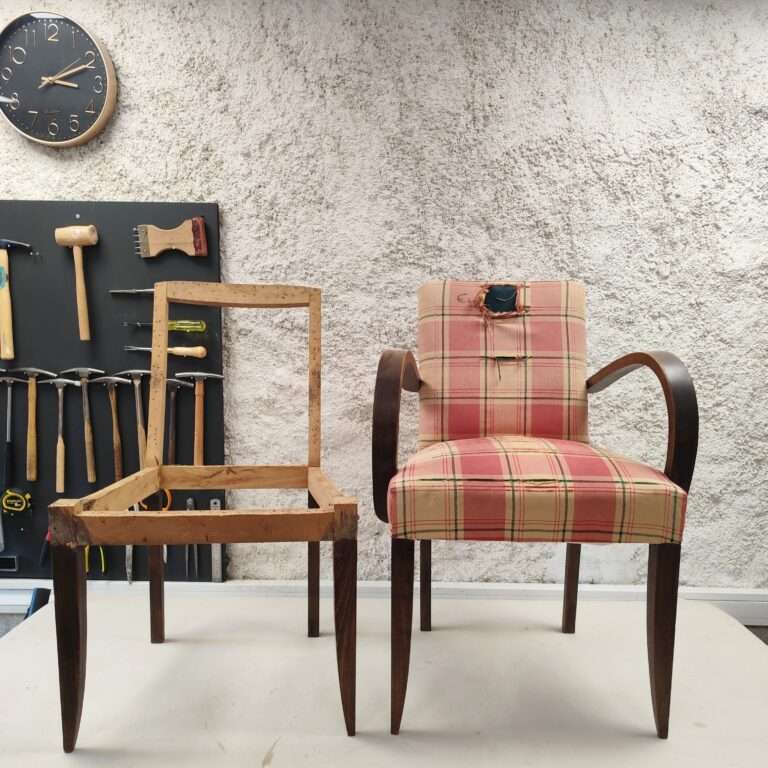
How to upholster a modern “bridge” chair step by step
Suppliers for upholsterers: where to buy upholstery supplies ?
What Type of Upholstery Fabric Should You Choose to Cover a Seat?
How to HANDSEW
Simple cushion cover tutorial
How to sew a simple inside cushion