
Wherever a flat piece of fabric has to wrap around a corner or a curve, you need a pleat. The shape of the corner decides which pleat to use, whether the seat is padded the traditional way or with foam. And whatever the pleat, it always faces the way that keeps dust out and shows the least.
Why do corners matter so much in upholstery?
Corners are where covering is most visible and most unforgiving. A clean pleat looks deliberate and professional. A poorly folded one looks exactly like what it is: fabric forced into a shape it was never guided into. The type of pleat, and the way you make it, decides whether the finish looks intentional or improvised.
How do I choose the right pleat?
Look at the shape of the corner first: that’s what decides the type of pleat. The padding doesn’t change the choice: the same corner gets the same pleat on a traditional seat and on a foam seat. The finish you plan, braid, piping or decorative nails, then guides how you make it.
Which way should a pleat face?
That’s my workshop rule for every corner: a pleat is always turned so that dust can’t settle in it, and so that it’s as discreet as possible. A well-placed pleat is one you barely notice.
What are the main types of corners and pleats?
Mitered corner
A clean, precise corner where the fabric meets in a sharp diagonal line. It asks for good control of the tension. See the tutorial: How to Upholster a Mitered Corner
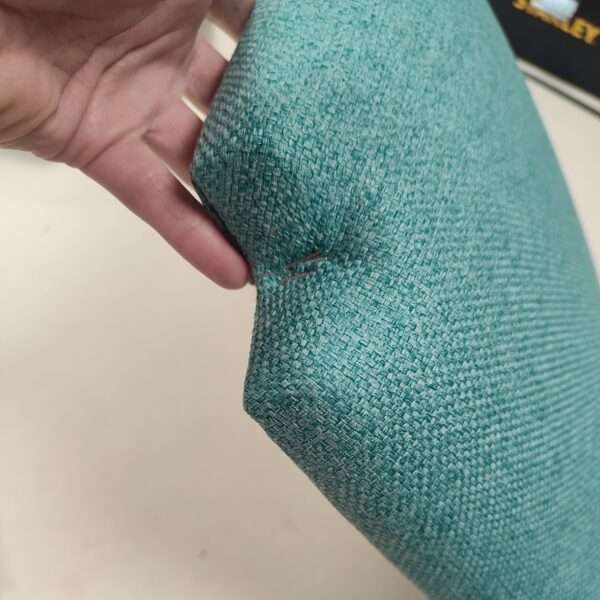
How to cover a Mitered Corner
Simple pleat on a square corner
A foundational technique: clean, efficient, and the right choice for many square-cornered seats. It works with a braid or a decorative nail finish. See the tutorial: How to Upholster a Simple Pleat on a Square Corner
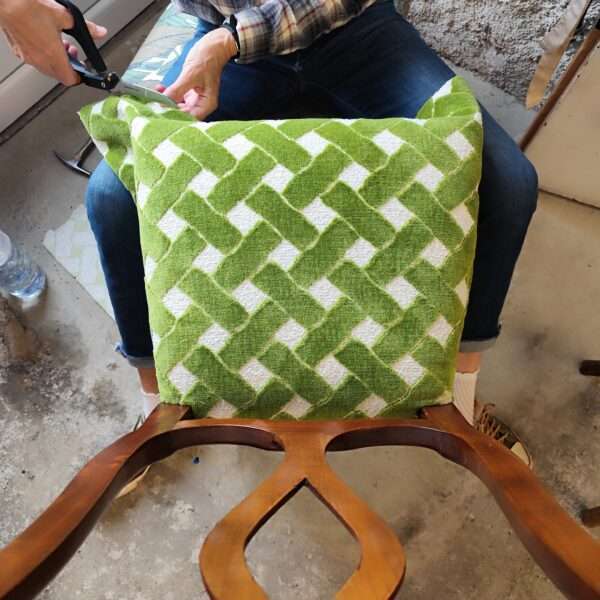
How to do a simple pleat on a square corner
V pleat on a drop-in seat
The go-to fold for drop-in seats: the corner is pleated underneath, stays flat so the seat drops back into the frame, and leaves room for the dustcover. Clean, controlled and forgiving for beginners. See the tutorial: How to Fold a Drop-In Seat Corner (V Pleat)
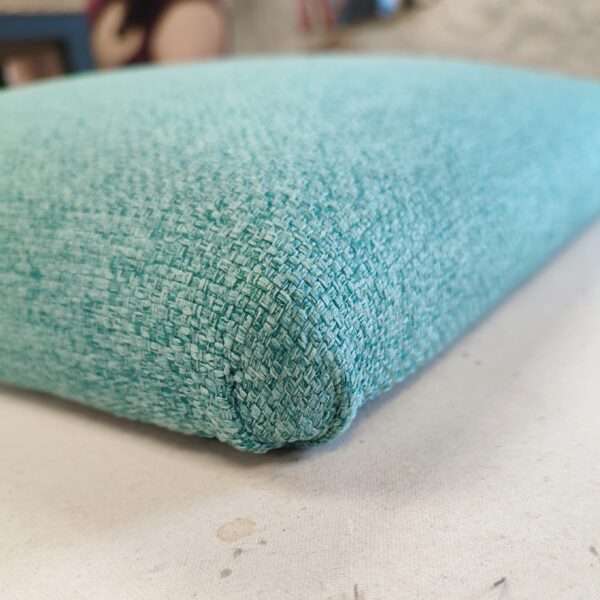
V pleat on a drop in seat
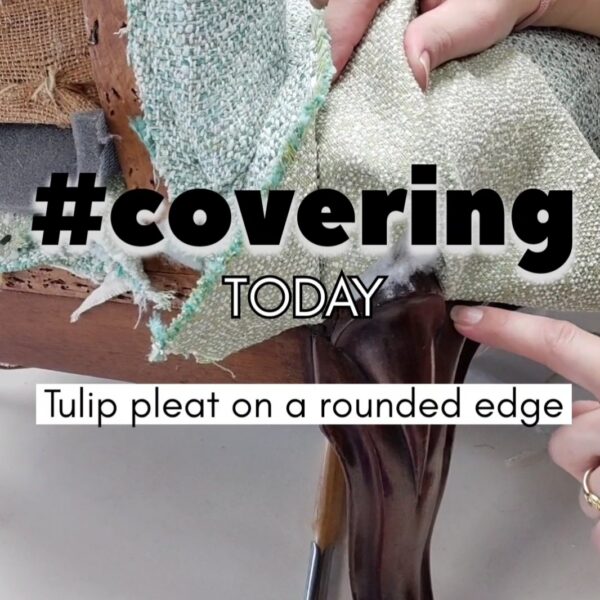
V pleat / tulip pleat with decorative nails
A more refined finish where the pleat itself becomes part of the decoration, finished with one decorative nail or a row of them along the edge. See the tutorial: V pleat (tulip pleat) with decorative nails
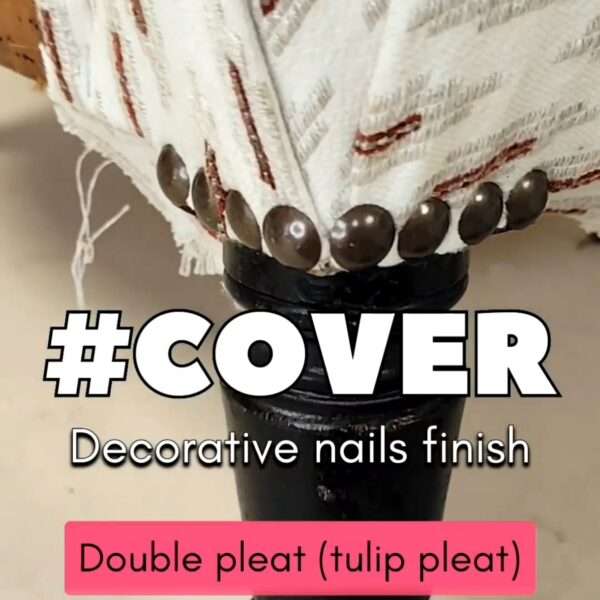
How to create a V pleat (tulip pleat) ending with decorative nails
Double pleat with braid or piping
A more complex fold for seats finished with braid or piping, so the trim sits cleanly without bulk. See the tutorial: Double pleat with braid or piping
Double pleat with braid or piping
Invisible stitching on a square corner
The fabric is closed at the corner by hand, with no visible fixing: a clean, hand-stitched finish that is the hallmark of professional upholstery. See the tutorial: Invisible stitching on a square corner
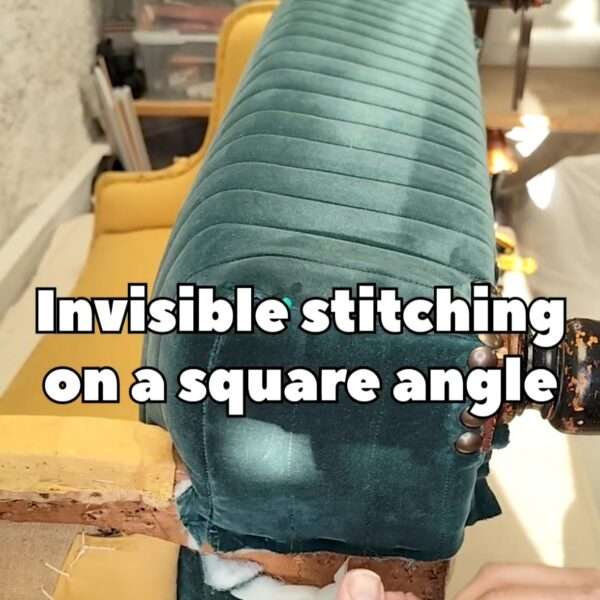
Invisible stitching on a square angle (seat)
Wrap-around cut
On some chair styles, the seat fabric doesn’t stop neatly at the wooden frame: it wraps around it, and the corner has to be cut to follow the wood. See the tutorial: How to upholster a seat with a wrap-around cut
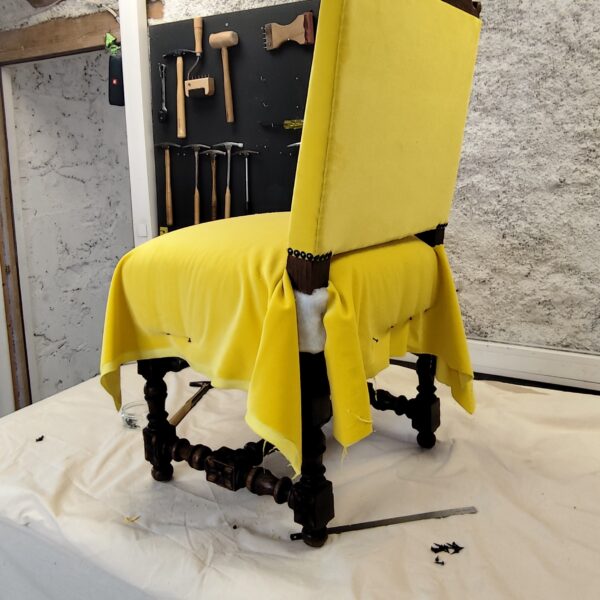
How to upholster a seat with a wrap-around cut
Pleats on arm and back scrolls
Where an arm or a back ends in a scroll, the fabric has to be pleated around the curve, and the pleats show from the front. Tutorial coming soon.
What are the most common mistakes on corners?
With my students, I see the same two mistakes again and again, and both come from being too careful. First, they don’t trim enough fabric at the corner, afraid of cutting too much, and the extra layers make a lump under the pleat. Second, they don’t dare to pull hard enough: without real tension, no pleat will ever sit flat.
FAQ
Do I need to sew a pleat?
In most cases, no: good tension is enough to hold it. I only sew a pleat when it’s very tall, more than about 8 cm (3⅛ in).
Is the pleat different on a foam seat?
No. The shape of the corner decides the pleat, not the padding, so a foam seat and a traditional seat with the same corner get the same pleat.
Which pleat should a beginner start with?
The V pleat on a drop-in seat and the simple pleat on a square corner are the easiest to start with. The mitered corner and the double pleat come next, once you’re comfortable with tension.
All the step-by-step corner tutorials are part of the Hammer Club, alongside every other covering technique.