All you need to know starting upholstery
This is where upholstery really starts.
You’re just starting upholstery ? This is the right place. No guessing. No random upholstery tutorials. Just the right right upholstery tutorials for beginners in the right order, using the right tools.
Whether you’ve never held a staple gun or you’ve already tried a few things without a clear method, this guide is your foundation. Upholstery isn’t magic. It’s structure, layers, and logic. Once you understand how things are built, everything becomes readable. A worn chair stops looking like a problem and starts looking like a project.
Guide 1 is deliberately kept accessible. You don’t need a workshop full of tools. You don’t need years of experience. You need the right starting point, and that’s exactly what this page is.
Jump to a section: Structure basics · Tools & materials · Beginner full projects · Simple sewing · Pro quick tips · What comes next
Before you start: understand the structure
The single biggest mistake beginners make is diving straight into fabric. Before you cut anything, it’s worth understanding what you’re actually building and why each layer exists.
Every upholstered piece follows the same construction logic:
- Structure: the wooden frame or base. This is what holds everything. A solid frame means a solid result.
- Foundations: webbing, springs, or foam. This is what gives the seat its support and bounce.
- Comfort layers: padding and shaping. This is what makes a seat feel good and look right.
- Finish: fabric, edges, details. This is what the eye sees, but it only looks good if everything underneath is right.
When something goes wrong in upholstery, a lumpy seat, a sagging cover, fabric that pulls, it’s almost always a foundation problem, not a fabric problem. Learning to read these layers is the real skill. Everything else follows from that understanding.
And before you rebuild anything, you strip it back first. Removing old fabric carefully, in reverse order, tells you exactly how the piece was built and what needs replacing. It’s not demolition, it’s diagnosis. You’ll go deeper into that process in Guide 2.
Guide 1 is about learning this logic through simple, forgiving projects. The essential tips and workshop basics are gathered here:
Essentials only: tools & materials
You don’t need everything. You need the right basics.
One of the most common traps in upholstery is buying too much too soon. The wrong foam density, a staple gun that jams on day one, fabric that looks beautiful but can’t take tension. Getting materials right from the start isn’t about spending more. It’s about not wasting what you already have.

Suppliers for upholsterers: where to buy upholstery supplies ?
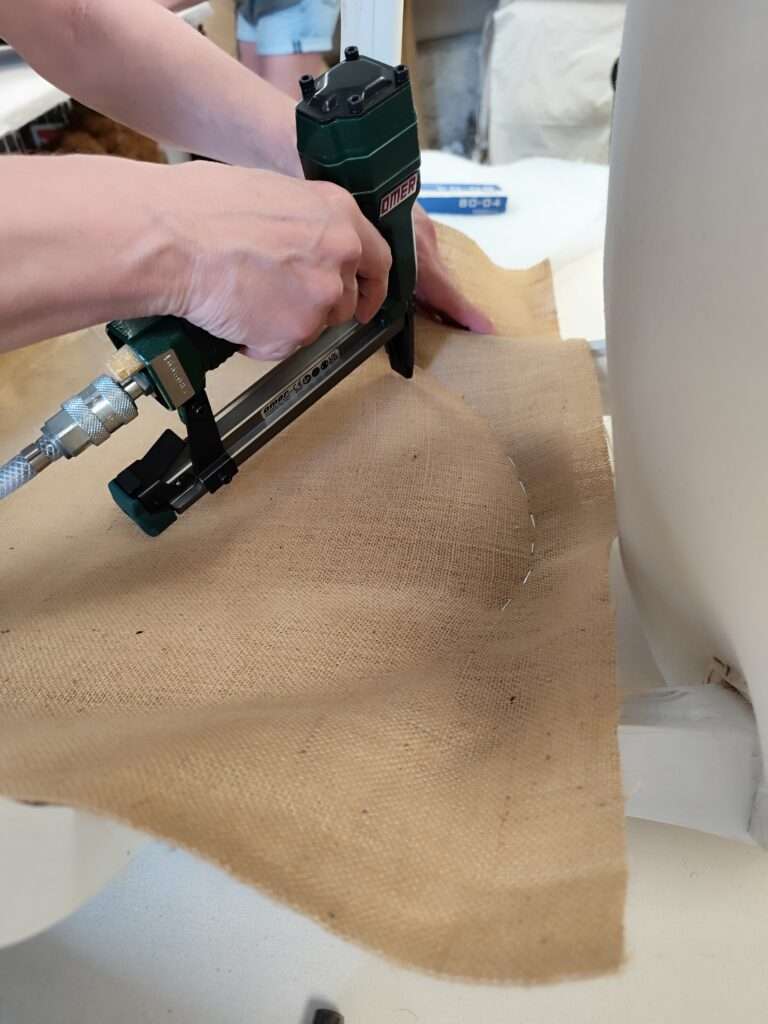
For stripping, you’ll need a ripping chisel or tack lifter, a pair of pliers, and patience. For rebuilding, a good staple gun is your most important investment, followed by the right foam and a fabric you can actually work with. The links below cover each of these without overcomplicating things.
- Which foam for upholstery
- Essential upholstery tools
- Best staple guns for upholstery
- Upholstery materials
- Upholstery suppliers
- Best sewing machines
Understanding materials early will save you time, money, and frustration. A beginner who knows what they’re working with makes better decisions at every step, from sourcing to finishing.
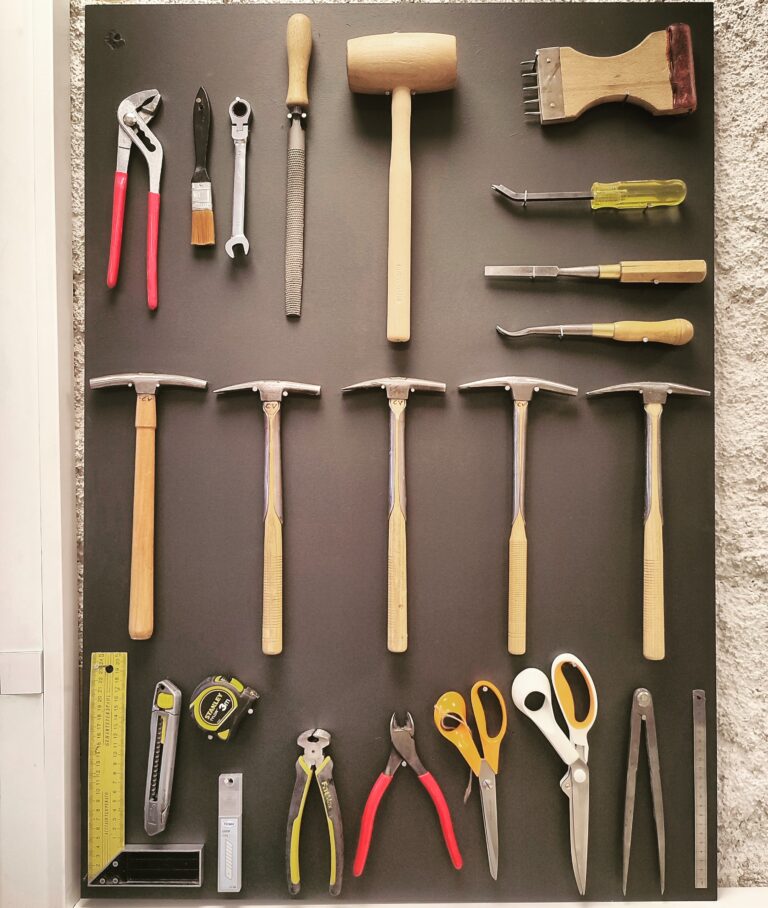
Basic manual tools for upholstery
Guide 1 – Full beginner projects
These tutorials guide you from start to finish. The goal isn’t to collect tutorials. It’s to complete one project cleanly and understand why each step matters. Pick one. Finish it. Then move on.
Each project here teaches something specific. They’re ordered intentionally, from the simplest structure to slightly more complex shapes and techniques. Don’t skip ahead. The habits you build in simple projects are the ones you’ll rely on in every piece you do after this.
How to make a foam pouf
Fast win, foam basics, clean cover. If you’ve never worked with foam before, this is the best possible starting point. No frame to wrestle with, no complex shapes. Just foam, fabric, and learning how to get a taut, even finish.
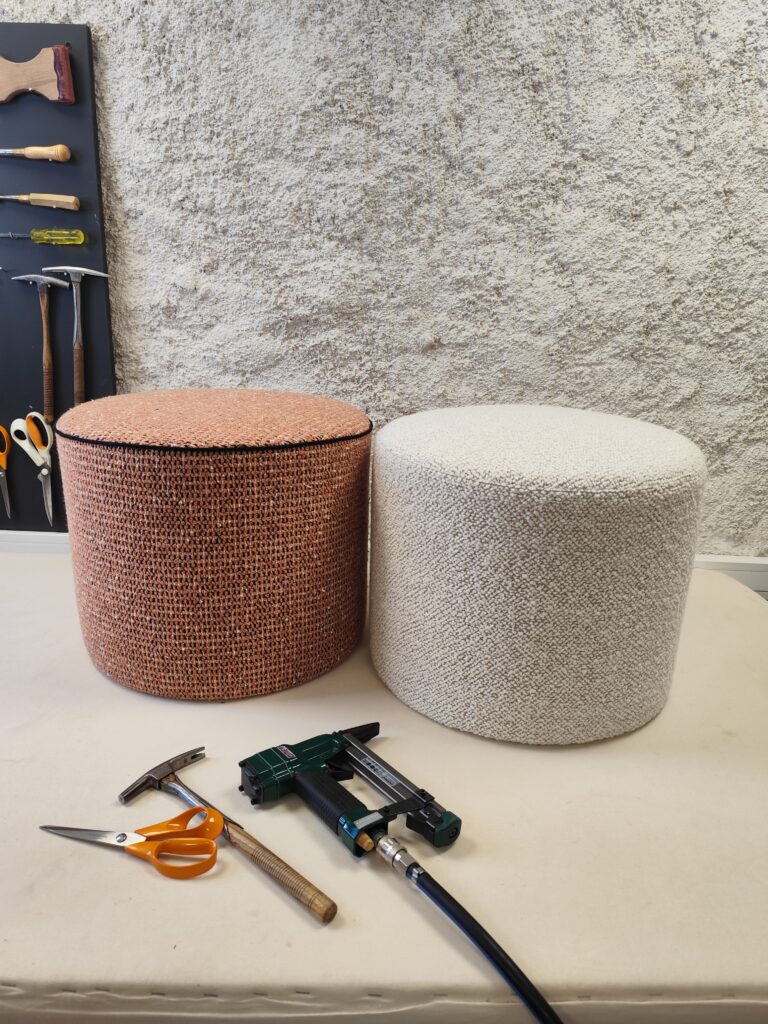
How to make a foam pouf
How to upholster and cover a little chair easily
Fabric tension, staple alignment, clean lines. This small chair project introduces you to the core challenge of upholstery: controlling fabric across a three-dimensional shape. Learn it on a forgiving piece, and it will make every future project easier.
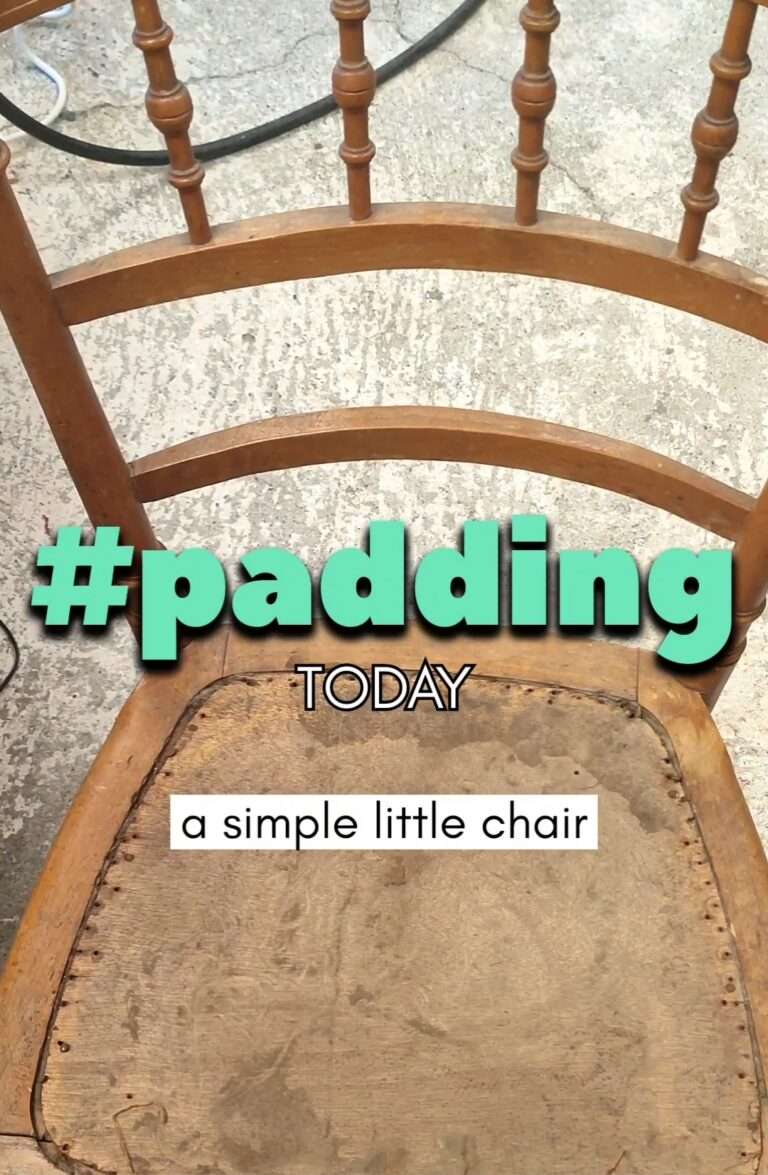
How to upholster this little chair easily
How to upholster a drop-in seat chair
Classic dining chair method, the right order, the right habits. The drop-in seat is arguably the most useful beginner project in all of upholstery. It appears on hundreds of chair styles, it’s forgiving to redo if needed, and it teaches you the exact sequence professionals use on every seat they build.
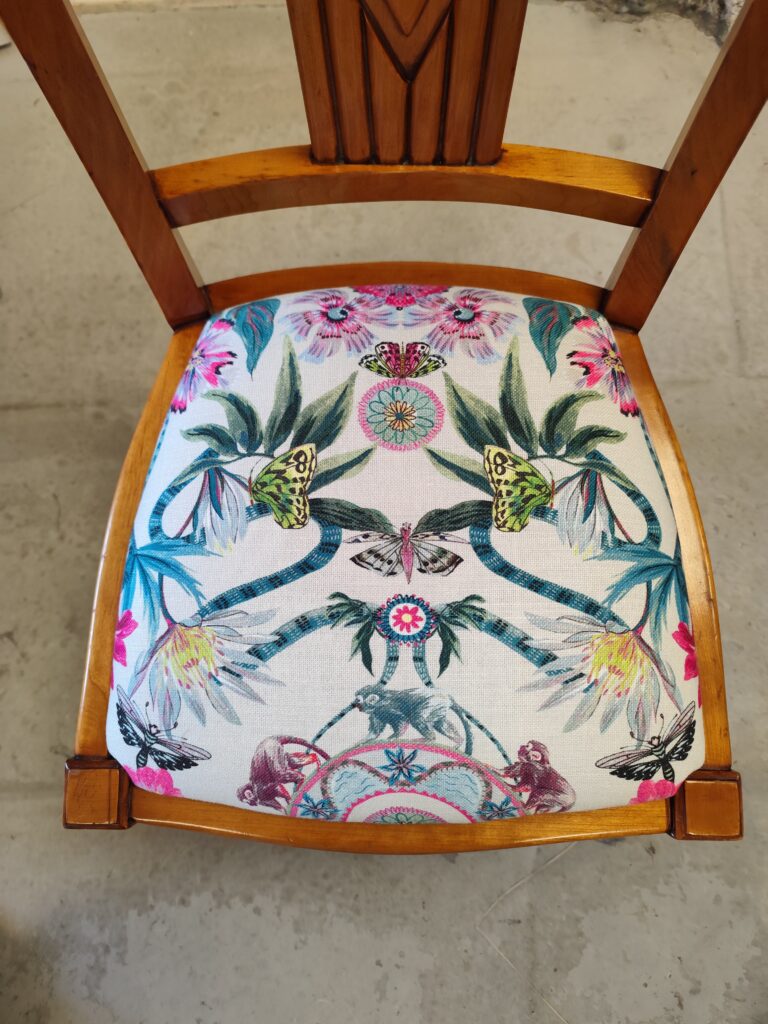
How to reupholster a dining chair seat for beginners (drop-in seat)
These projects teach structure, order, and clean finishing, without overwhelm. They’re not there to impress you. They’re there to make you capable.
How to upholster a modern bridge chair step by step
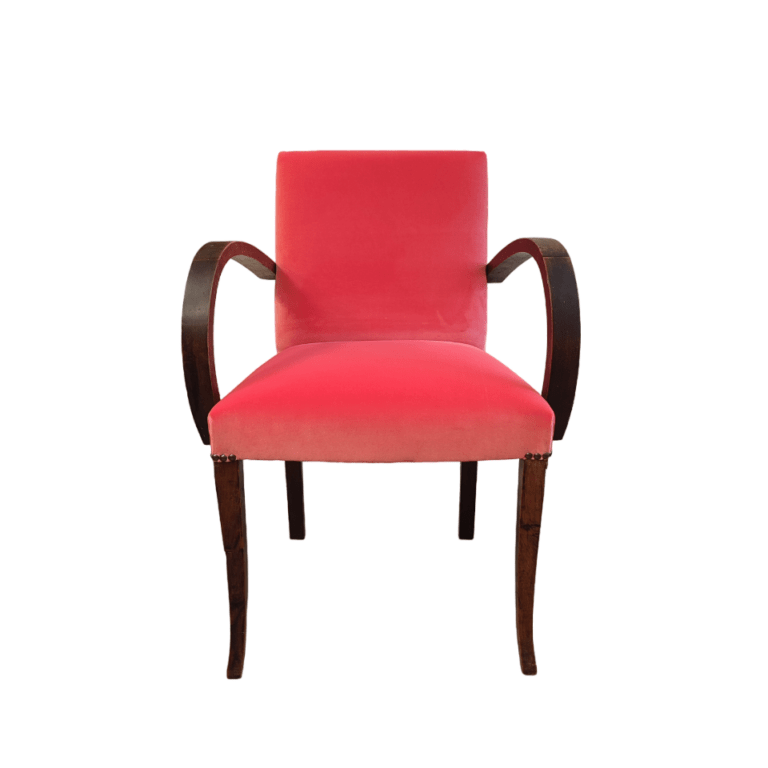
Bridge Chairs Upholstery Tutorials
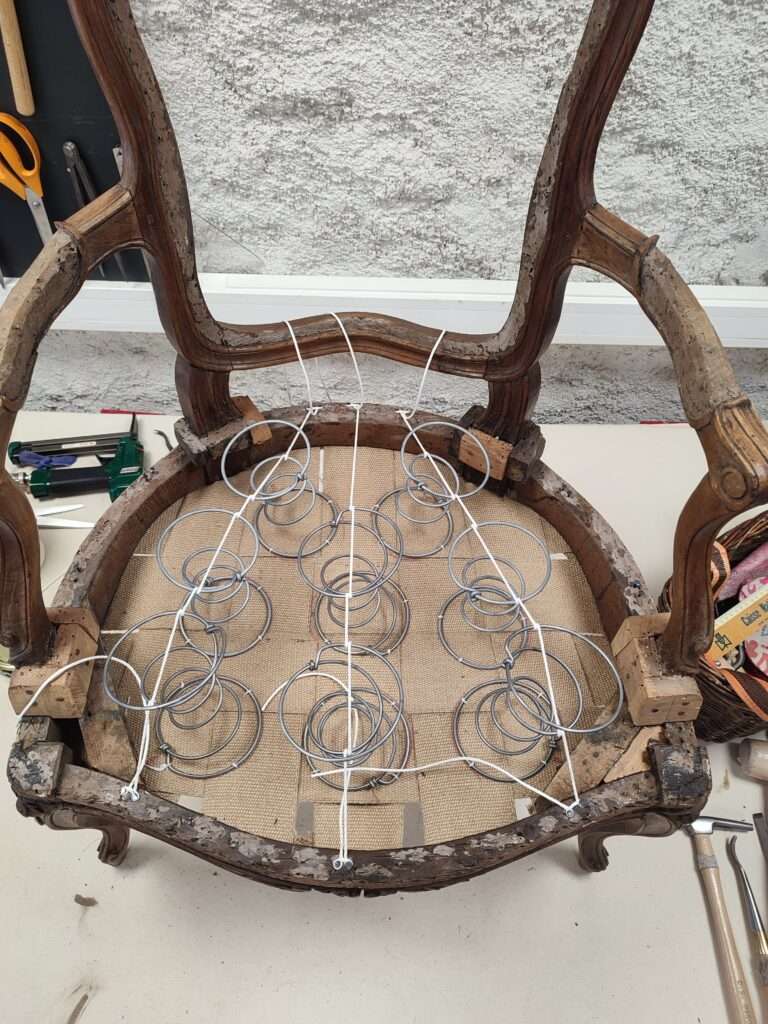
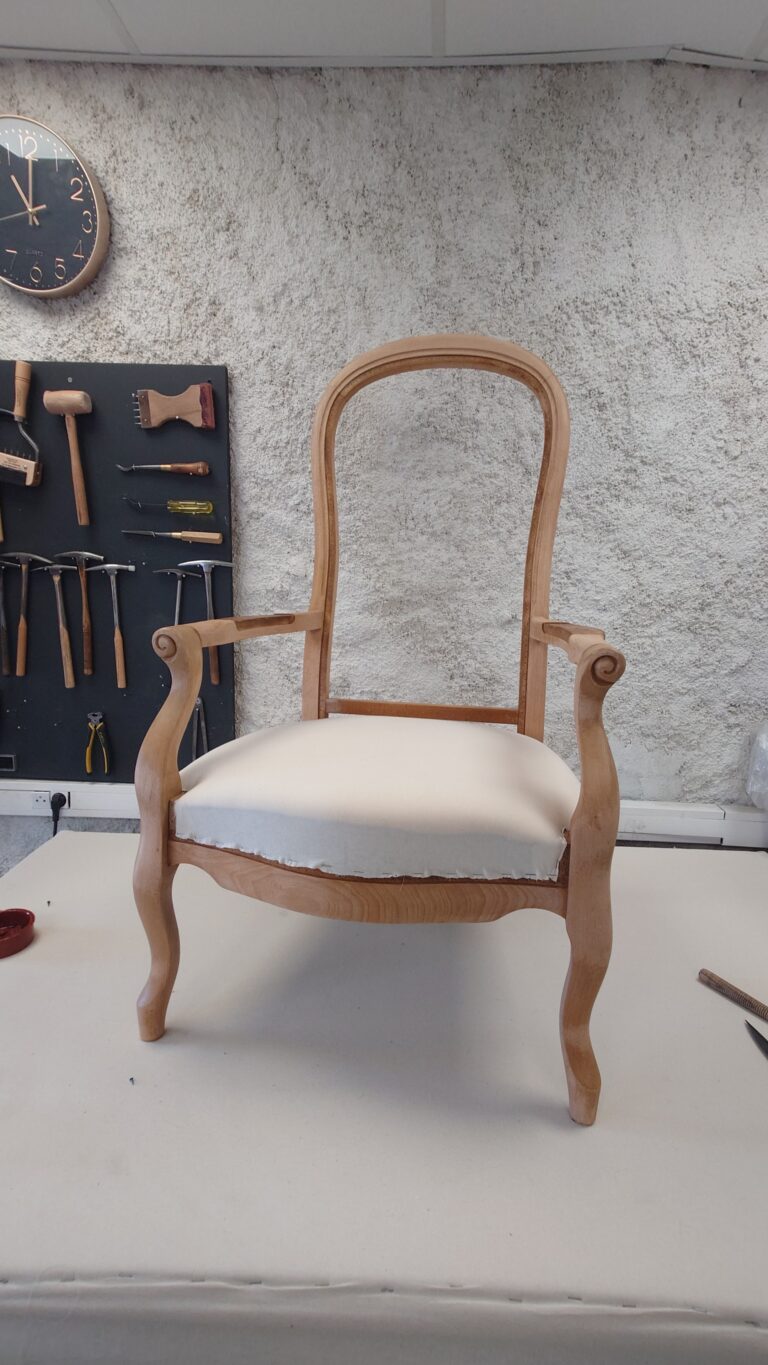
How to upholster a cabriolet armchair (sprung seat)
This is the project that bridges Guide 1 and everything that comes after. A cabriolet armchair, the classic French-style chair with a rounded back and a sprung seat, introduces you to working with springs for the first time in a context that remains manageable. You’ll apply everything learned so far: stripping, preparing the frame, rebuilding a foundation, padding, and covering a more complex shape.
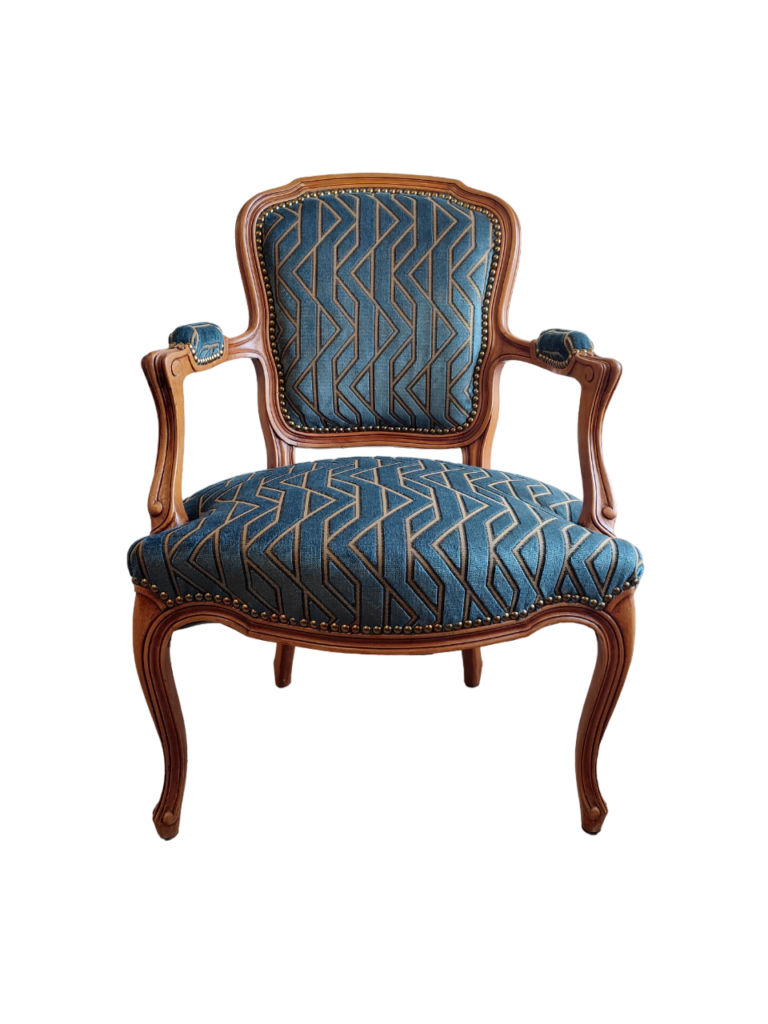
Cabriolet chair upholstery tutorials
How to upholster a Voltaire armchair (without springs)
Step by step tutorials for a high back armchair the french calls “Voltaire armchair”.
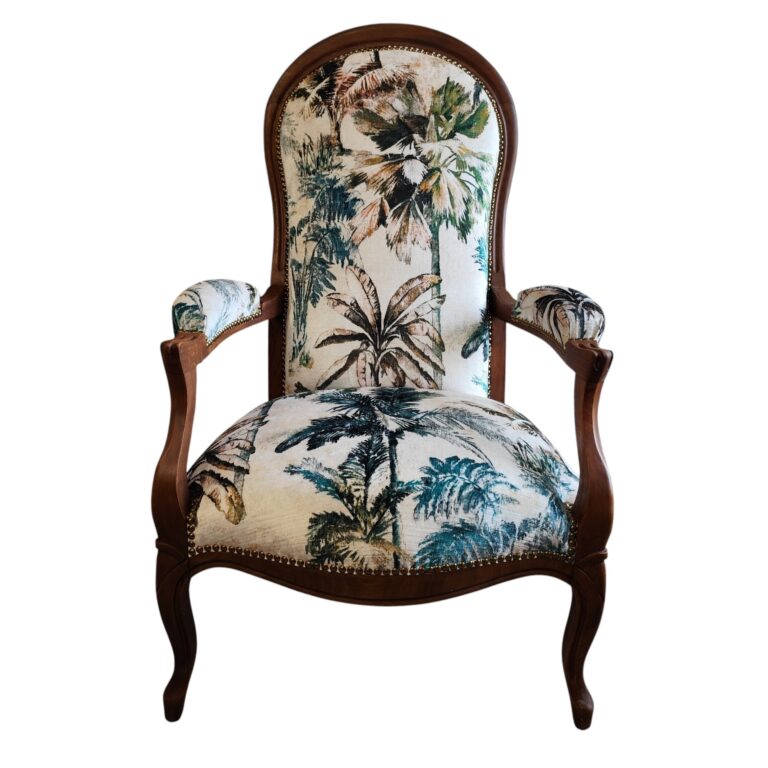
Voltaire Armchair Upholstery: Every Tutorial You Need in One Place
Simple sewing for upholstery
Sewing in upholstery is not fashion sewing. It’s about precision, durability, and understanding volumes. You’re not sewing flat panels together. You’re building three-dimensional shapes that need to hold under tension, sit flush over padding, and last for years.
The good news: you don’t need to be a skilled seamstress. You need to understand a few key principles, practice straight seams, and learn to take accurate templates. That’s it for Guide 1. Everything else builds from there.
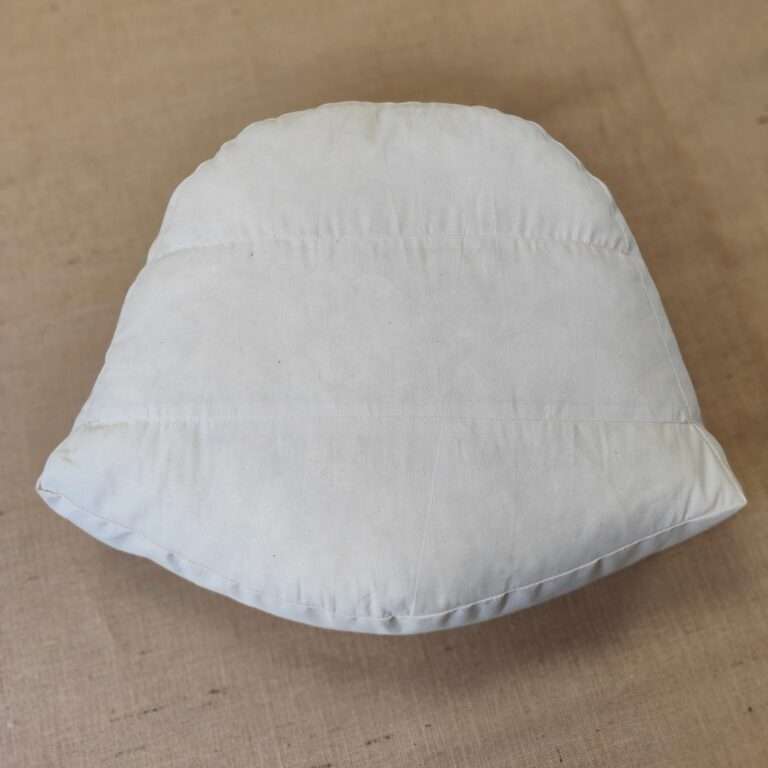
How to sew a simple inside cushion
Stuffing logic, inner structure. The inside cushion is often overlooked, but it’s what determines the final shape and feel of a seat. Getting this right is quiet work that makes a visible difference.
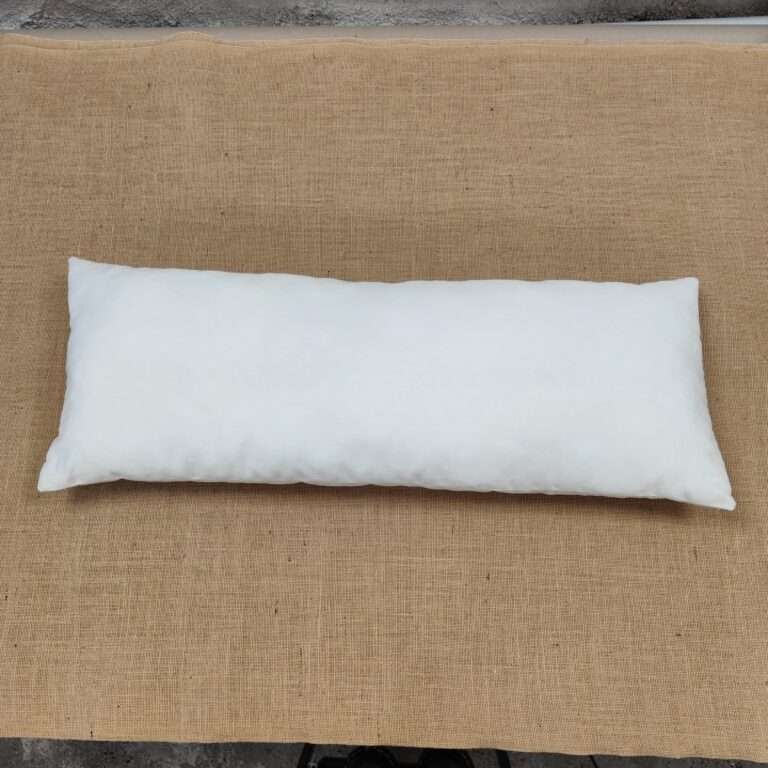
How to sew a simple inside cushion
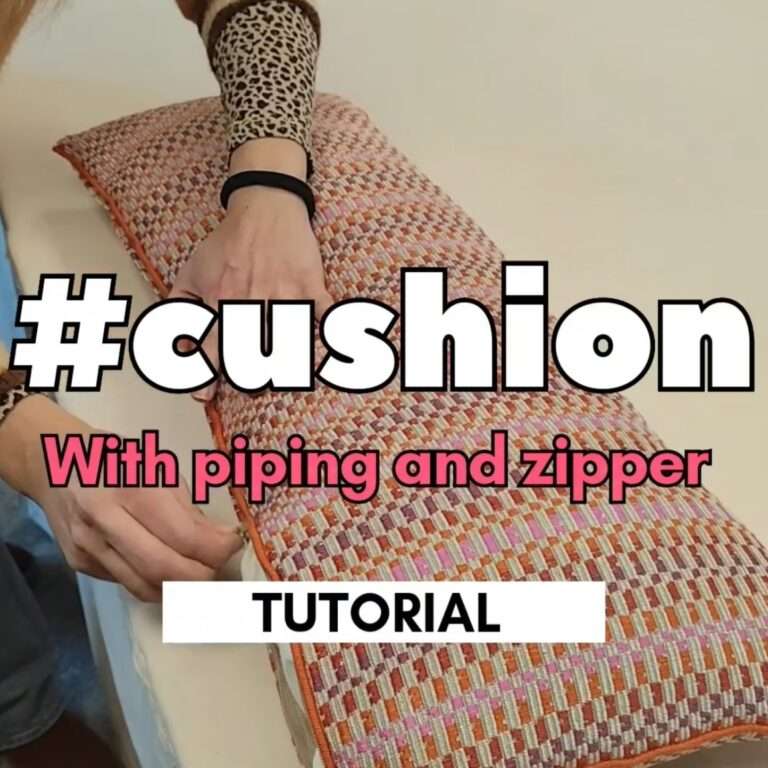
Simple cushion cover tutorial (with a zipper)
Straight sewing, clean corners. A cushion cover with a properly inserted zipper is one of those skills that looks harder than it is, and feels incredibly satisfying once you have it.
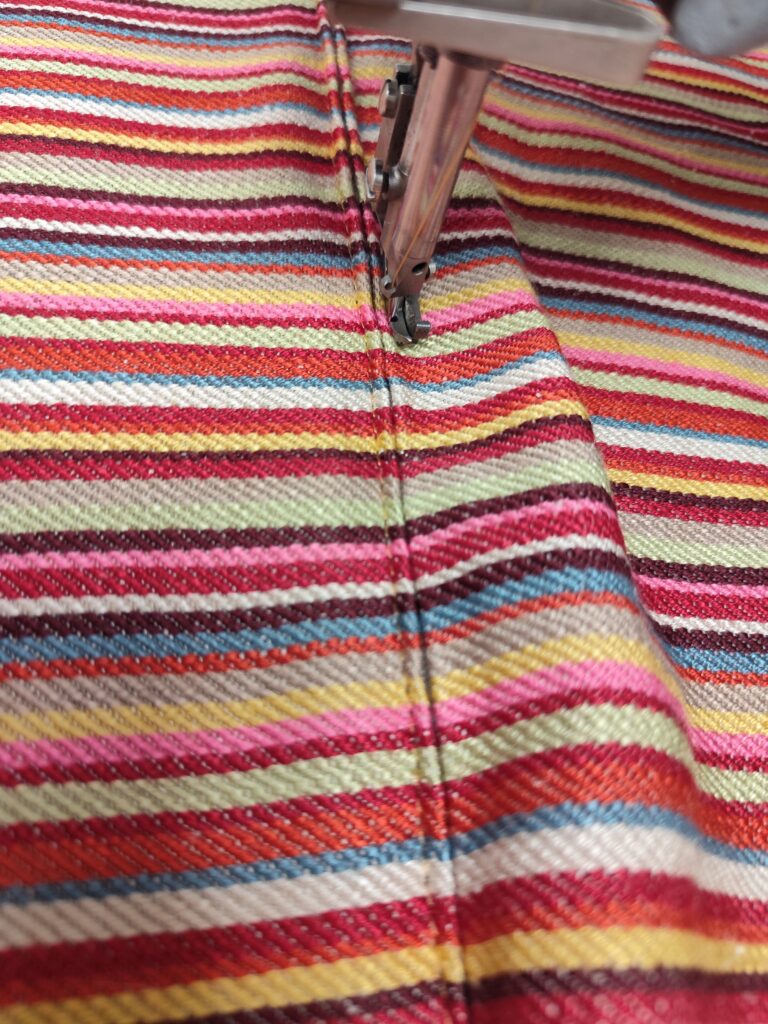
Simple cushion cover tutorial
How to take upholstery templates (patterns for T cushion seat)
Essential before sewing covers. Templates are how professionals guarantee that their fabric fits before they cut it. Once you know how to template properly, you stop guessing and start cutting with confidence.
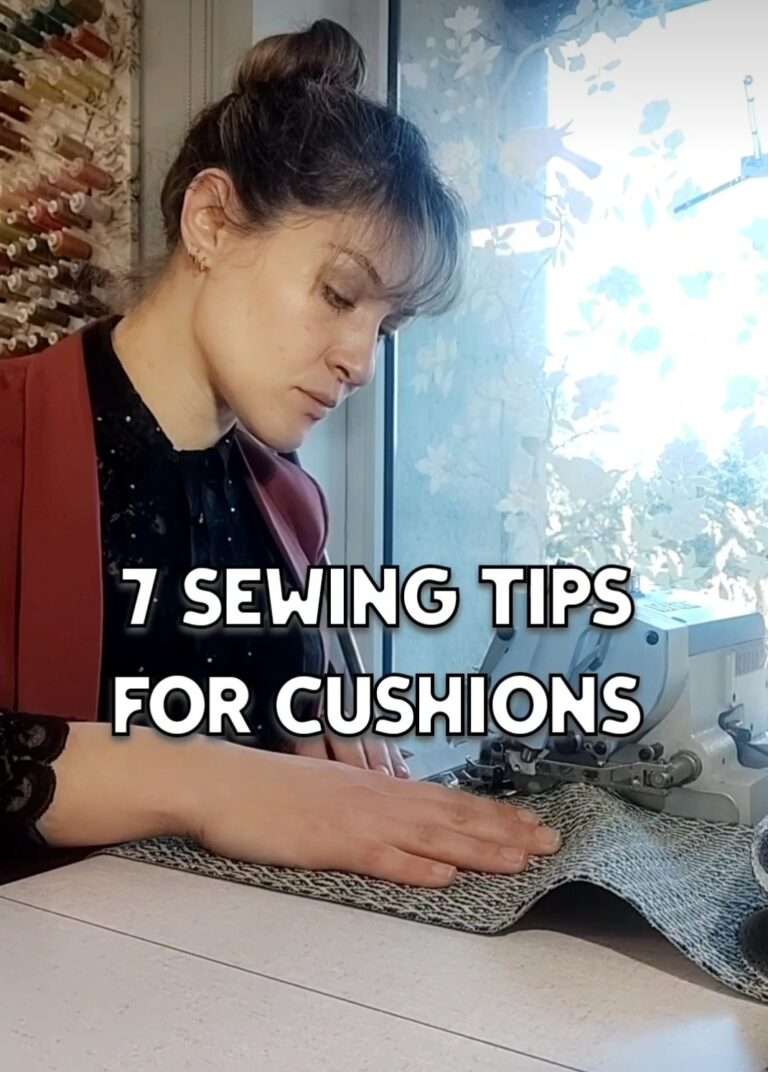
7 SEWING TIPS for professional results
If you understand templates and simple sewing, everything becomes easier later. These aren’t decorative skills. They’re load-bearing ones.
Pro quick tips (small skills that change everything)
Short tutorials you’ll reuse in every project: chairs, cushions, or seats. These aren’t optional extras. They’re the small technical habits that separate a tidy result from a truly professional one. Most beginners skip them. Don’t. Each one takes very little time to learn and will pay off every single time you work on a piece.
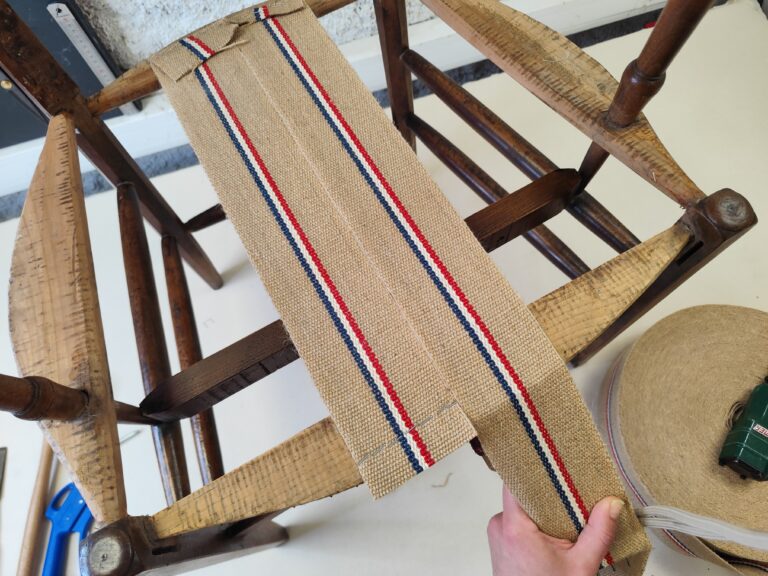
Webbing
Webbing is the foundation of most seats. It’s what everything else sits on, and getting it right makes the difference between a seat that holds and one that sags within a year. Good webbing work is about tension and pattern, not speed. Learn to stretch and fix it correctly once, and you’ll never have to second-guess it again.
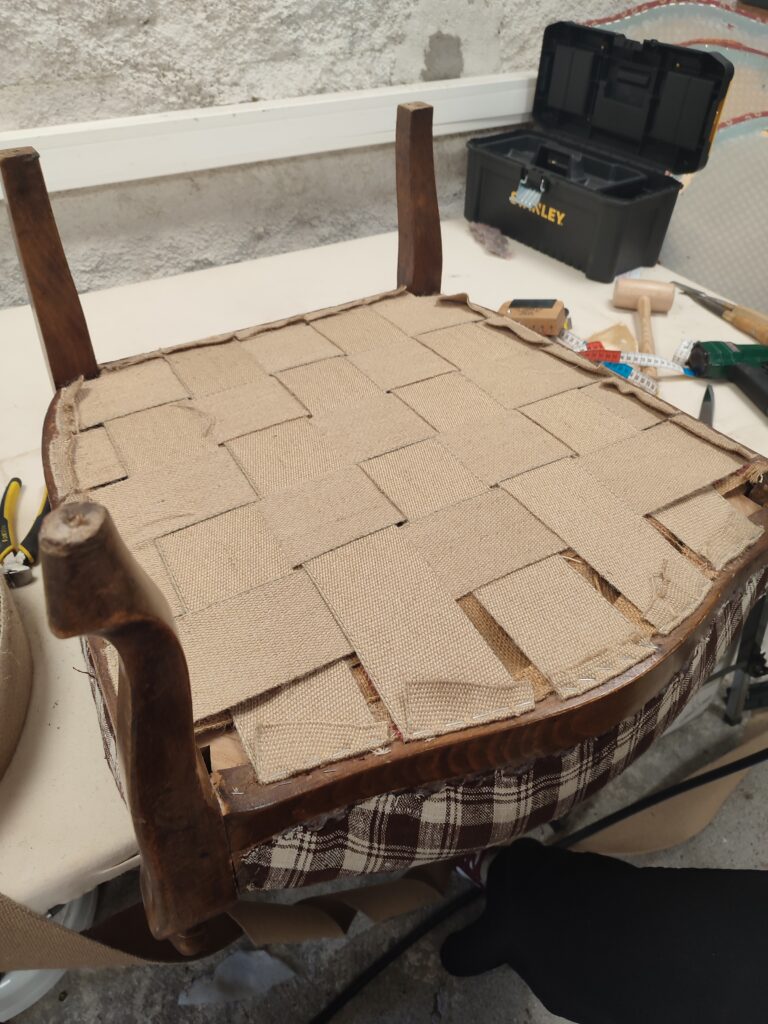
How to plump easily a seat with a new webbing
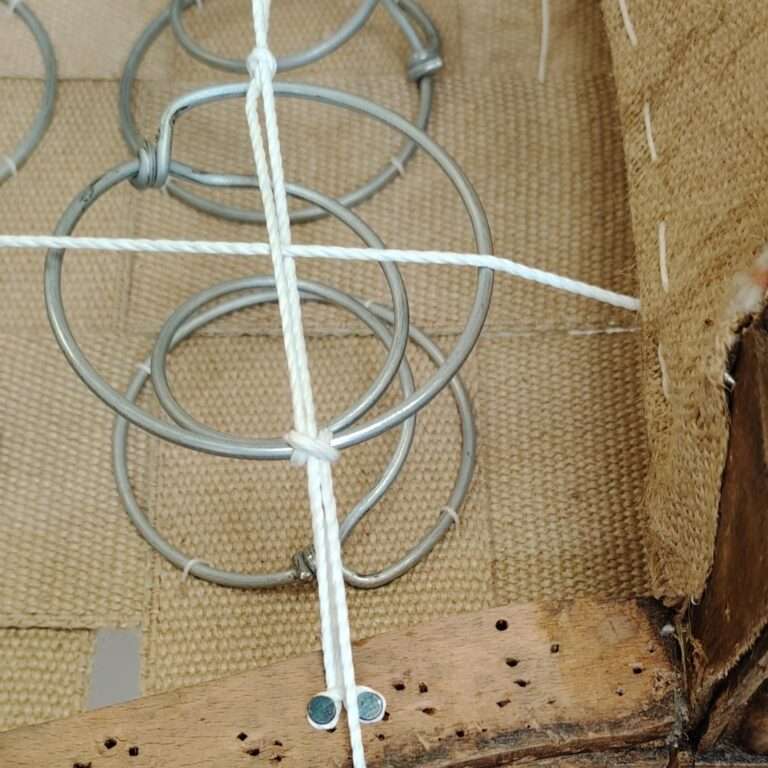
Springs
Springs add comfort and resilience to a seat, but only if they’re set and compressed correctly. An unevenly tied spring deck will rock, squeak, or collapse over time. Understanding how springs work and how to handle them confidently is one of the skills that opens up a whole category of traditional and high-quality furniture to you.
How to compress the springs properly
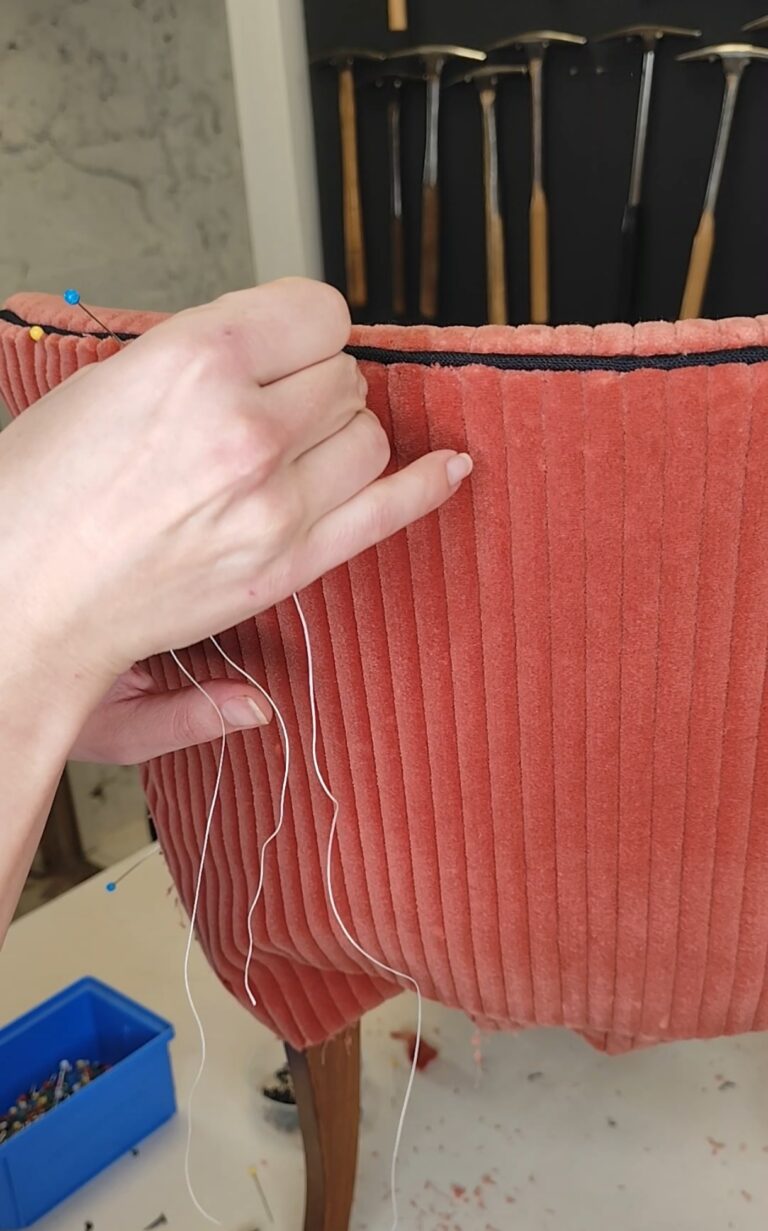
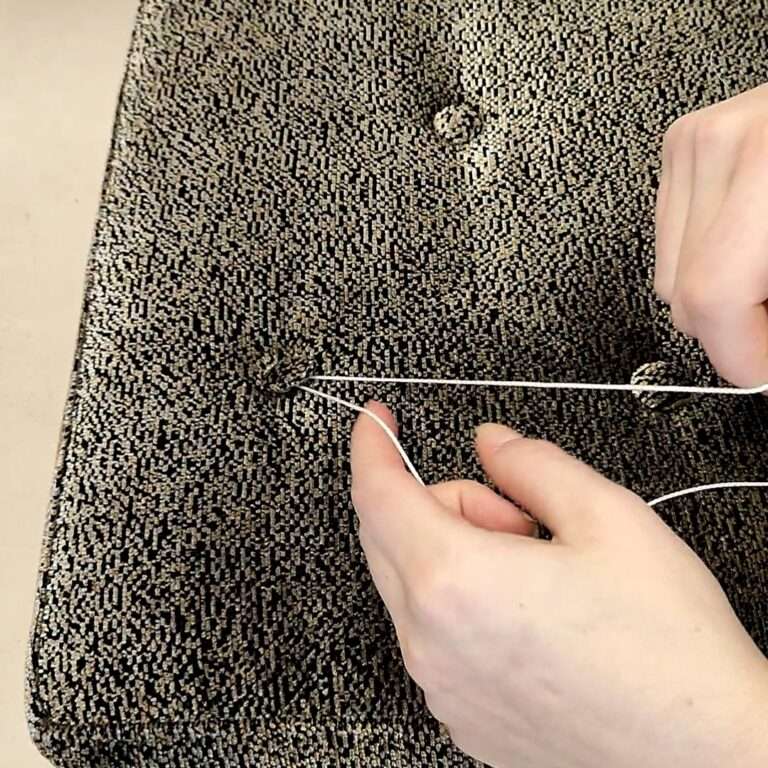
How to handsew in upholstery
Cleaner finishes, useful for cushions and chairs. Hand stitching isn’t a vintage technique. It’s still the best way to close covers invisibly, secure trims precisely, and fix things a machine simply can’t reach. Even five minutes of hand sewing can transform the finish of a piece.
How to HANDSEW
Clove hitch knot, simple knot and other knots used in upholstery work
Essential knots for traditional work. Knots in upholstery aren’t a formality. A wrong knot slips, a right knot holds for decades. These are the three or four knots worth knowing, explained clearly so you can do them reliably every time.
Clove Hitch Knot and simple Knot
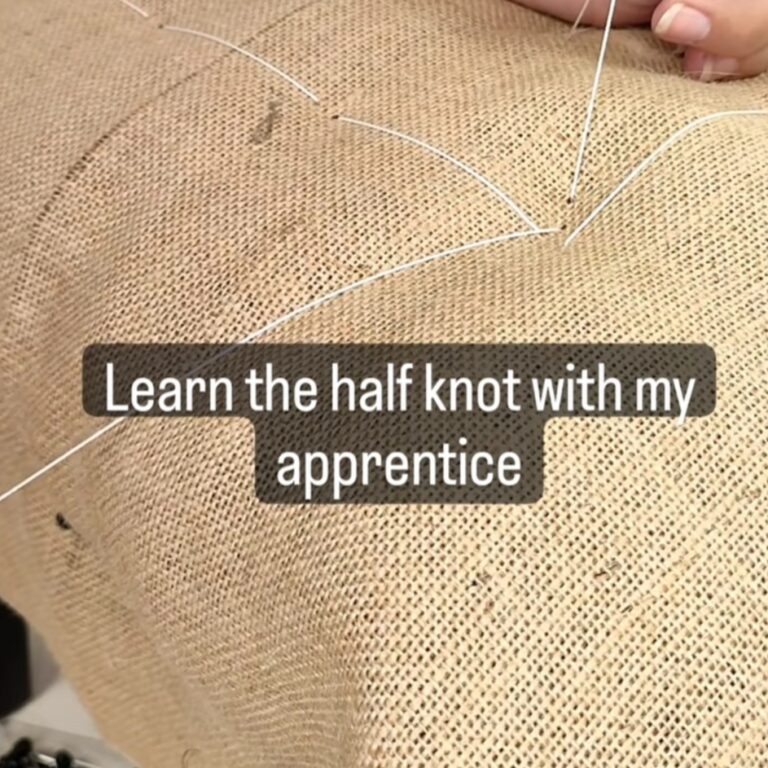
How to do a half knot (slip knot)
What comes after Guide 1?
Once you’ve worked through a first project, the foundation is there. You understand the layers, you’ve handled the tools, and you know how a piece is built from the frame up. That’s real. Now the path splits into two clear next steps.
Guide 2: Core Upholstery Techniques
This is where you stop following a single project and start understanding the logic behind each technical step. Webbing, springs, padding, covering and finishing, each one covered properly, in isolation, so you can apply it to any piece. If Guide 1 is about doing, Guide 2 is about understanding. Go to Guide 2.
How to create a feather seat cushion
Guide 3: Full Upholstery Projects
Once the core techniques are clear, Guide 3 puts them to work on complete pieces: stools, simple chairs, bridge chairs, cabriolet armchairs, bergeres, sofas. Real projects, from start to finish, in order of complexity. This is where everything connects and each technique finally has a place and a purpose. Go to Guide 3.
You don’t rush upholstery. You build skills in the right order. And when you do, the results are consistent, not lucky.
Ready to learn properly?
If you want a clear learning path, professional methods, and no guessing,
Premium is where it starts.
And it’s incredibly affordable.
Your Upholstery Journey in 3 clear guides
Start simple, learn the right techniques, then move to real projects. A clear method, built to last.
Beginners friendly tutorials and tips
Modern Foam Upholstery with a Traditional Shape: Voltaire Armchair SEAT Tutorial
9 Essential tips for starting upholstery
Starting upholstery: safety rules and advice
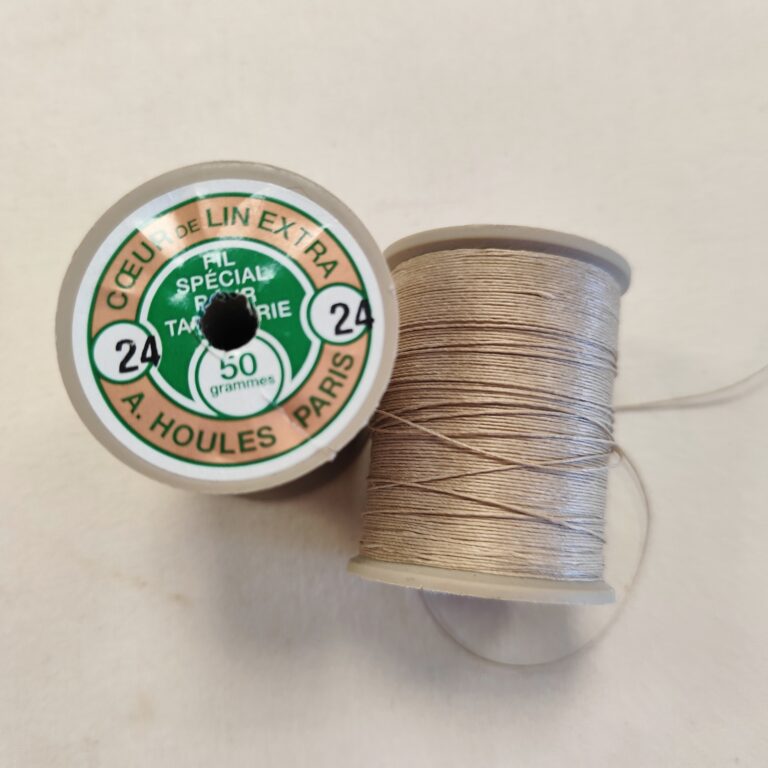
All about thread: What thread to use for upholstery work ?
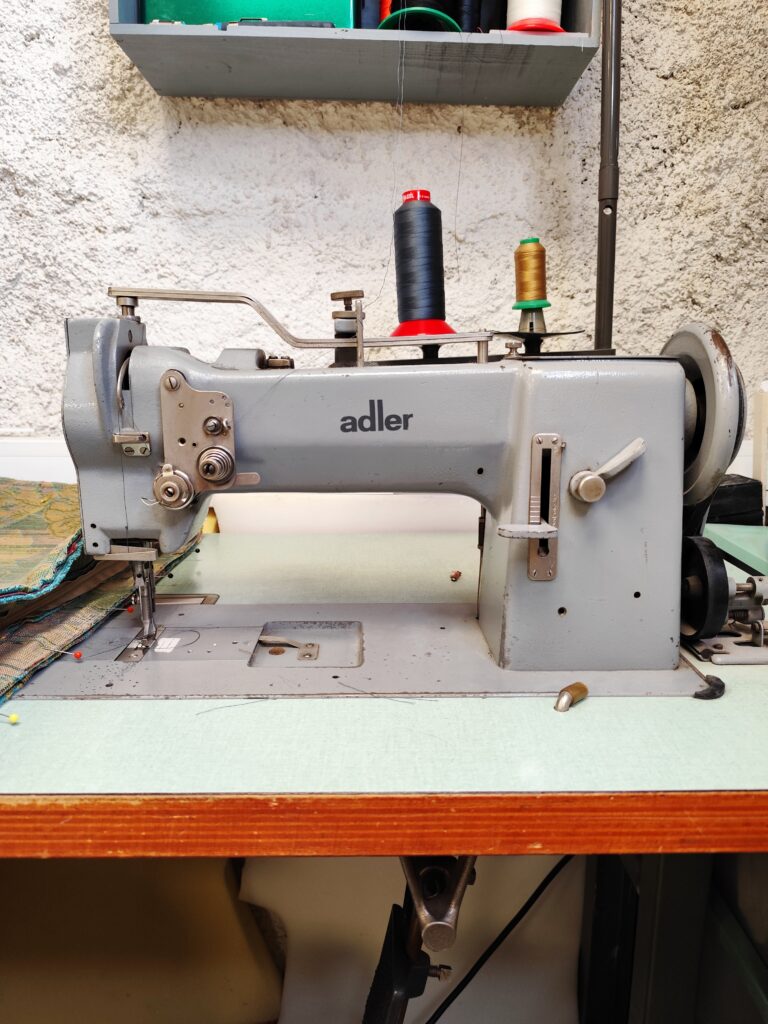
The perfect sewing machine for upholstery work
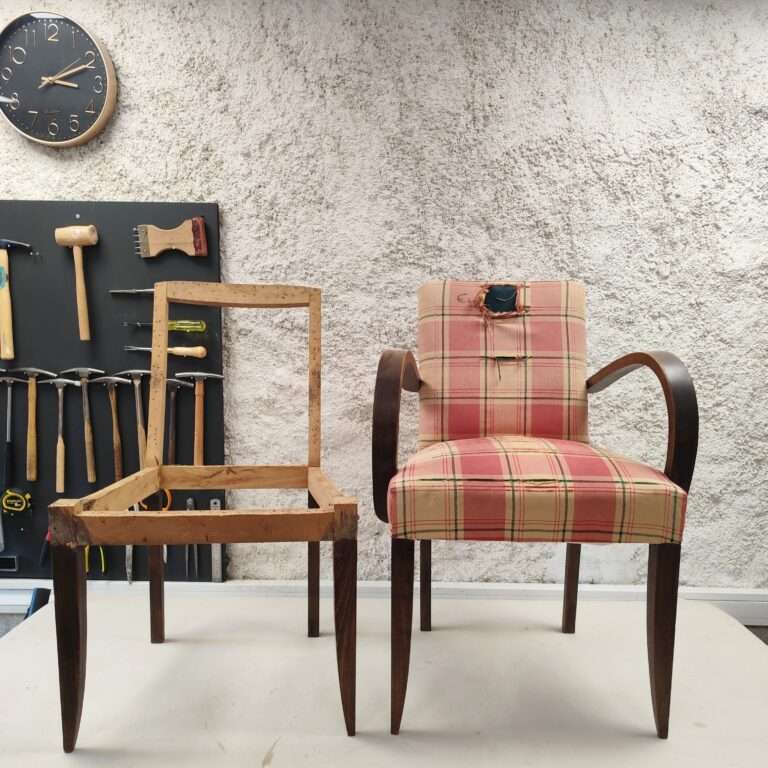
How to upholster a modern “bridge” chair step by step
Suppliers for upholsterers: where to buy upholstery supplies ?
What Type of Upholstery Fabric Should You Choose to Cover a Seat?
How to HANDSEW
Simple cushion cover tutorial
How to sew a simple inside cushion