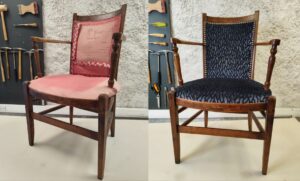
Reupholstering a drop-in seat chair is one of the most rewarding projects in upholstery and for many, it’s the first one that makes you realise just how far a little technique can take you.
It looks simple. And in many ways, it is – compared to a fully sprung armchair or a buttoned headboard. But that simplicity is exactly what makes it the perfect starting point: every decision you make on a drop-in seat, from the type of frame to the way you pull your fabric, teaches you something that will carry through every project that follows.
Simple does not mean approximate. Even on a basic dining chair seat, the difference between a rough DIY result and a clean, professional finish comes down to method, sequence and control. And that is exactly what the premium tutorials on this site are here to teach you.
What is a drop-in seat chair?
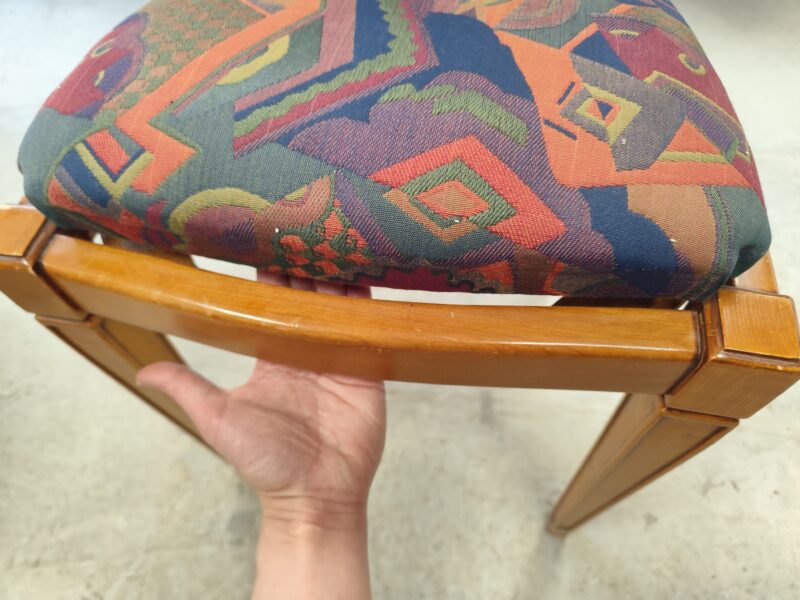
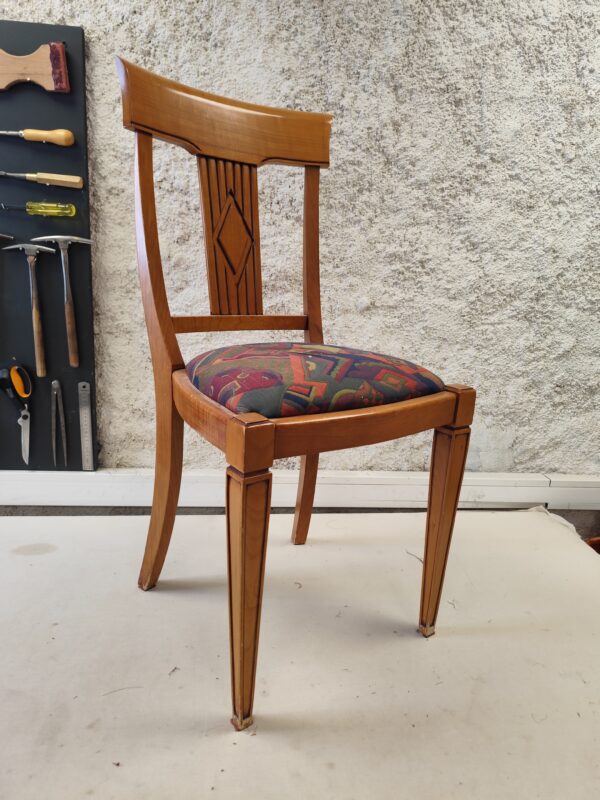
A drop-in seat chair is a chair where the seat is removable and sits inside the frame, rather than being permanently fixed to it. The seat literally drops into the structure of the chair (which is exactly where the name comes from).
You can recognise it easily:
– the seat can be lifted out from the frame
– it is often held from underneath with screws, or simply rests inside grooves
– the chair structure and the seat are two completely separate elements
This type of construction is extremely common for dining chairs, it makes reupholstery much more accessible, and it means you can work on the seat independently without having to handle the full chair at once.
The two main types of drop-in seat frames
Before you strip a single staple or cut a piece of foam, there is one thing you need to identify: what type of frame are you actually working with? Because not all drop-in seat frames are the same. The type of frame you have will directly determine how you build up your padding.
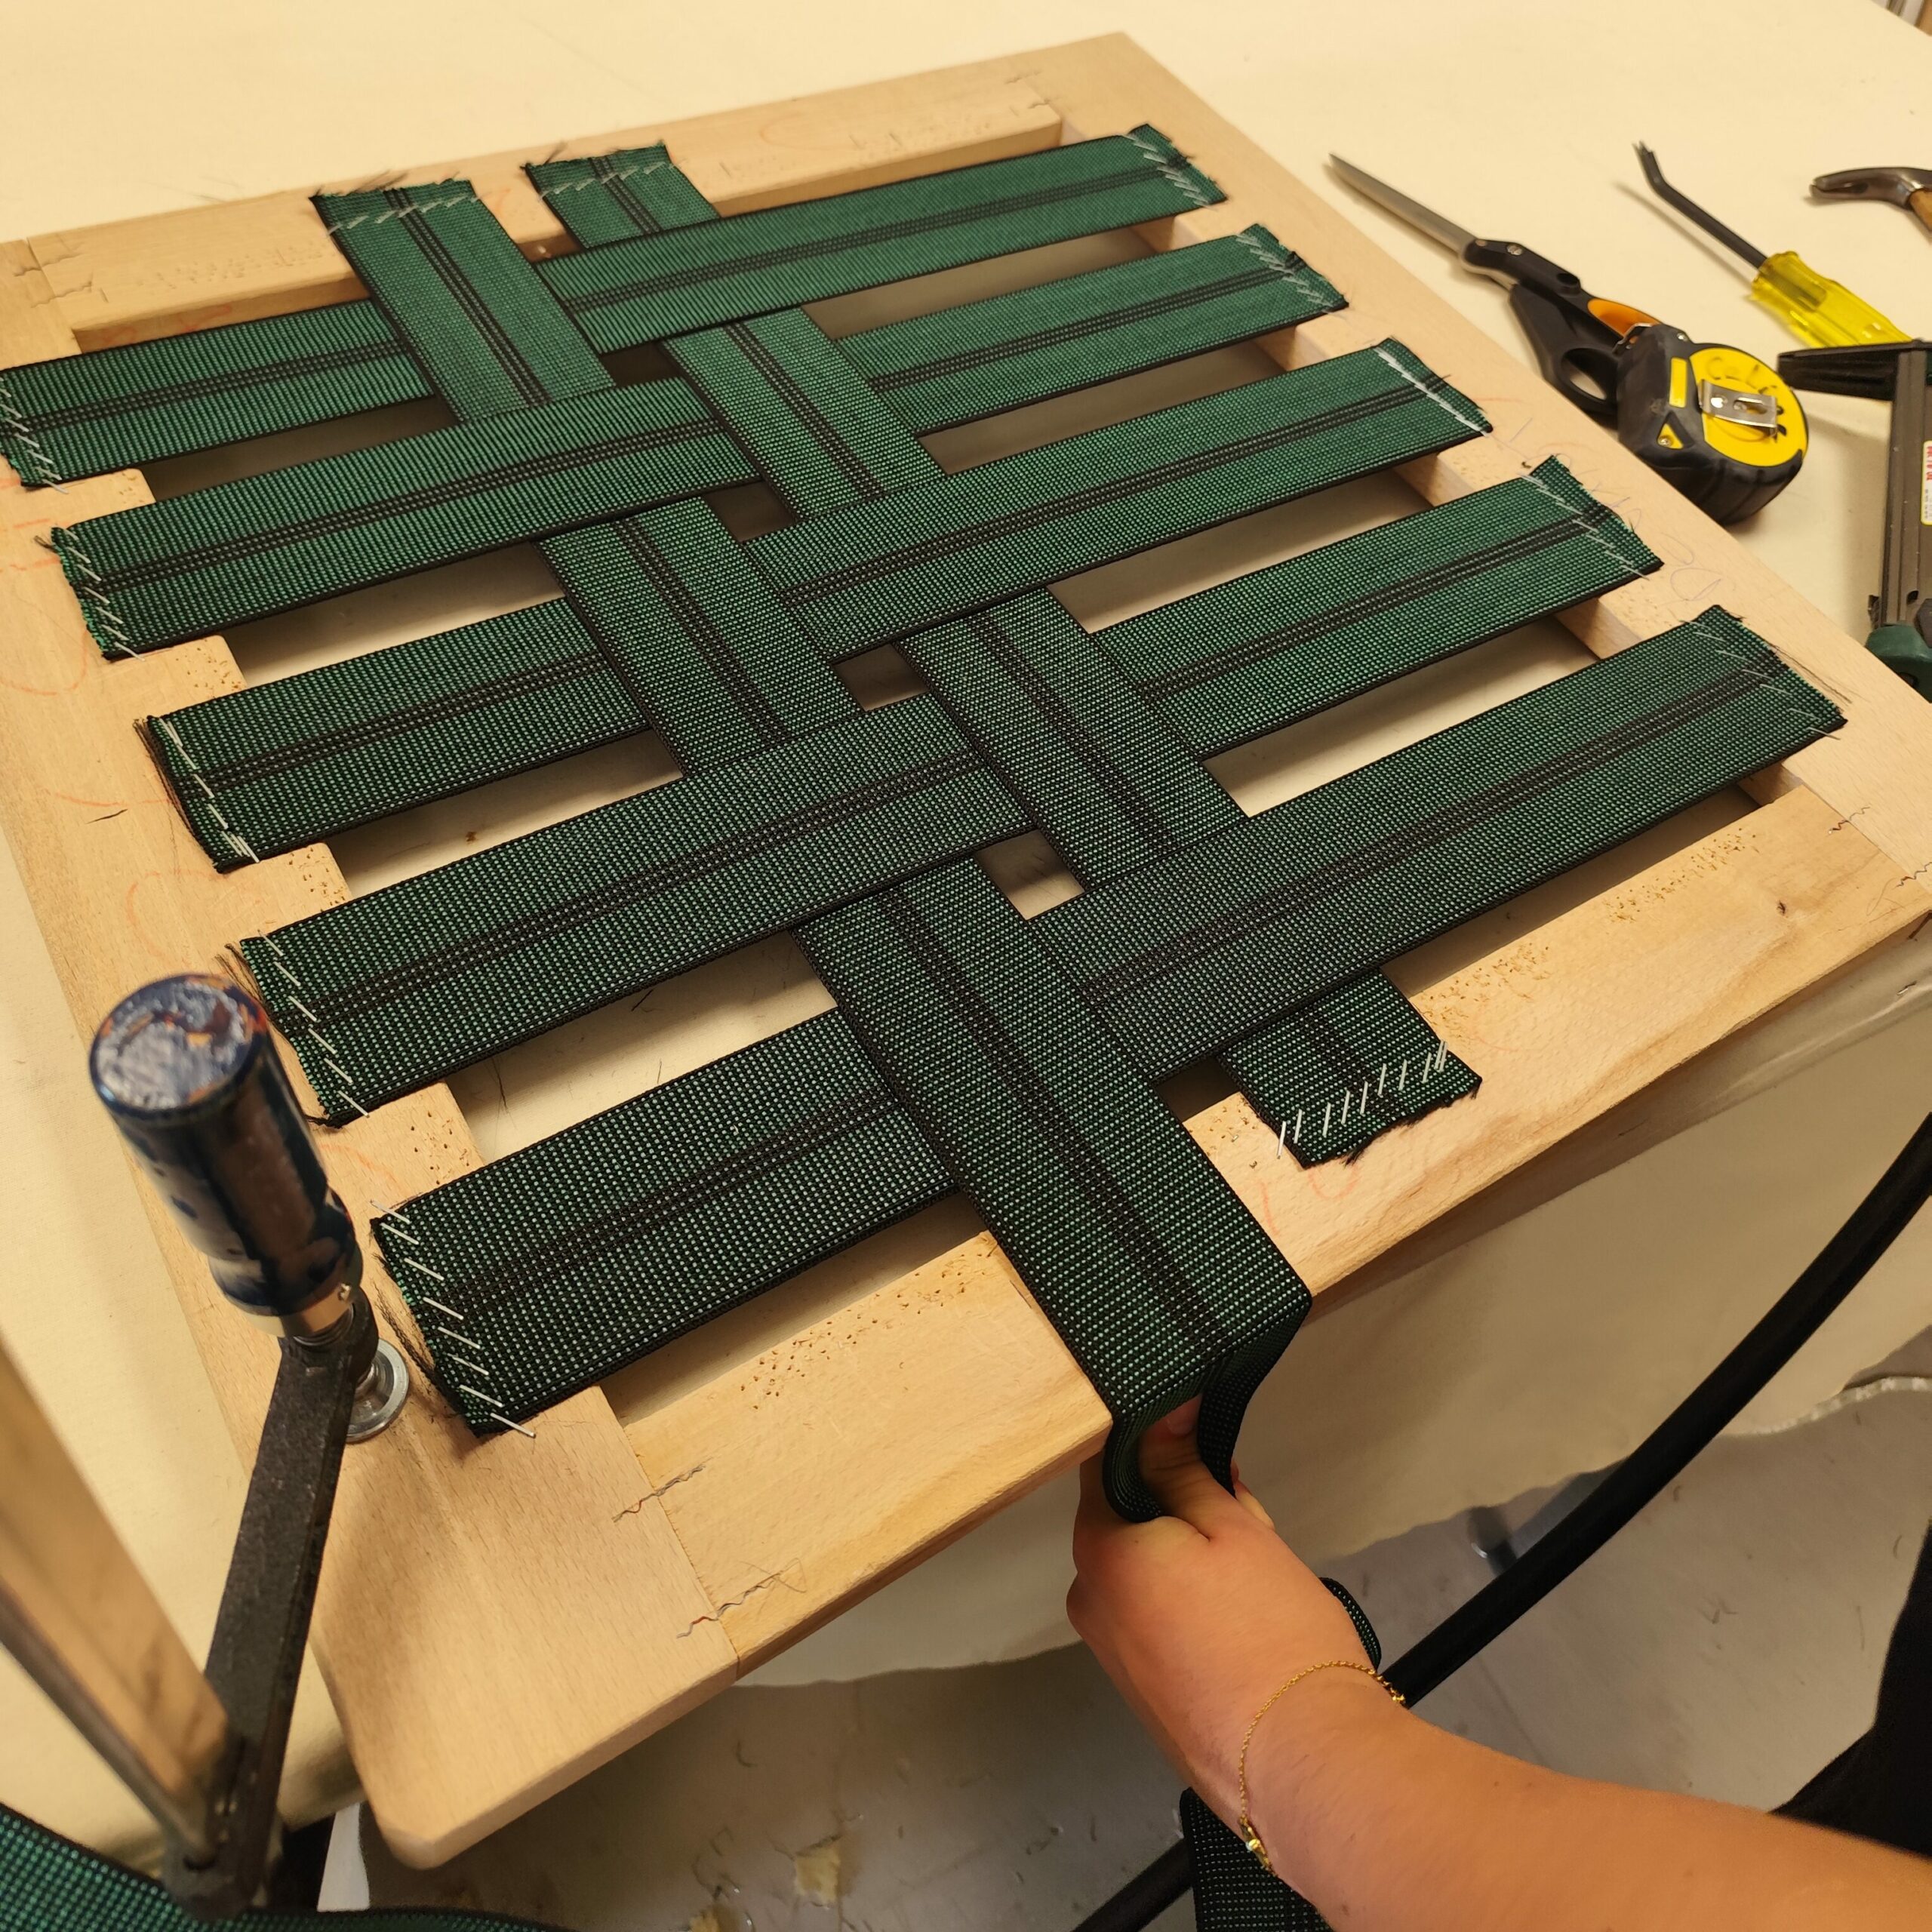
The open frame (webbed frame)
An open frame – sometimes called a webbing frame or sling frame – is exactly what it sounds like: the seat is made of a wooden border, with an open centre. There is no solid base. The frame is essentially a rectangle (or curved shape) of wood with nothing in the middle.
In this case, webbing is not optional – it is the foundation of everything. Without it, your foam and fabric have nothing to sit on. The webbing creates the support base that will carry the weight of whoever sits on the chair. It can be done with jute webbing (the traditional approach, interlaced and tacked) or with elastic webbing (a more modern method, faster to apply and naturally springy).
Both work well – but they require different tools, different techniques and different levels of tension. Choosing the wrong one, or applying it incorrectly, will affect both the comfort and the longevity of your seat.
The solid frame (plywood or solid wood base)
A solid frame is a drop-in seat with a full wooden base usually plywood or solid wood that covers the entire surface. No gaps, no open centre. This type of frame is the most common on mass-produced dining chairs.
No webbing is needed here. You can go straight to padding. However, there is one important detail that many beginners overlook: ventilation. When you place foam directly on a solid base and then cover it tightly with fabric, you can trap air underneath which creates pressure, affects comfort, and can even cause the foam to deteriorate faster over time.
The solution is simple: drill one or two holes through the wooden base before you start. These small holes allow air to circulate freely under the foam, preventing compression build-up every time someone sits down. It takes thirty seconds and makes a real difference in both feel and durability.
It is a small detail but it is exactly the kind of thing that separates a well-built seat from one that starts to feel flat or unpleasant after a few months of use.
1. Stripping
Just the fabric, or everything?
It depends on the condition of your seat. Sometimes you can keep the existing padding but most of the time, older chairs hide compressed materials, accumulated dust, or multiple uneven layers stacked on top of each other over the decades.
Stripping everything back to the bare wooden frame often gives you a much cleaner, more controlled result. It also gives you a clear picture of what you are actually working with – the type of frame, its condition, and what it will need. Stripping staples is not an easy job but if you get the right tools and techniques you will get there.
2. Padding
Webbing or not?
Now that you know your frame type, the answer becomes obvious. Open frame? Webbing is essential it is your base. Solid frame? Skip the webbing, go straight to foam, and remember to drill those ventilation holes first.
The goal is always the same: build a stable, comfortable, well-supported base before you add a single layer of foam or fibre. Rushing this step is the most common reason drop-in seats end up feeling flat or looking uneven after just a few months.
Once your base is solid, it is time to think about padding. At a minimum, replacing the top layer of wadding under the fabric will already make a visible difference in the final result. But for a truly well-built seat, you need to think about the full padding stack.
The main options are:
Webbing + foam (or foam on a solid base)
This is the most accessible approach for beginners, and the one used on the vast majority of modern dining chairs. Foam is easy to cut, easy to glue, and gives a clean, consistent result. The density and thickness of the foam will determine the comfort level of the finished seat. Choosing the right foam is something one of the upholsterer’s skills.
Webbing + natural fibres
This is the traditional upholstery approach, using layers of natural materials such as horsehair, cotton felt and curled fibre. It produces a beautiful, breathable seat with a softer, more nuanced feel than foam — but it requires more control, more patience, and a solid understanding of how the layers interact. It is not the starting point for a complete beginner, but it is an incredibly satisfying technique to learn once you have the basics down.
At this stage, the most important thing is not to do everything at once: it is to understand which method suits your frame, your materials and your current level.
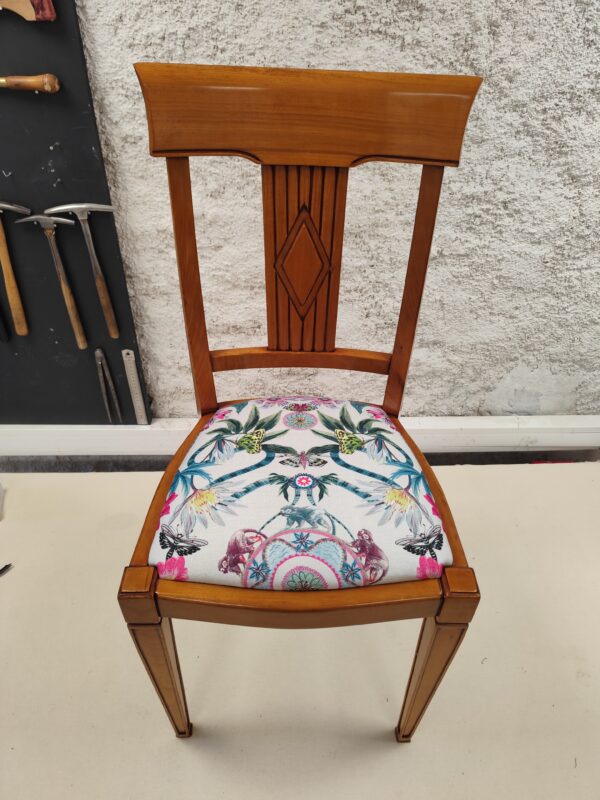
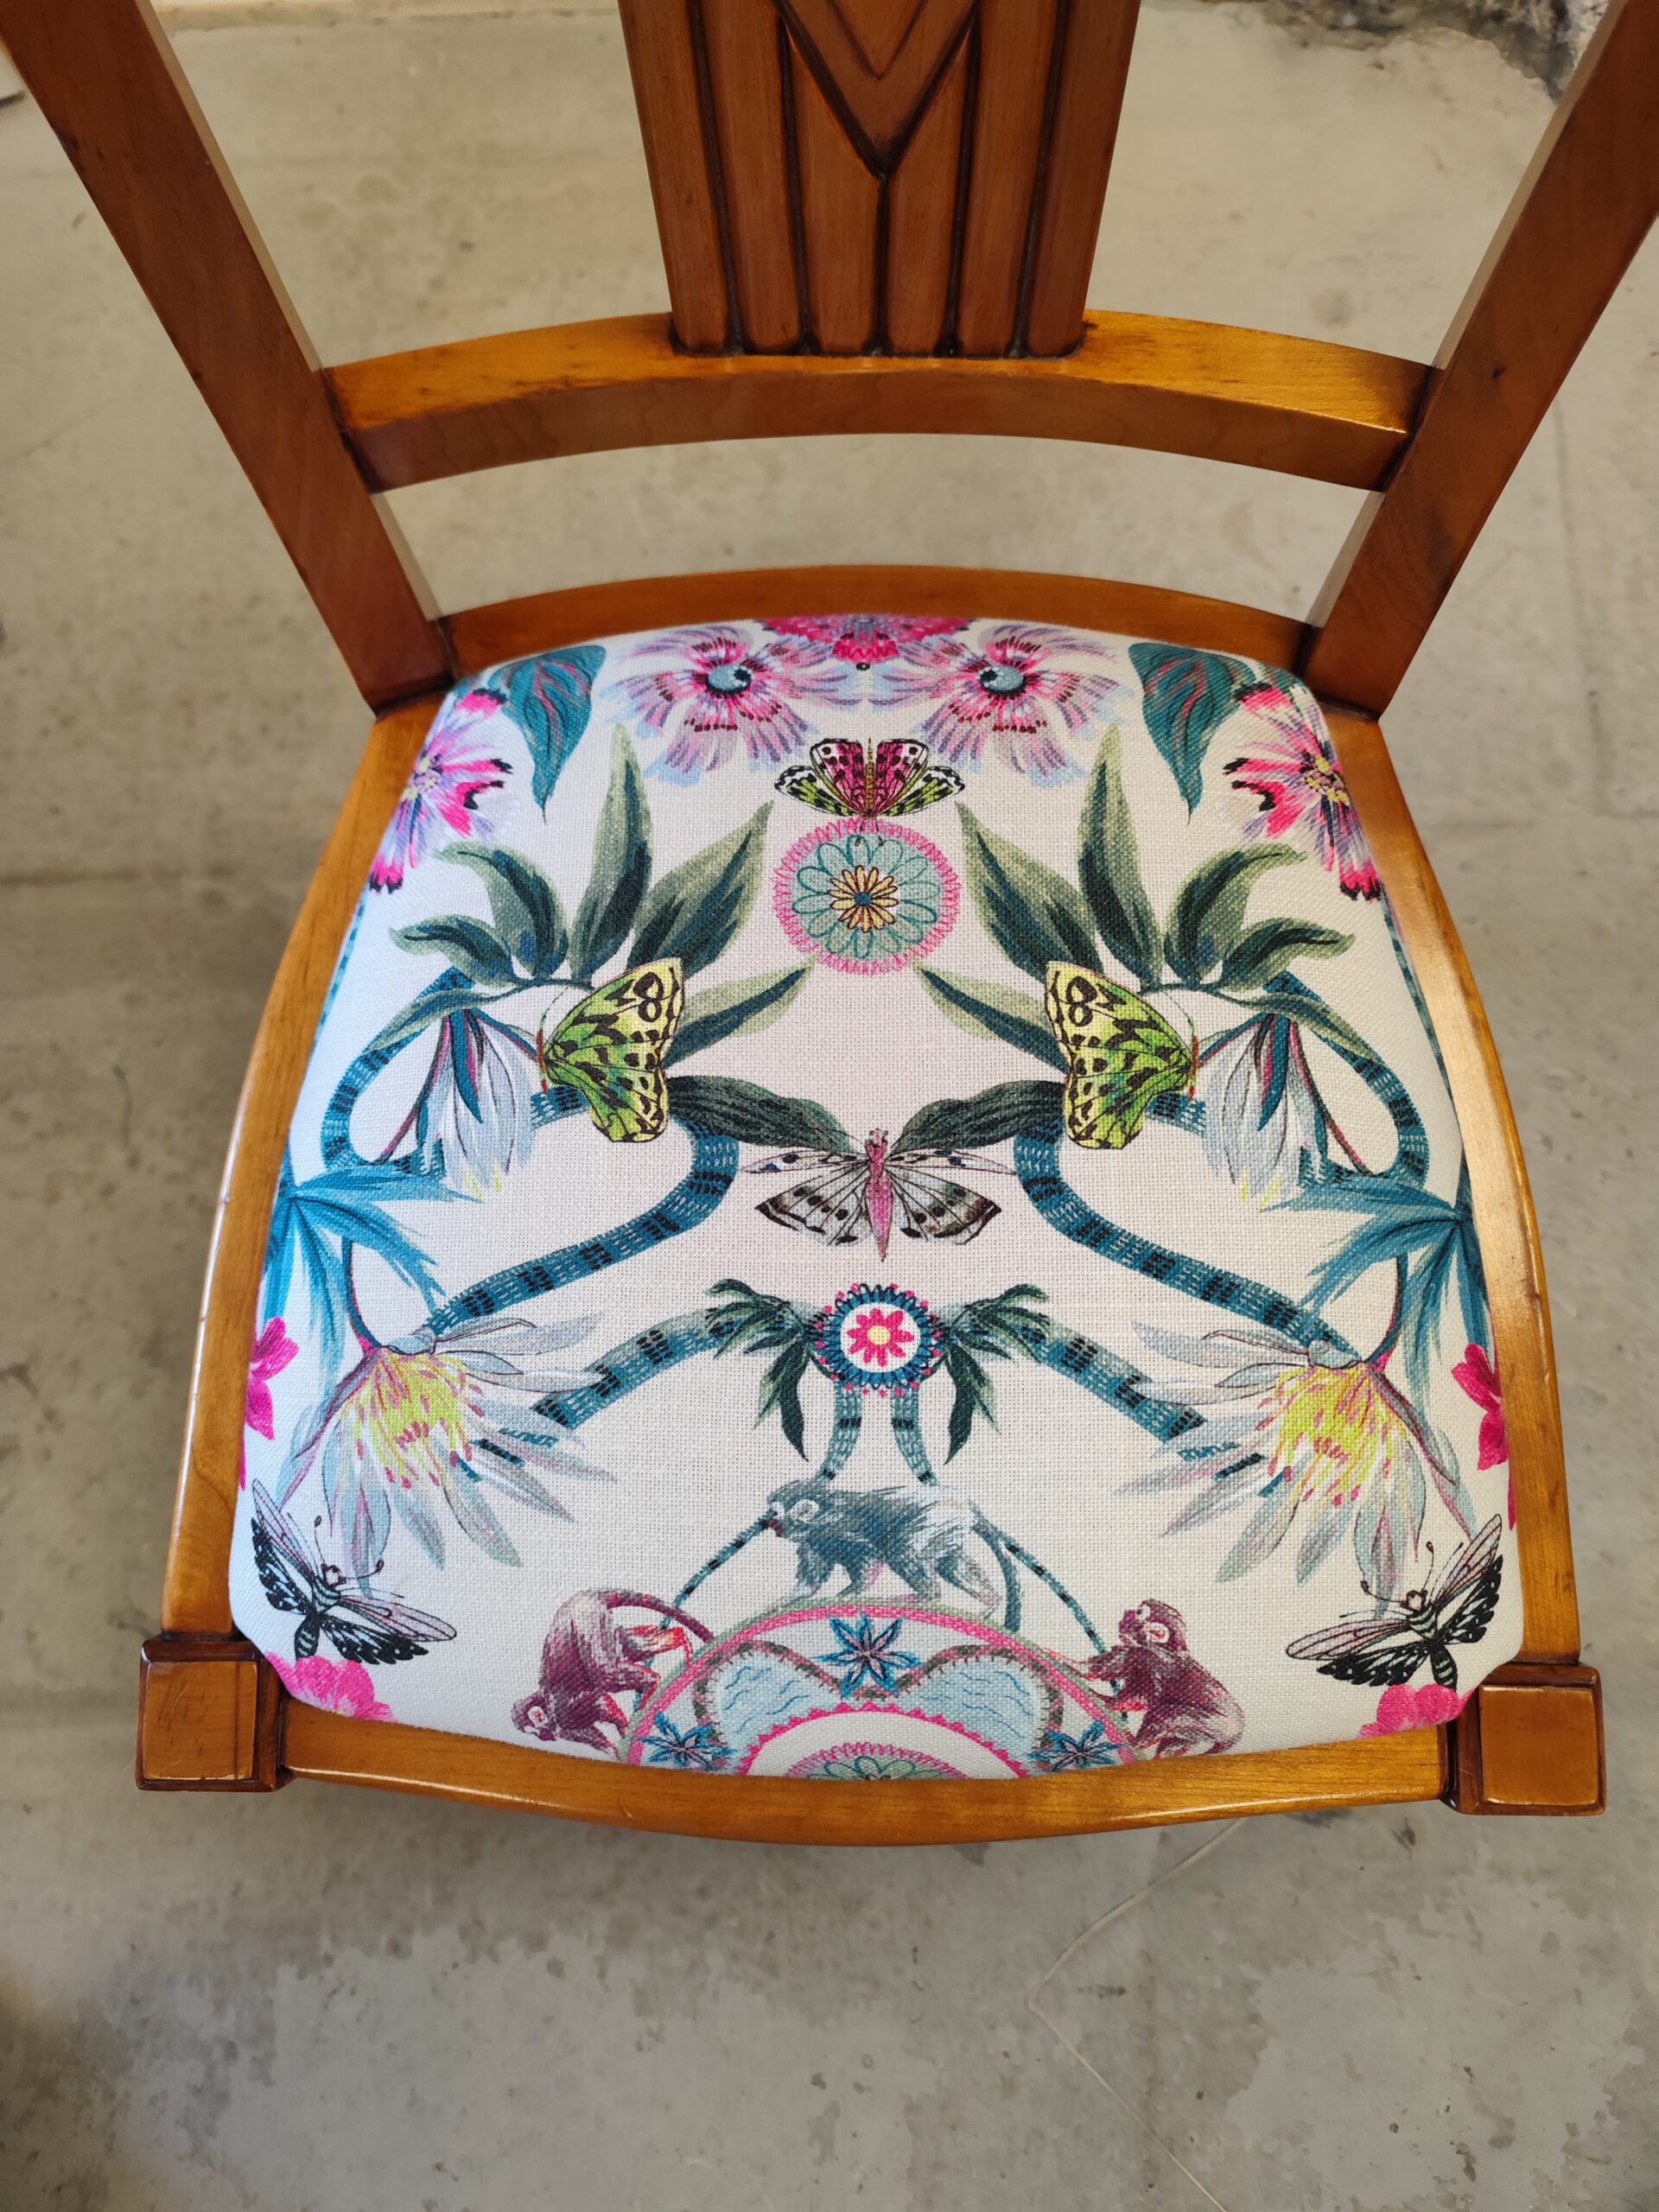
3. Covering
This is where the final result really takes shape and where the gap between a beginner and someone who has learned the right technique becomes immediately visible.
Covering is not about stapling fabric as fast as possible. It is about controlling tension, working in the right sequence, and understanding how the fabric will behave as you pull it. The technique of temporary tacking -placing tacks or staples loosely before committing to the final position – is one of the most important habits you can build. Unfortunately, this also the one most beginners skip entirely.
This is also where most people struggle. Small mistakes at the covering stage – slightly uneven tension, a corner pulled at the wrong angle – lead to wrinkles, distorted shapes and a finish that looks handmade in the wrong sense of the word.
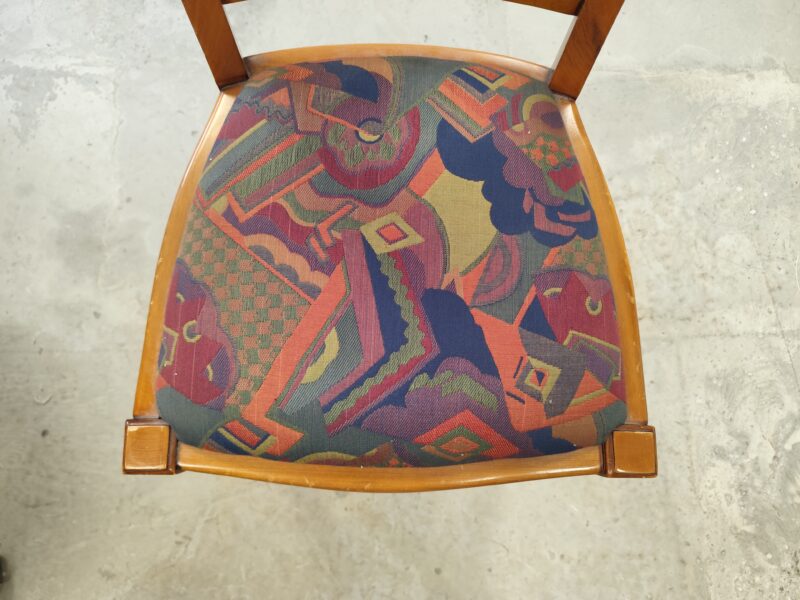
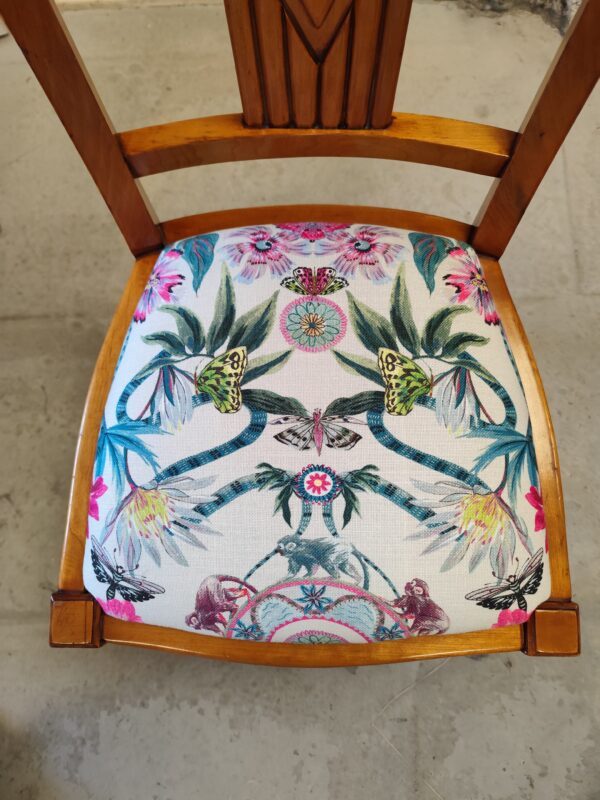
Special cuts
Seats are rarely perfectly square. Rounded corners, slight curves and irregular shapes all require specific cutting techniques to achieve a clean result without excess fabric bunching or unsightly folds. Getting this right is what transforms a recovered seat into something that looks professionally made.
This is where upholstery stops being about recovering a chair and starts being about real craft. The details are what make the difference and they are learnable.
You now have a clear picture of what a drop-in seat chair involves.
But reading about it and actually doing it well are two very different things.
Inside the premium tutorials, you will find the exact techniques, gestures, sequences and decision points that lead to a truly professional finish whether you are working with foam on a solid base, jute webbing on an open frame, or natural fibres for a traditional build. Every step is filmed, explained and broken down so that you can follow along with confidence, whatever your level.
Ready to actually do it properly?
You will find every drop-in seat tutorial on this website, from stripping and webbing to padding and covering with all the details that make the difference between a rough result and a finish you are genuinely proud of.