The bridge chair is one of those pieces that quietly turns up everywhere: in home offices, at dining tables used as desks, in living rooms where you need seating that works hard without taking up too much space. It’s practical, it’s versatile, and it’s one of the most satisfying chairs to reupholster because the process is logical, the results are immediate, and the technical challenge is just enough to keep things interesting.
The bridge chair doesn’t ask for much attention. Reupholster one well and it will quietly become one of the most useful pieces in the room.
What is a bridge chair?
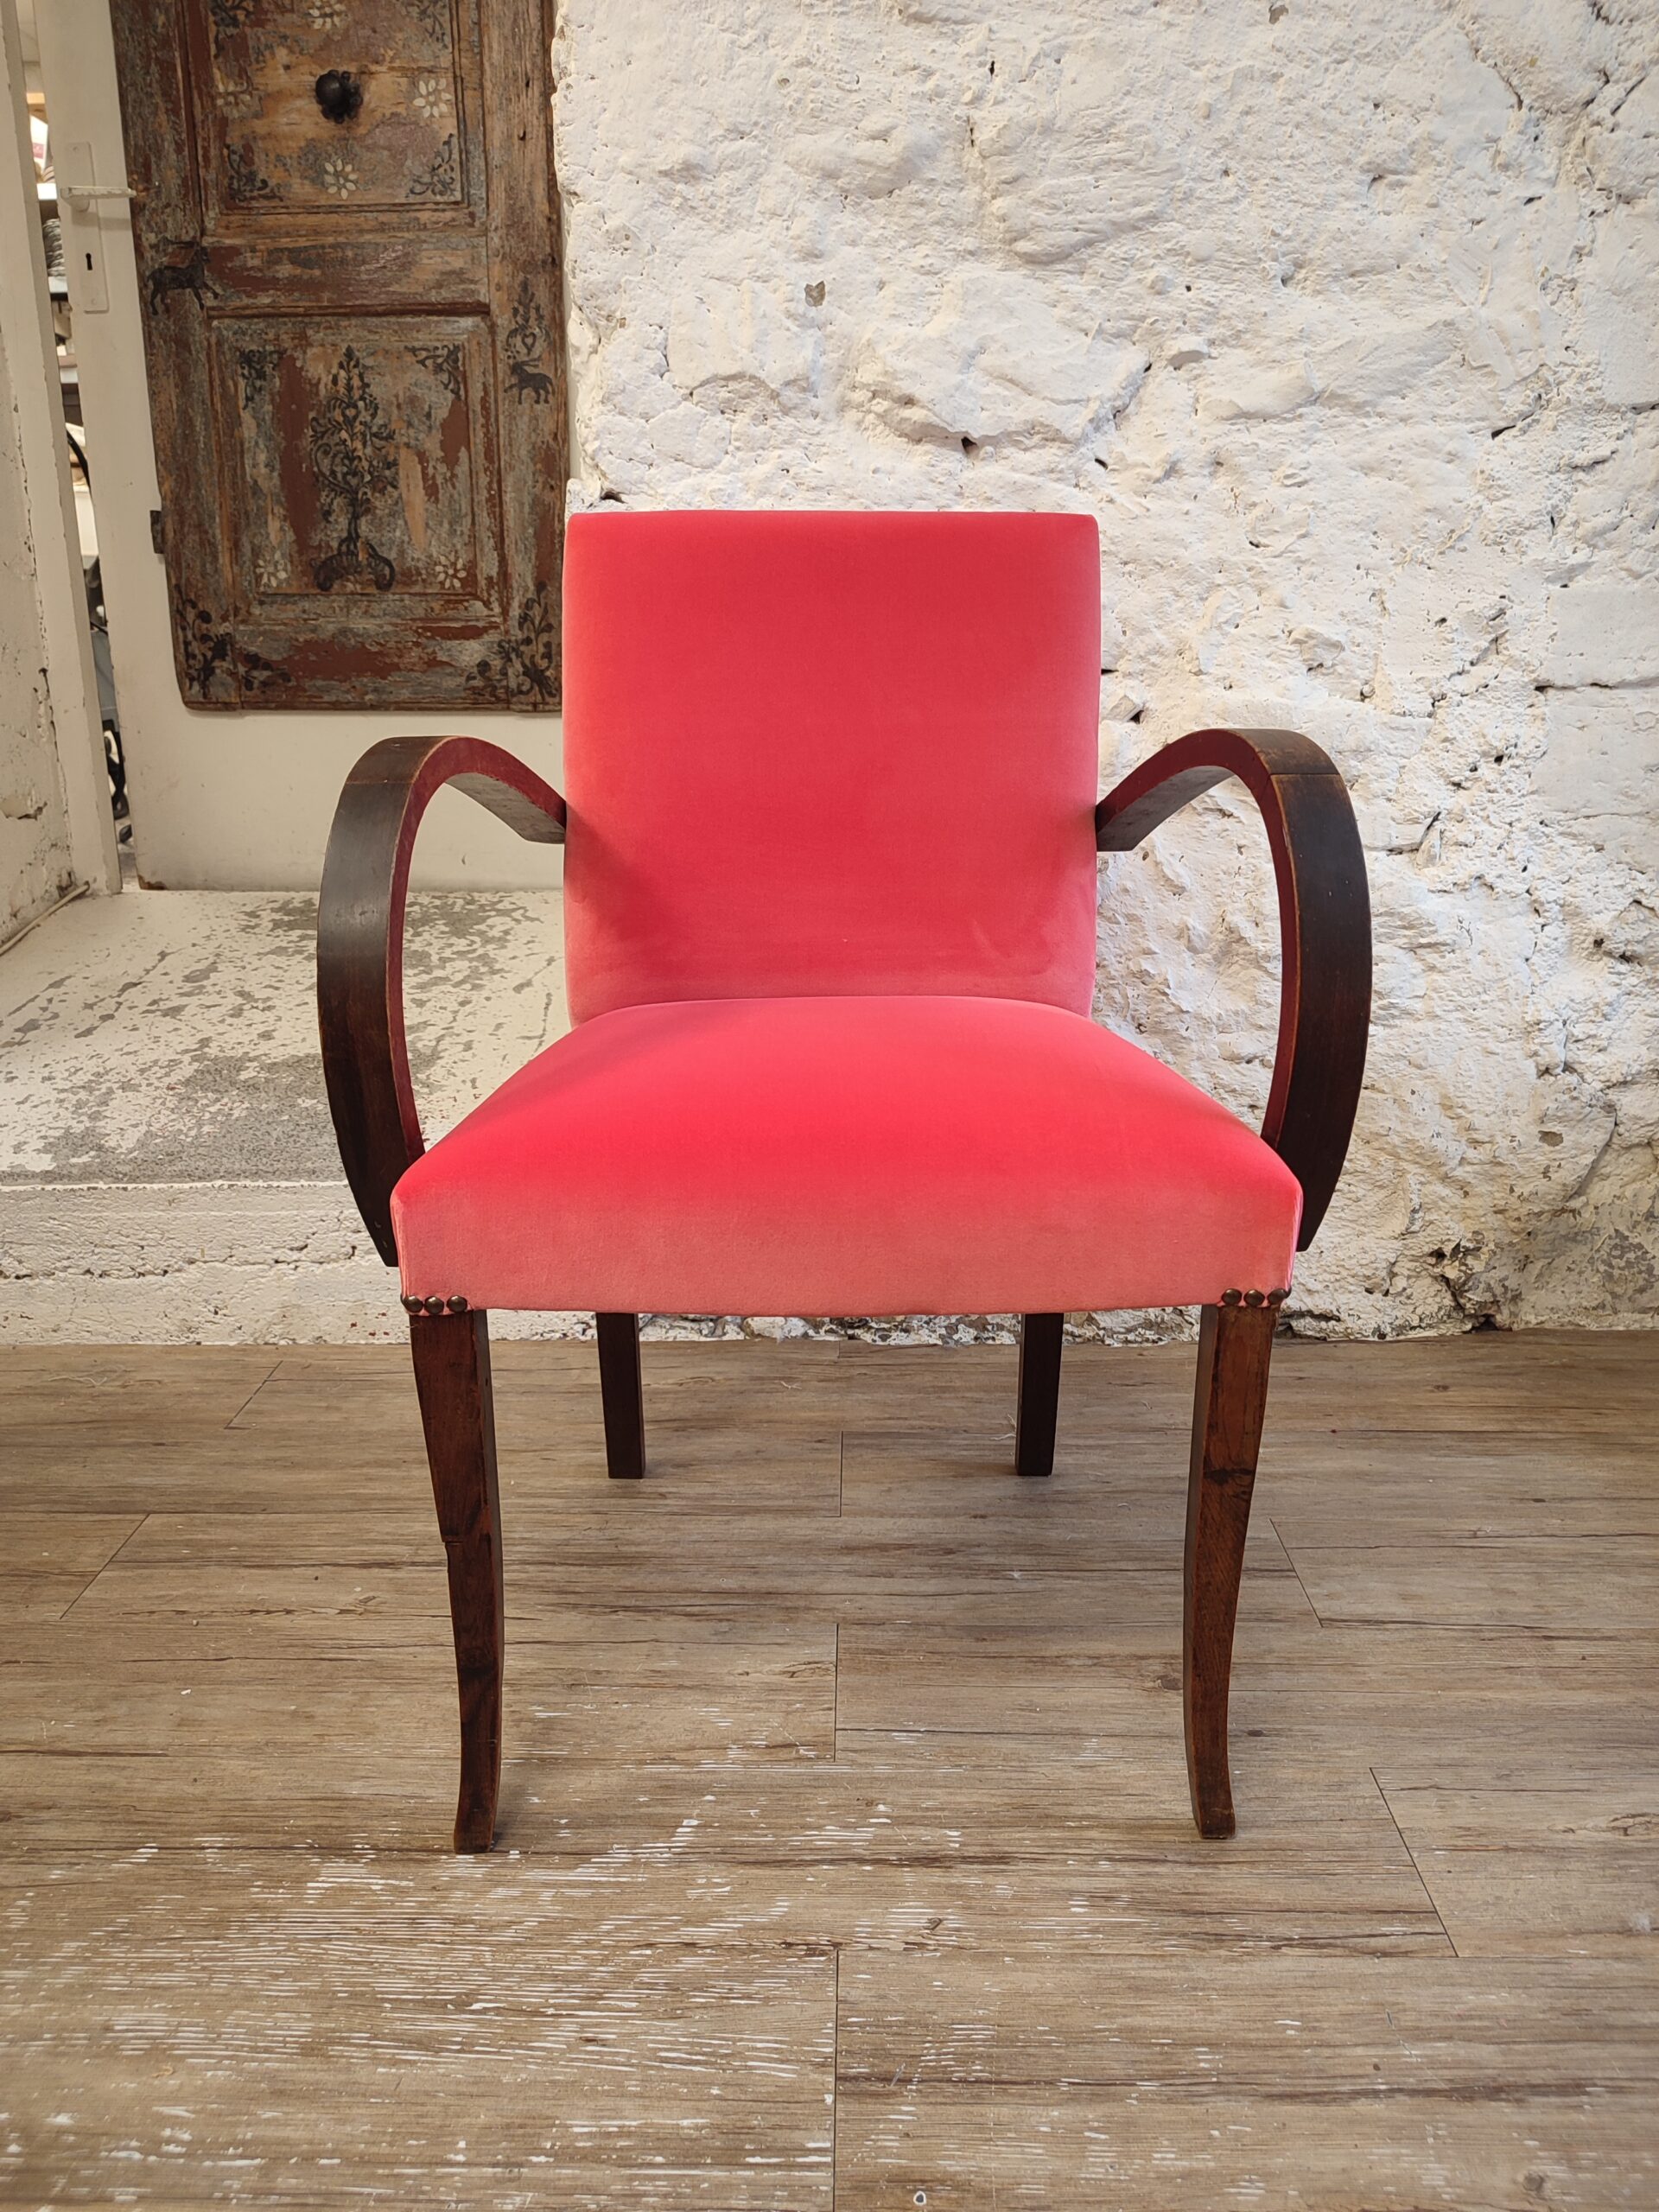
A bridge chair is a compact, fully upholstered seat with exposed wooden arms and legs. The back is entirely covered in fabric, the seat is upholstered, and the wooden frame, typically the legs and arm supports, remains visible. It sits somewhere between a dining chair and a small armchair in terms of scale, which is exactly what makes it so practical. It works at a desk, around a table, or as occasional seating in a living room without dominating the space.
Compared to the cabriolet, the bridge chair is simpler in its ornamentation. There’s no carved frame to work around, no elaborate period detailing. The character comes from the upholstery itself, which means your fabric choice carries more weight here than on almost any other chair.
The main styles of bridge chair
The bridge chair’s variations are mostly defined by the back shape. The overall silhouette stays consistent, but the back can change the feel of the chair considerably.
The straight back
Clean, upright, no fuss. This is the most common version and the most versatile. It suits both traditional and contemporary interiors, and it’s the easiest to upholster because the lines are straightforward and the fabric tension is predictable.
The flared back
The back widens slightly toward the top, giving the chair a more relaxed, welcoming silhouette. It’s a small detail but it adds a lot of warmth to the overall shape. The flared back also gives you a slightly larger surface to work with, which means more room to showcase a fabric with a pattern or texture worth seeing.
The shaped or cut-out back
Some bridge chairs have more original back shapes, with curved tops, subtle cutouts, or distinctive silhouettes that set them apart from the standard versions. These are less common but worth looking out for. The shaping adds personality to what is otherwise a fairly understated chair, and when the upholstery is done well, that combination is hard to beat.
The real technical challenge: the back
The bridge chair is accessible for beginners, but it has one step that requires real attention: finishing the back. Because the back is fully covered in fabric on both sides, the outer back panel needs to be attached cleanly, with no visible staples or tacks. This is done either with an invisible hand stitch or using a technique called backtacking, where the fabric is folded and secured in a way that leaves a perfectly clean edge.
It’s not a complicated technique once you’ve done it, but it does require patience and a steady hand. It’s also one of those skills that immediately elevates the quality of your finish, on this chair and on every upholstered piece you make after it.
Decorative finishes like nailhead trim or piping are optional on a bridge chair. They can add a nice detail, but the chair works perfectly well without them. If you’re just starting out, getting the back clean and the fabric well-tensioned is more than enough to aim for.
The looks you can give a bridge chair
Because the bridge chair is relatively simple in shape, the fabric does most of the talking. The good news is that it’s one of the most forgiving chairs when it comes to fabric choices. The surfaces are clean and contained, the scale is manageable, and it suits a wider range of textures than more ornate chairs like the cabriolet.
Velvet
A reliable choice on a bridge chair. The smooth surface of a velvet works beautifully against the exposed wood of the arms and legs, and the color depth you get from a good velvet on a simple shape like this is hard to match. Rich tones work particularly well: deep greens, warm terracottas, dusty pinks, navy.
Small to medium patterns
Unlike the Voltaire, where XXL motifs shine, the bridge chair suits smaller to medium-scale patterns better. A small geometric, a neat repeat, a modest floral: these work well because the back and seat surfaces are compact enough that a large repeat would get lost or cut awkwardly. A well-chosen small pattern on a bridge chair can look incredibly considered.
Boucle, yes on this one
Unlike the cabriolet or the Voltaire, the bridge chair can handle a boucle. The simpler frame, the lack of ornate carving, and the more casual character of the chair mean that a textured fabric like boucle feels at home here rather than fighting with the structure. A cream or oatmeal boucle on a bridge chair with natural wood arms is a combination that works very well in a contemporary interior.
Stripes and geometrics
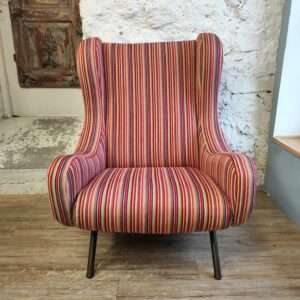
A neat stripe, particularly a vertical one, suits the upright back of a bridge chair well. It adds a tailored quality to a simple shape. Small geometric patterns work for the same reason: clean, precise, and easy to live with in almost any room.
Is the bridge chair a good project for beginners?
Yes, and it’s actually one of the best starting points if you’ve never reupholstered a chair before. The structure is simple, the number of separate elements is manageable, and there are no complex curves or period details to navigate. The one technique to master is the back finish, and that’s a skill you’ll use on every upholstered piece from this point on, so it’s worth learning properly.
If you’re looking for a structured introduction to full upholstery with a real project from start to finish, the bridge chair features in the beginners’ guide alongside two other complete projects.
Ready to reupholster yours?
The full process is documented step by step, with tutorials for each stage. Whether you’re working through it at home or want to tackle it in person at the workshop in Annecy, everything you need is below.
Prefer to learn from home, at your own pace? All the tutorials are available in the online membership area.