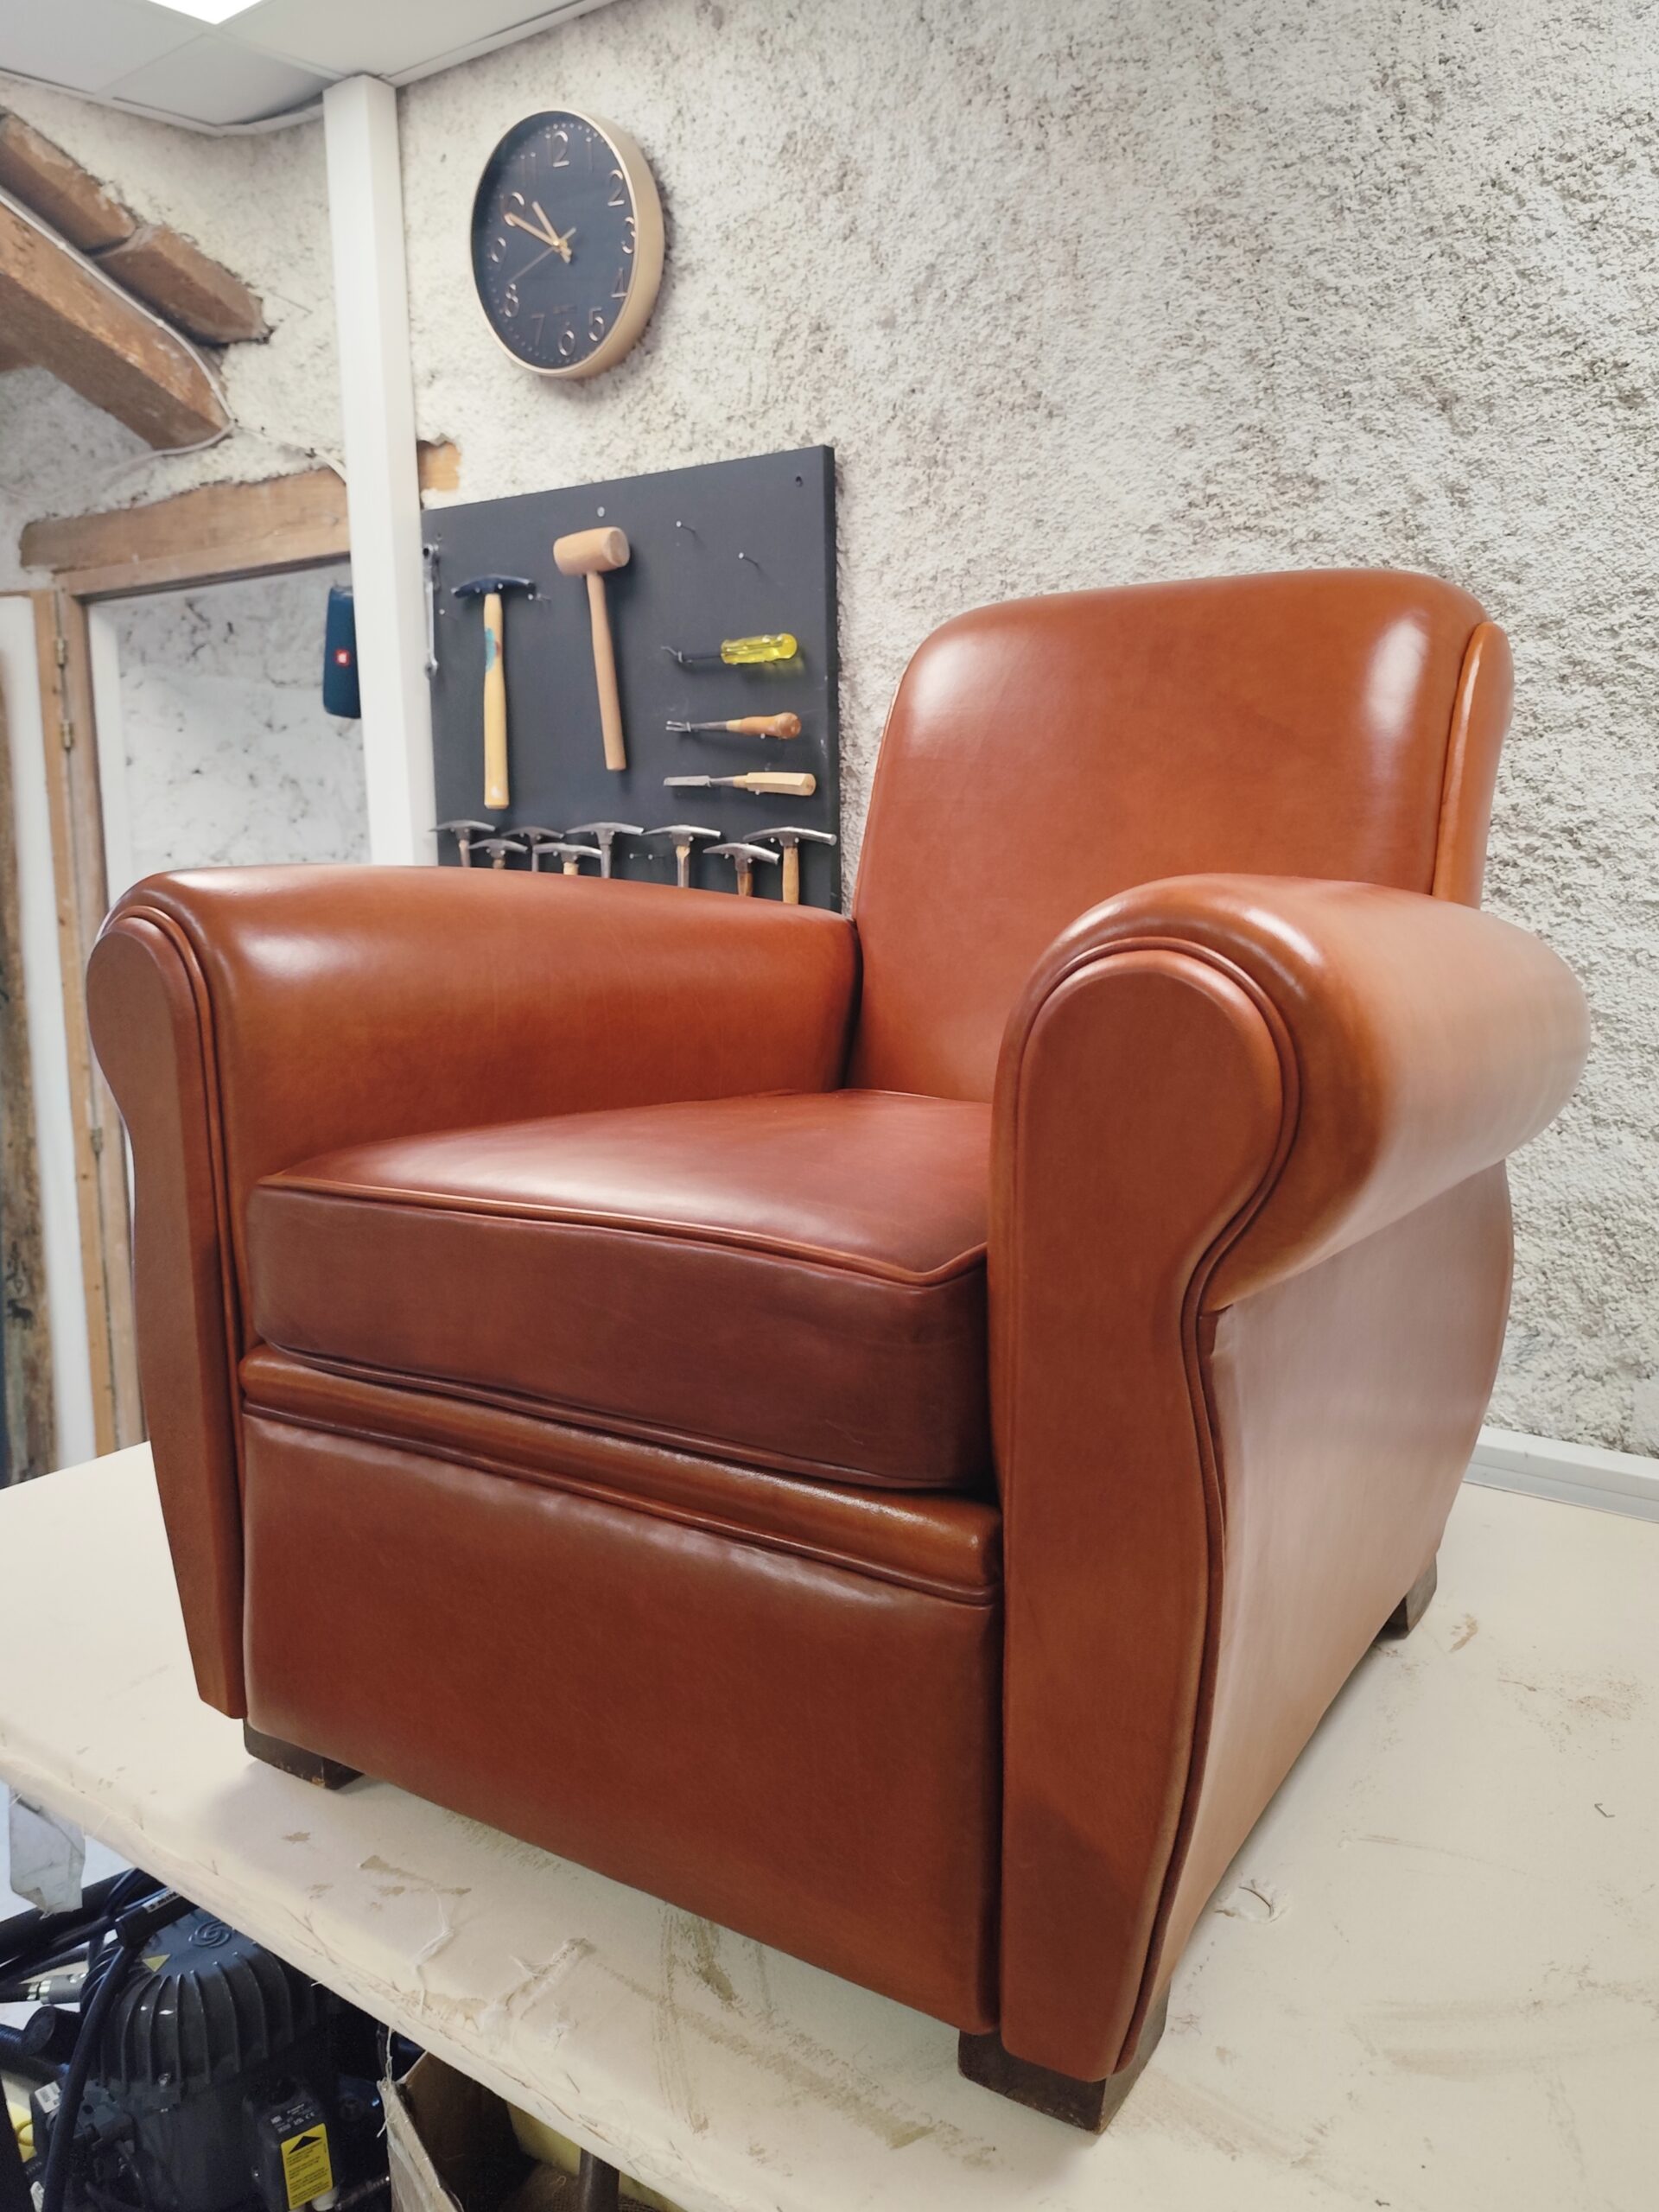
Today discover a club chair through my workshop, and above all the part that makes these chairs so special: covering it in basane, the traditional sheepskin leather, worked wet. Wetting the skin, stretching and shaping it while it is damp, letting it dry, then finishing it with a fixative milk: it is an old method, rarely shown, and the one I want to share here.
New to club chairs? Start with what is a club chair: its history, how to recognise a period piece and why it is traditionally covered in leather. Covering yours in fabric? Follow the complete club chair covering tutorial.
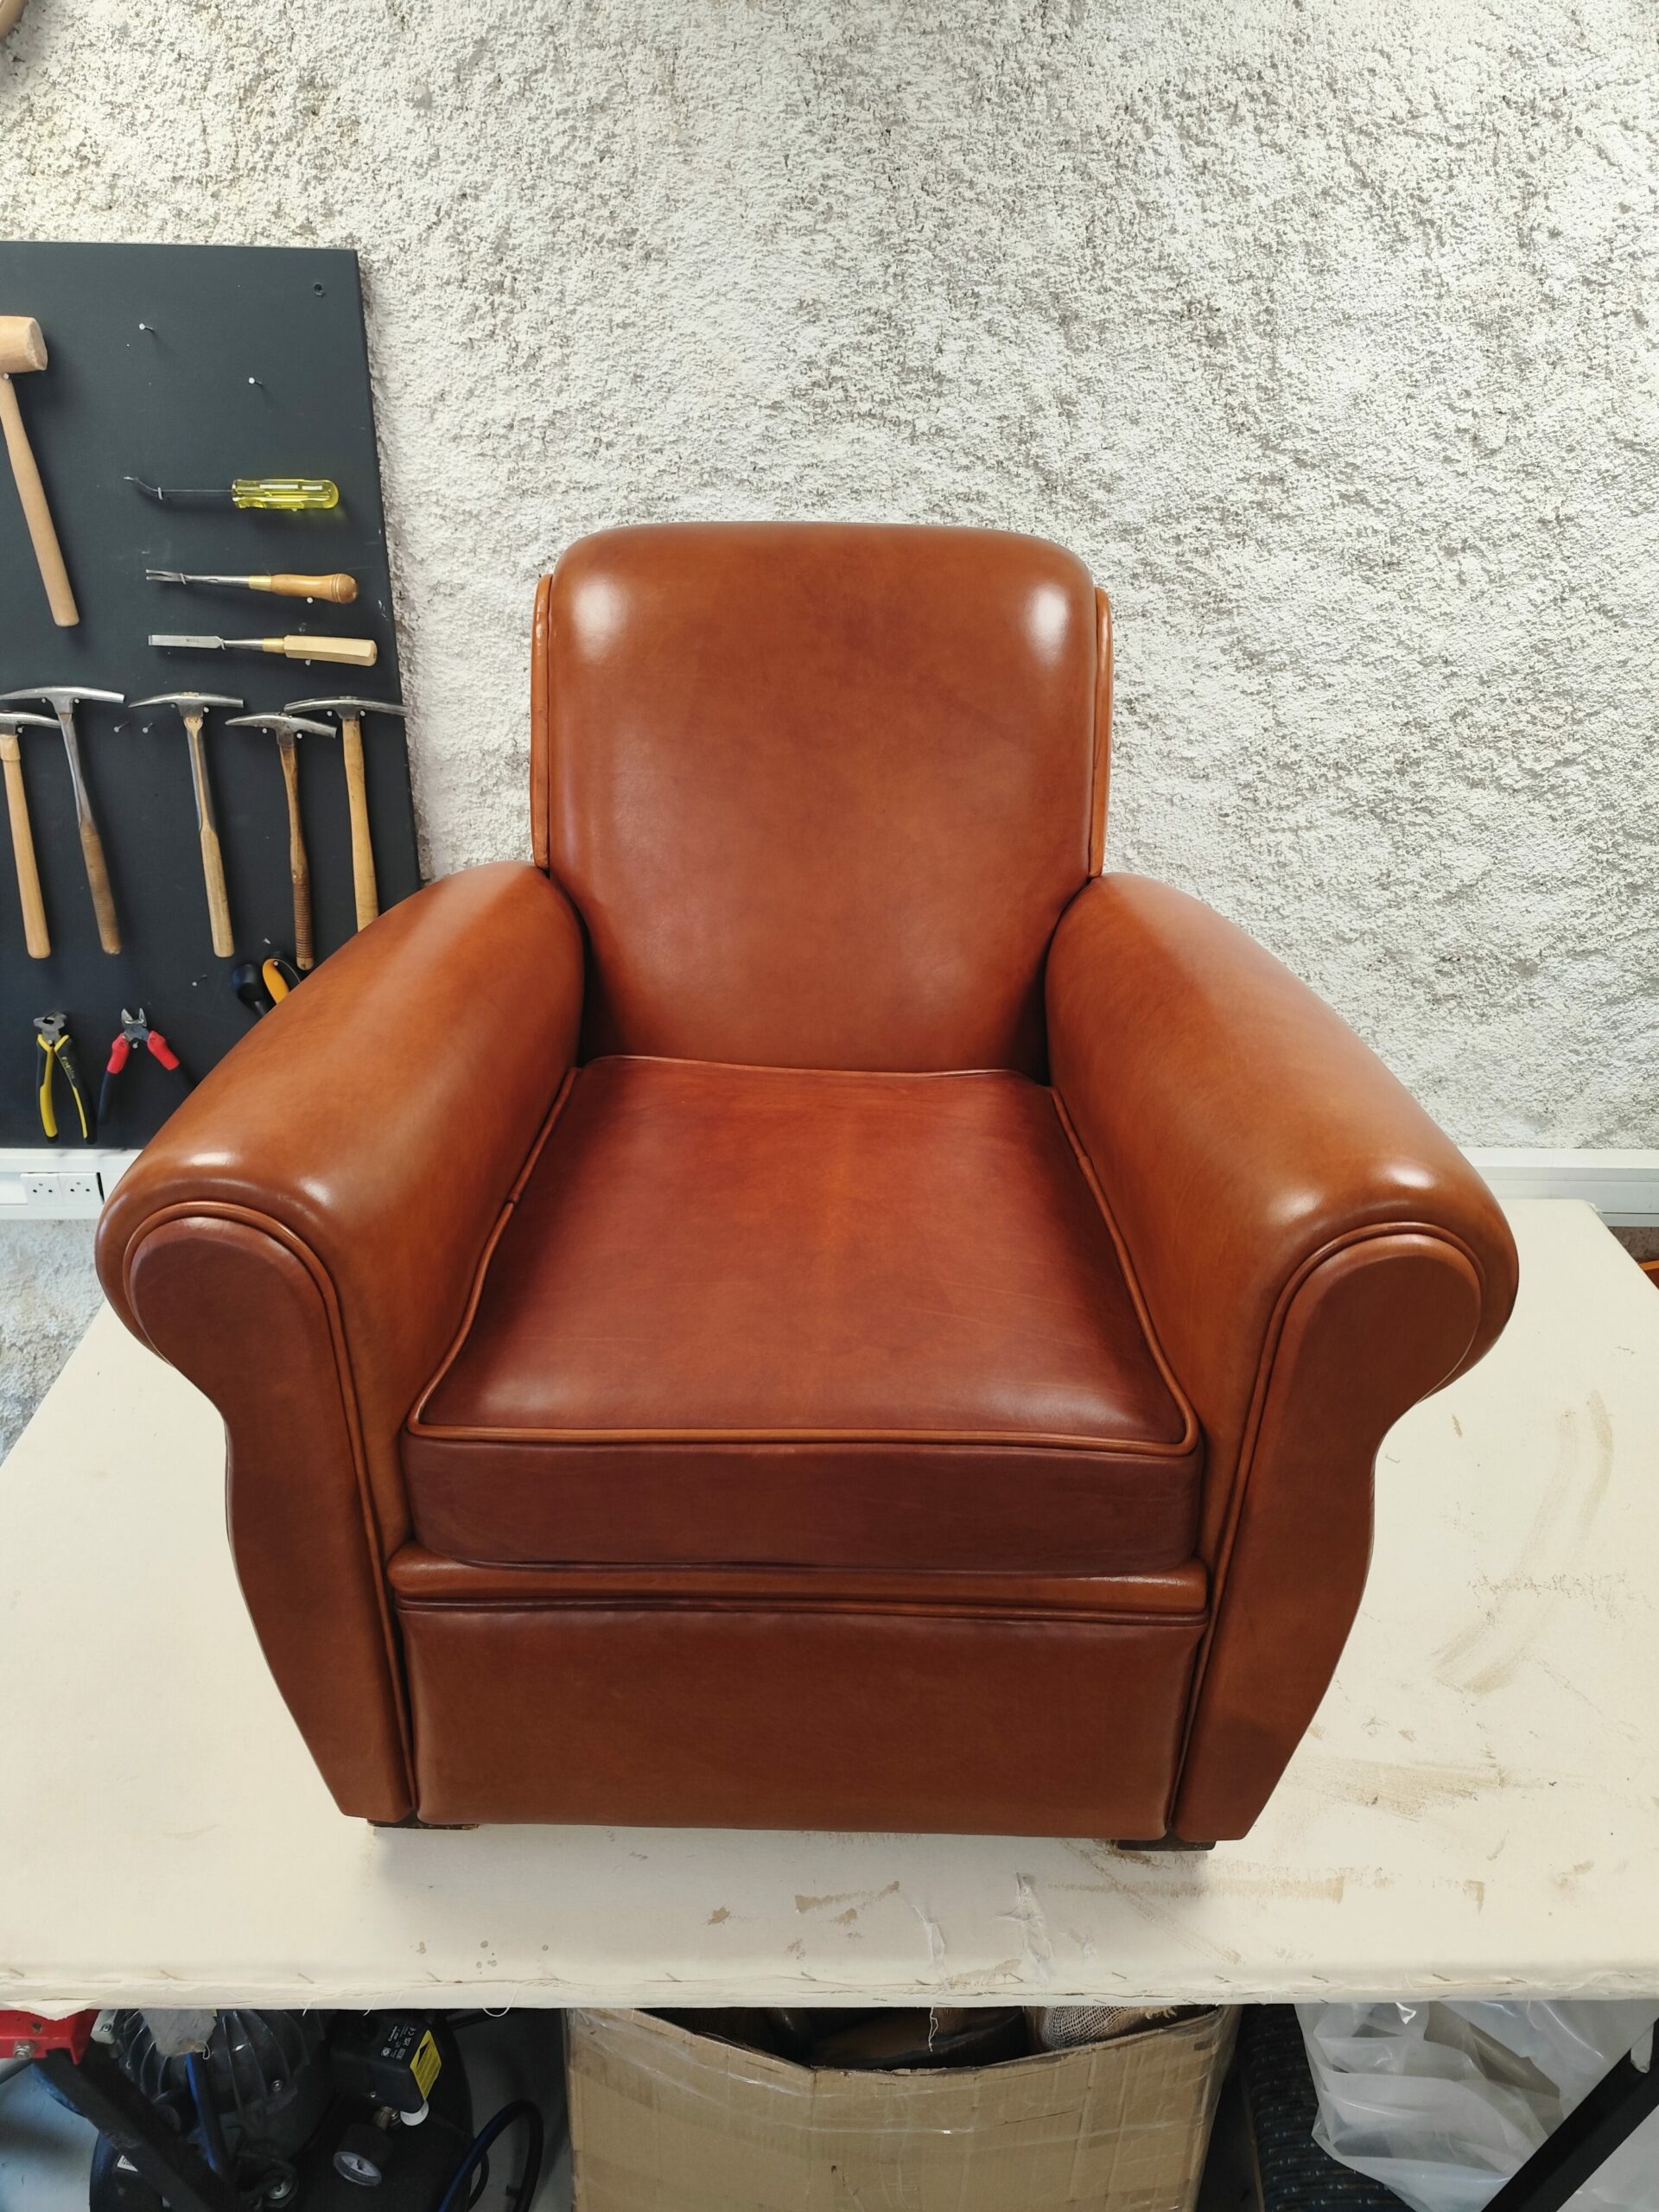
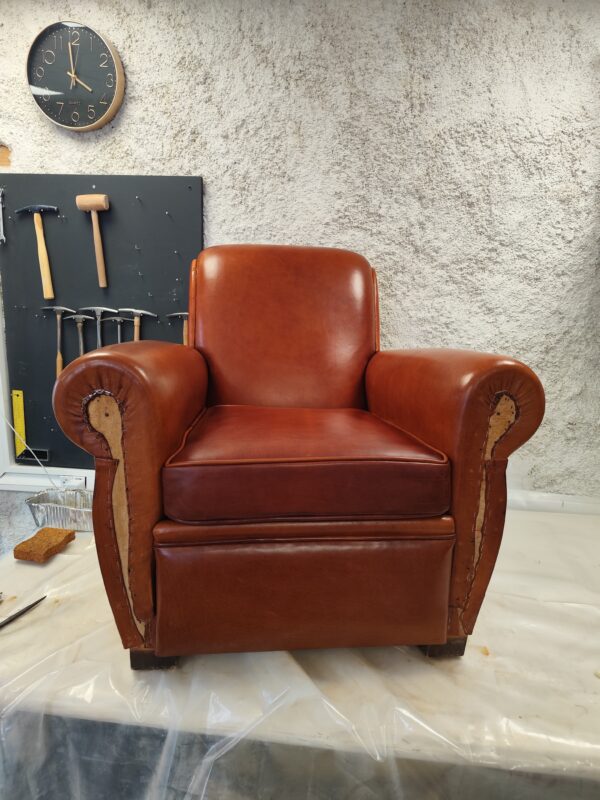
The Project: a Club Chair in Basane
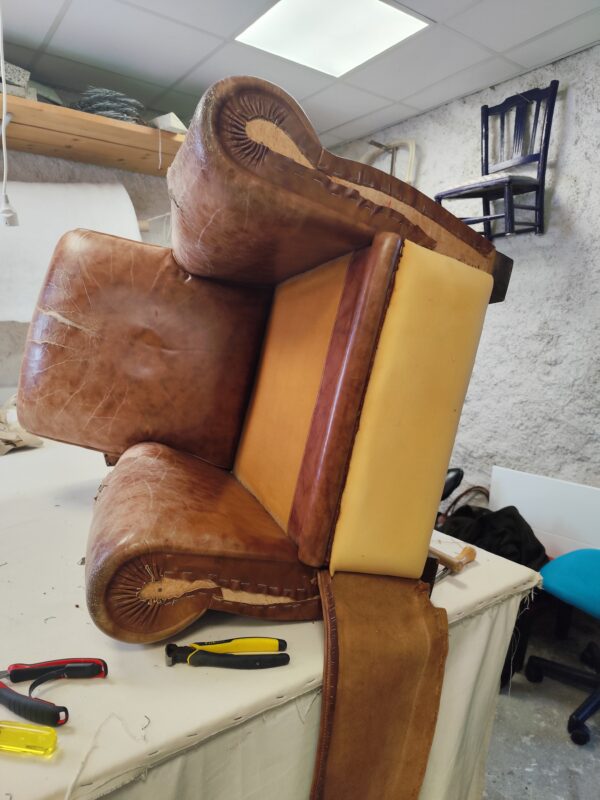
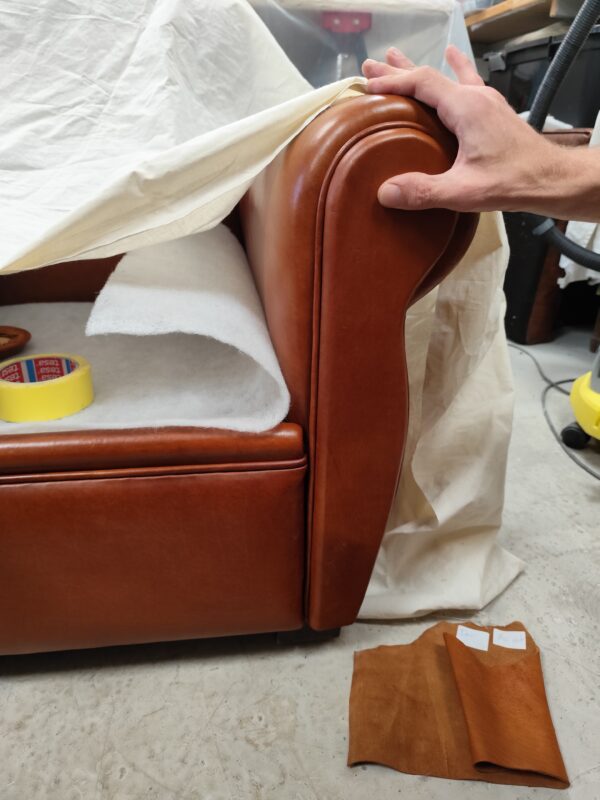
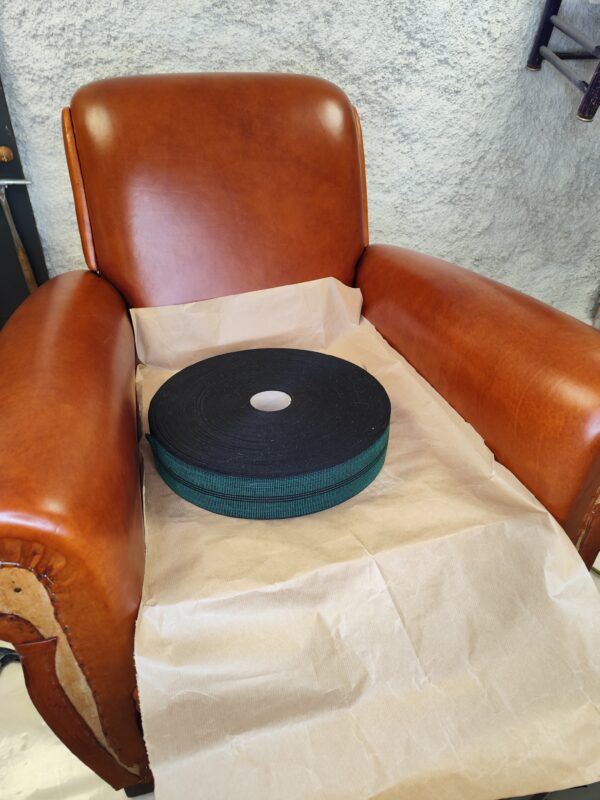
On this chair, I rebuilt the seat completely and redid the arm pads before covering the whole chair in basane. The padding work follows the same logic as any traditional seat, and you will find it in the springs and padding and stuffing tutorials. The inside of a club chair can be done traditionally or with foam, and both techniques can be combined.
Why Leather on a Club Chair?
A club chair can of course be covered in fabric, but leather is its traditional dress, for good reasons:
- Prestige: leather was a luxury material, a natural choice for chairs made for exclusive clubs.
- Durability: it lasts for decades and develops a patina that gives the chair its character.
- Easy care: it is easier to clean than fabric, ideal for chairs in daily use.
What Is Basane, and Why Work It Wet?
Basane is a sheepskin leather, supple and fairly thin. For a club chair, upholsterers use it just tanned, with no varnish or finish on it. That is what makes the wet method possible: when it is soaked, the skin becomes very stretchy, and as it dries it tightens back. Wet, it can follow the deep curves of a club chair; dry, it locks into shape, tight and smooth.
Several skins are needed to cover a single club chair: sheepskins are small compared with a roll of fabric. The detailed list of materials, and where to find them, is in the club chair covering tutorial.
The Wet Method, Step by Step
- Prepare the bench. Before anything else, I protect my work table with a thick plastic sheet. Keep a bucket of water and a big building sponge within reach.
- Wet the skin. I soak the skin generously with the sponge, on the table. Some upholsterers put it straight into a bucket of warm water; either way, it must be thoroughly wet before it goes on the chair.
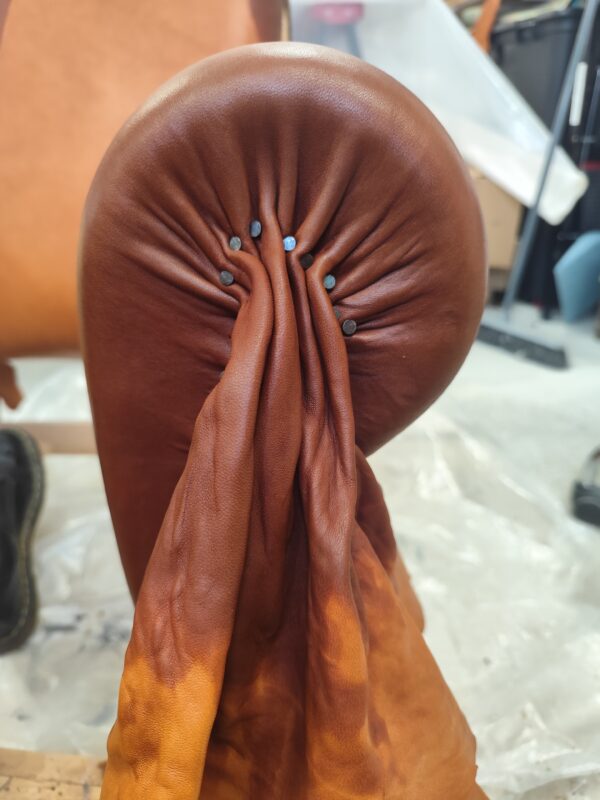
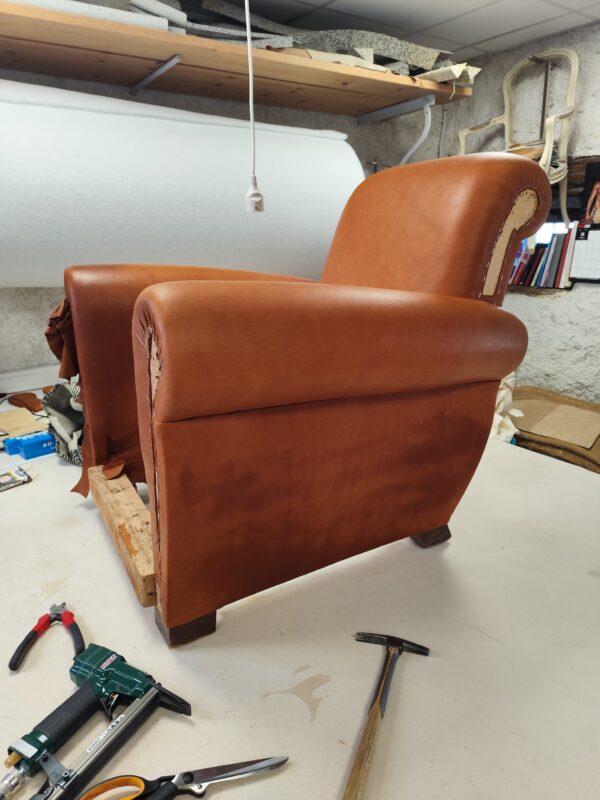
- Lay, stretch and shape. The wet skin is laid on the chair, then stretched and shaped around the curves while it is still damp. This is where all the work happens: the tension you give now is the tension you will see once it is dry.
- Fix it. Once shaped, the skin is fixed with staples or tacks.
- Let it dry. Allow about two days of drying. As it dries, the skin tightens and keeps the shape you gave it.
Finishing the leather: the fixative milk
Because the basane has no finish, it would stain and mark easily if left as it is. Once the leather is dry, it is protected with a fixative product, usually called a milk. I apply it with a sponge, the way it was done in the old days, working evenly over the whole surface.
- Test first: the milk changes the shade of the leather. Always try it on an offcut before touching the chair.
- The trap: large sponge marks. If the milk is not spread evenly, they stay visible on the finished chair.
The Outside Back: Large Decorative Nails
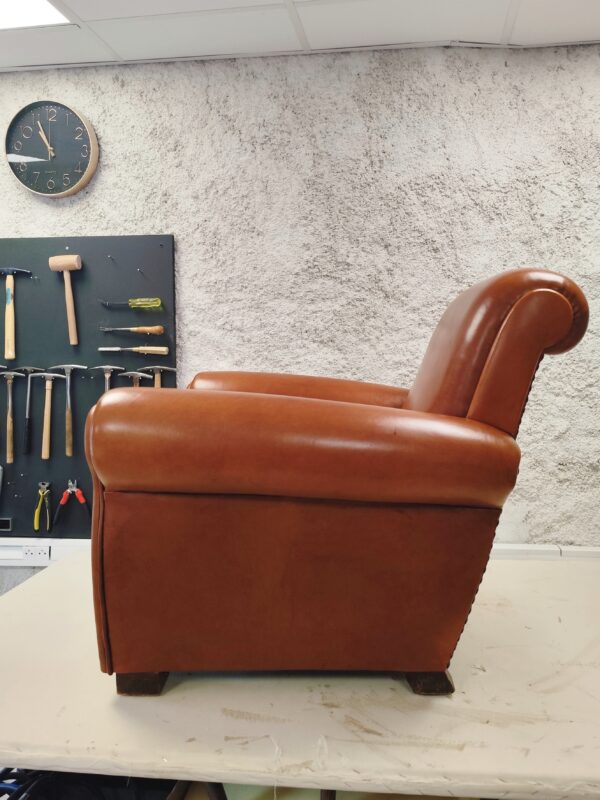
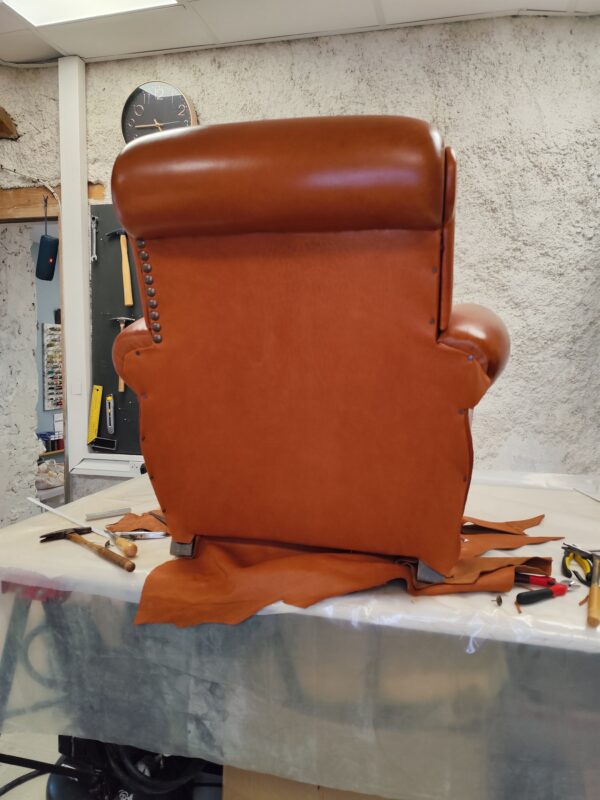
On the outside back, the leather is fixed with decorative nails. I like to use very large nails here, with a little space between each one: it gives the back a generous, slightly graphic finish that suits the volume of a club chair. See also how to apply decorative nails.
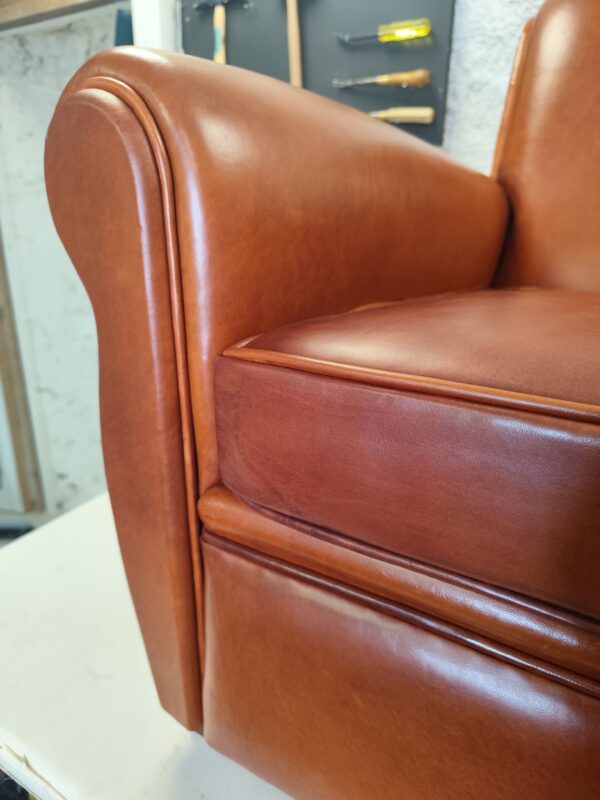
The Front Arm Panels
Honestly, this is the step I fear the most: it is the very last one, and leather is easily damaged. The front arm panels are wooden pieces covered in leather and outlined with piping. There are two ways to fix them back:
- Glue: clean and invisible, but you have to press the panel against the chair while it sets, which can be risky on a fragile leather or fabric.
- Invisible pins: the panel is fixed with fine headless pins, without the pressure of gluing.
On this chair, the thickness made gluing the right choice. Another method is shown in how to attach the wooden front of an arm.
The Seat Cushion: Leather or Velvet?
It depends on the rest of the chair. The cushion is often made in the same leather as the body, but velvet cushions on a leather chair are a classic too: the cushion is the part that wears the most, and velvet is easier to replace. A client recently asked me for velvet on both the seat cushion and the outside back of a leather club chair, and the contrast was beautiful.
For a leather cushion, the process is the same as for a fabric one, but with the right equipment: a triple feed sewing machine and a suitable needle, plus a skiving knife or machine to thin the leather edges. The filling can be foam or feathers, and I always take the cushion pattern once the seat is fully covered and finished.
Leather Club Chair: Frequently Asked Questions
What leather is used on a traditional club chair?
Basane: a supple sheepskin leather, used just tanned, with no varnish or finish, so that it can be worked wet.
Why is basane wetted before covering?
Wet sheepskin becomes very stretchy, so it can be shaped around the curves of the chair. As it dries, it tightens back and keeps that shape.
How long does basane take to dry?
Allow about two days before applying the fixative milk.
Does the fixative milk change the colour of the leather?
Yes, it changes the shade. Always test it on an offcut first, and spread it evenly with a sponge to avoid visible marks.
Can I mix leather and velvet on a club chair?
Yes. A velvet seat cushion on a leather body is a classic, and some clients also choose velvet for the outside back.
Written by Céline Vanier, upholsterer trained with the Compagnons du Devoir, working in her atelier near Lake Annecy, France, since 2012.
Go Further with the Club Chair
- What is a club chair? Its history, how to recognise a period piece, and the club chair compared with the bergère and the cabriolet.
- How to reupholster a club chair: the complete covering tutorial, with materials, tools and every step in order.
- How to cover the arms of a club chair and the inside back.
All the club chair tutorials, and 80+ professional tutorials from beginner projects to advanced techniques, are filmed step by step in my workshop and available in the Hammer Club.