
Guide 2: Core Upholstery Techniques -Webbing, Springs, Padding and Covering Tutorials and tips
This is where upholstery really starts to make sense.
You’ve done a first project. You know what the layers look like. Now it’s time to understand why they work the way they do, and how to make intentional decisions at every step.
Guide 2 covers the core upholstery techniques that apply to almost every piece you’ll ever work on: how to strip and read a piece before rebuilding it, how webbing creates the foundation, how springs add support and resilience, how padding builds comfort and shape, and how covering and finishing turn all of that into a result that holds up and looks right.
These aren’t isolated skills. They’re a sequence. Each one prepares the next, and understanding why each step exists changes how you approach every project after this. Use this page as a reference map – come back to it whenever you need to locate a technique or understand where it fits in the process.
Coming from the basics? Start with Upholstery for Beginners: Guide 1.
Jump to a step: Strip & Prepare · Webbing · Springs · Padding · Covering & Finishing
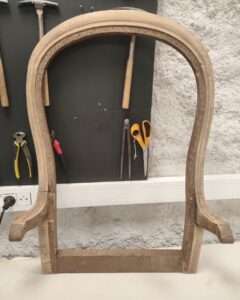
Step 0 — Strip & Prepare
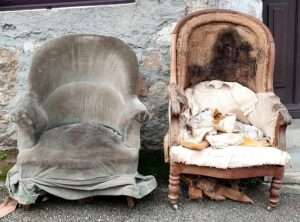
Every upholstery project starts here, without exception. Before you rebuild anything, you need to understand how it was originally made, what holds it together, what has failed, and what the right approach to rebuilding it actually is.
How do you strip upholstery properly? You work in reverse order of how the piece was built, removing each layer carefully and keeping it intact when possible. Old fabric becomes a template. Staple and tack positions mark the original tension lines. The condition of what you find underneath – frame joints, webbing, springs – tells you exactly what needs replacing before you add anything new on top.
This is also the stage that separates careful upholsterers from rushed ones. Beginners who skip the reading and go straight to rebuilding almost always pay for it later, in uneven padding, covers that pull, or seats that don’t hold their shape. Good preparation isn’t extra work. It’s what makes the rest of the work go right.
Explore strip & prepare tutorials →
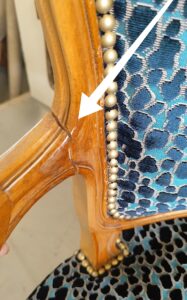
Easy trick to glue an arm junction on a cabriolet chair
An easy pro tip to glue an press the wood with webbing
Fixing and gluing back the wood
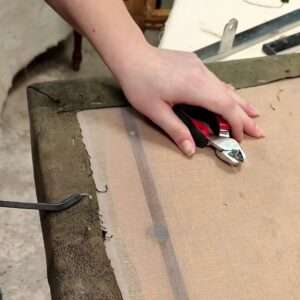
Security Tips for stripping
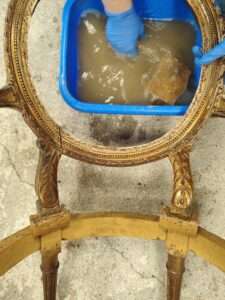
My magic products to make the wood new again
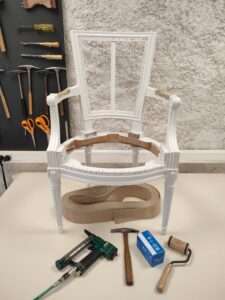
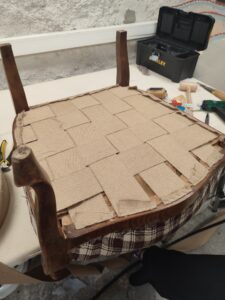
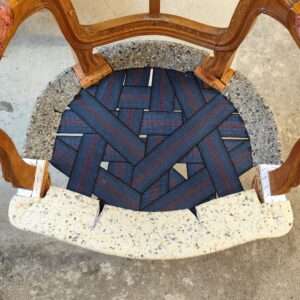
Step 1 — Upholstery Webbing
Webbing is the foundation of any upholstered seat. Springs, padding, and fabric all sit on top of it — which means that if the webbing is wrong, everything built on top of it is compromised from the start.
What does upholstery webbing do? It creates a tensioned base across the seat frame that distributes weight evenly and supports whatever comes next. Tension and pattern both matter. Webbing that is too loose will sag. Webbing that crosses incorrectly will create pressure points. These mistakes often go unnoticed until months later, when the seat starts to fail in ways that seem unrelated to the foundation.
Different webbing methods suit different projects. Traditional jute webbing, interlaced and hand-tensioned, is the standard for classic and high-quality furniture. Elastic webbing appears in modern frames and has its own fixing logic. Knowing when and how to use each one — and how to tension and fix it correctly regardless of type — is one of the most transferable skills in upholstery.
Explore upholstery webbing tutorials →
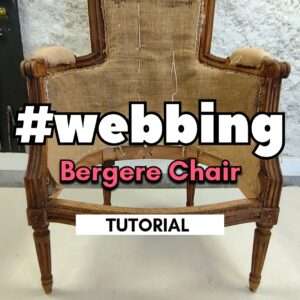
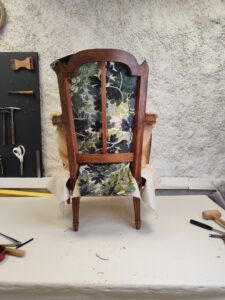
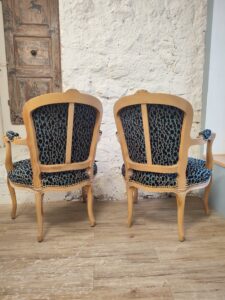
Traditional webbing a bergere chair
Jute webbing tutorial (with cuts to avoid legs)
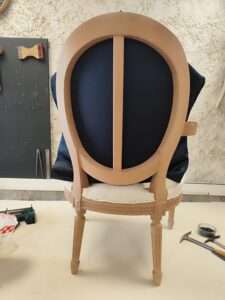
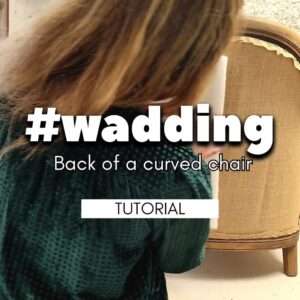
Webbing on the back of a chair
How to plump easily a seat with a new webbing
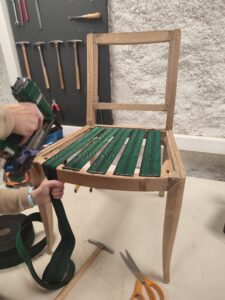
How to web with elastic webbing
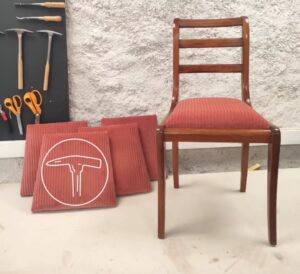
Webbing tip for drop-in seat serie
Step 2 — Upholstery Springs
Springs bring structure, support, and resilience to a seat. They are not just about bounce, they are about balance, stability, and how a piece feels under real, repeated use over years.
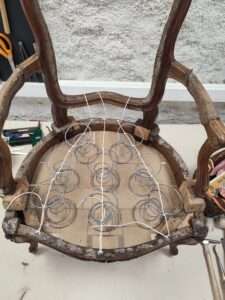
There are two main approaches to upholstery springs, and understanding both is what makes you versatile. Traditional hand-tied coil springs are set individually into the webbing, tied in a specific crossing pattern, and compressed to a precise height before anything is built on top. They require more time and skill, but the result – a spring deck that moves evenly, holds its shape for decades, and absorbs weight with genuine depth – is difficult to replicate with modern systems. This is the method you’ll find in antique and high-quality period furniture.
On the other side are spring units: sinuous springs, zig-zag springs, and bonnell units that come pre-assembled and are fixed directly to the frame. They are faster to install, appear in most contemporary furniture, and have their own fixing and tensioning logic. They are not a lesser option , they are a different tool, suited to different frames and different aesthetics.
The real skill is knowing how to read a piece and choose accordingly and how to mix approaches when the project calls for it. A seat can have a traditional coil spring deck with a modern foam pad on top. A contemporary frame can be hand-tied if the original spring unit has failed beyond repair. Upholstery has always combined old and new, and this section gives you the knowledge to do the same with intention.
Learn about upholstery springs →
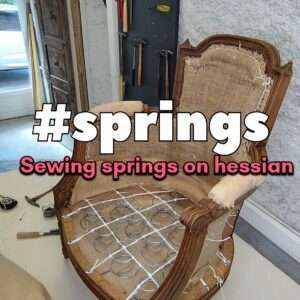
Sewing springs on the hessian
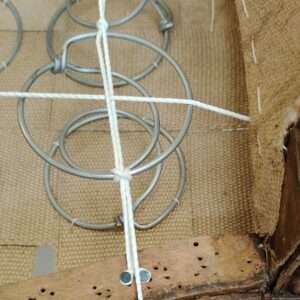
Clove Hitch Knot and simple Knot
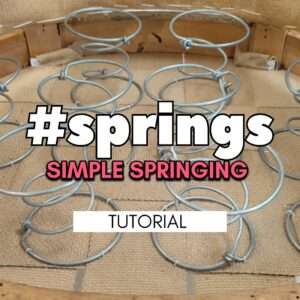
Simple springing technique
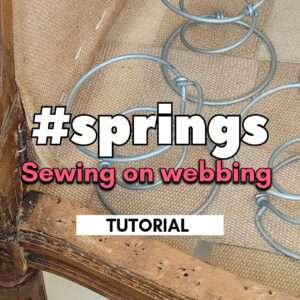
Sewing springs on the webbing
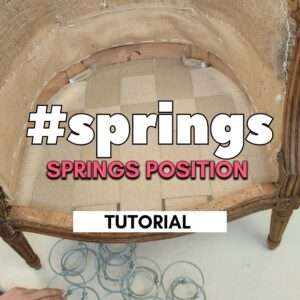
Springs positioning tutorial
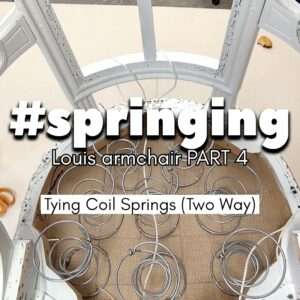
Springing: How to tie coil springs (two way method) on a armchair
How to compress the springs properly
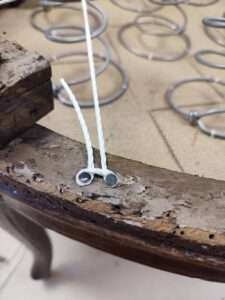
HOW TO secure the cord with tacks properly ? (Traditional)
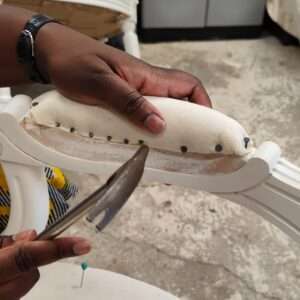
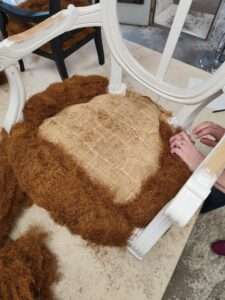
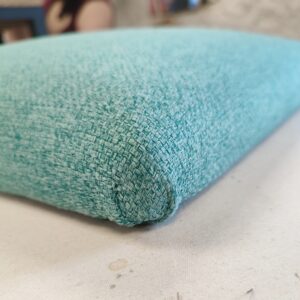
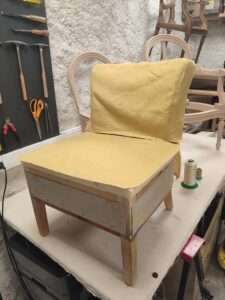
Step 3 — Upholstery Padding
Padding is where comfort and shape are built. It’s also where upholstery becomes genuinely personal, because the choices made here directly affect how a seat feels, how it looks, and how long it holds its form.
Traditional upholstery padding uses natural materials: horsehair, vegetable fibre, cotton felt, tow. These materials breathe, compress differently from foam, and develop a particular character over time. Working with them teaches you how to build volume and shape entirely by hand, using bridle ties, stuffing techniques, and layering methods that have been refined over centuries. For period furniture, traditional padding is often not just a preference but a requirement: it’s the only approach that respects the structure and the history of the piece.
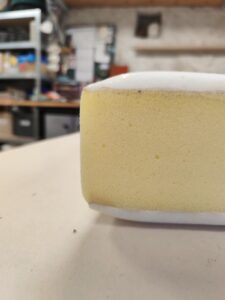
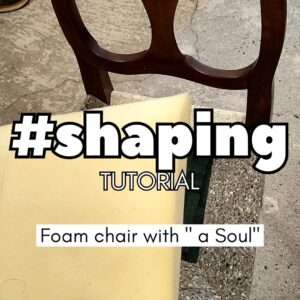
Modern upholstery padding centres on foam — but foam is not one thing. Density, firmness, thickness, and the way layers are combined all change the result significantly. Knowing how to select the right foam, cut it cleanly, edge it correctly, and layer it with Dacron or felt is a skill that takes real practice to develop.
What makes a good upholsterer is not choosing one approach over the other — it’s knowing both well enough to combine them. A layer of horsehair over a foam base. Cotton felt under a modern cover. A traditional bridle tie holding synthetic wadding. These combinations are not compromises. They are solutions, and this section teaches you how to find them.
Explore upholstery padding techniques →
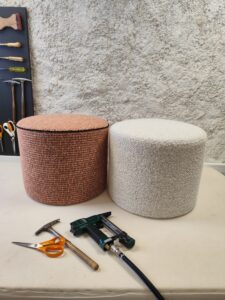
How to make a foam pouf
How to create a perfect 3 layers foam seat cushion
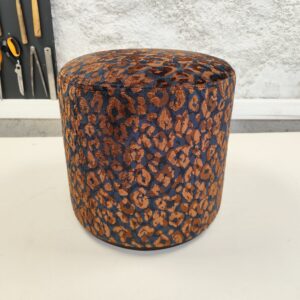
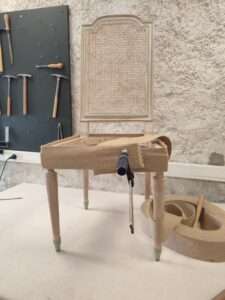
Rounded stool tutorial (wooden structure)
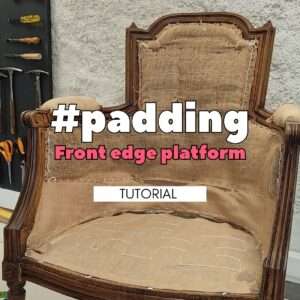
How to create a front edge platform
How to do a foam seat with edgeroll
How to create arms with horsehair
First stuffing on a cabriolet chair
Foam seat with edge roll tutorial
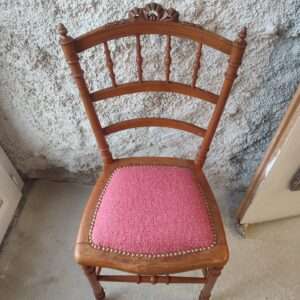
How to upholster a picture back “medallion” chair with foam and edge roll.
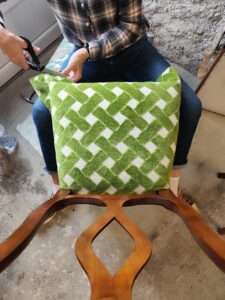
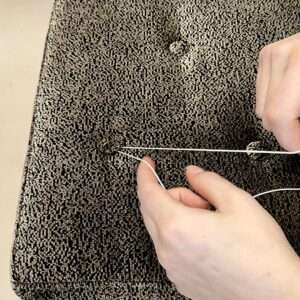
Step 4 — Covering & Finishing
This is where all the previous work becomes visible. Covering upholstery is not about pulling fabric tight and hoping for the best — it is about method, sequence, and a level of precision that only makes sense once you understand what is underneath and why it was built that way.
How do you cover upholstery professionally? You work in a specific order, starting from the centre and working outward, managing tension evenly in both directions before you fix anything permanently. Corners are folded, not bunched. Curves are eased, not forced. Every decision about where to pull and where to release affects the final silhouette of the piece.
The finishing details — piping, back tacking, gimp, trim — are also where most of the visible quality lives. These are the elements that most people don’t notice when they’re done right, but that everyone notices when they’re wrong. Each one has a method, a sequence, and a reason, and this section covers all of them.
Go to covering & finishing tutorials →
How to cover a Mitered Corner
How to cover a back with a fabric junction?
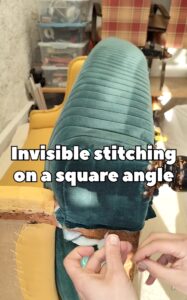
Invisible stitching on a square angle (seat)
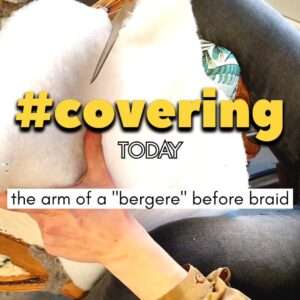
How to upholster the back of a bergere chair
Top stitching tutorial
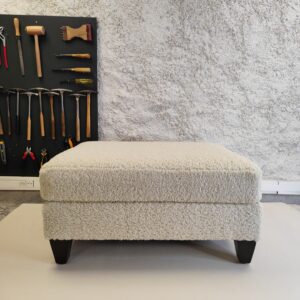
Mock cushion stool cover tutorial
Rounded stool tutorial (wooden structure)
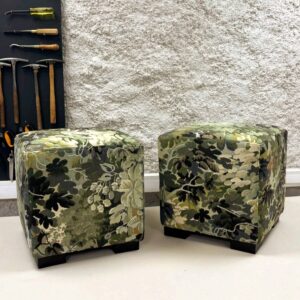
Squared stool tutorial (wooden structure)
V pleat on a drop in seat
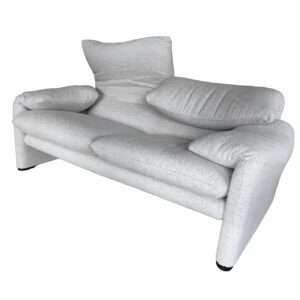
Maralunga sofa’s secret
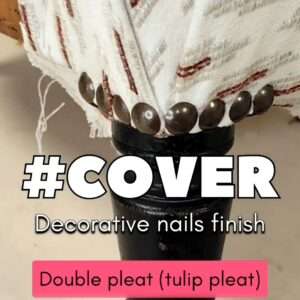
How to create a V pleat (tulip pleat) ending with decorative nails
How to create a simple pleat on a squared edge seat
How to upholster a picture back “medallion” chair with foam and edge roll.
How to cover a drope in seat chair
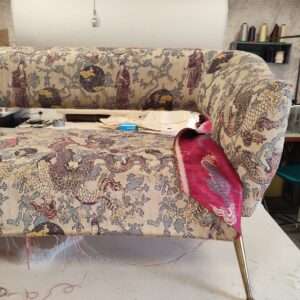
Wadding on on big curvy outside back.
How to cut when you can’t see
How to cut the fabric on a seat

How to create a v pleat (under a frame)
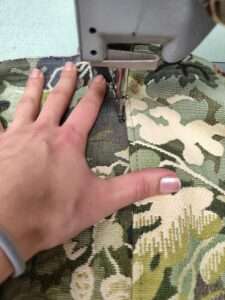
5 PRO SEWING TIPS for loose cover
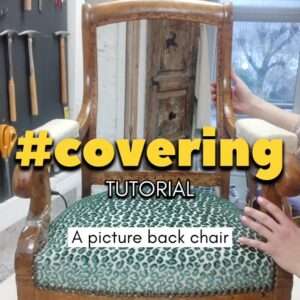
How to cover a picture back chair
How to cover the seat of an armchair
How to cover this little chair easily
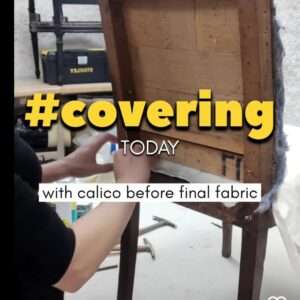
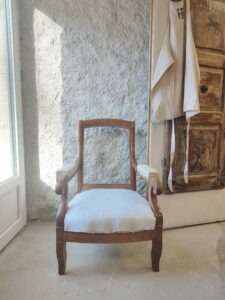
White calico on a modern seat before final fabric
How to cover the arm of a Louis 15 style chair
Upholstering a picture back chair
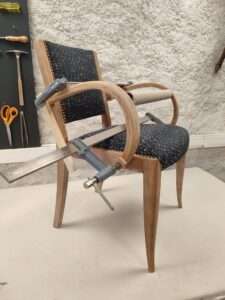
How to cover a modern bridge chair (3 videos tutorials)

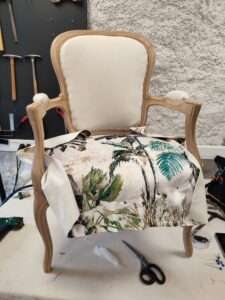
How to cover a “cabriolet” chair

Double pleat with braid or piping
What comes next?
Once these core upholstery techniques are clear, following full chair projects becomes much easier. The steps connect. Each technique has a place and a purpose. You stop asking why a step exists and start seeing how it fits into the whole picture.
Guide 3 puts all of this to work on complete pieces: stools, simple chairs, bridge chairs, cabriolet armchairs, bergères, sofas. Real projects from start to finish, in order of complexity. Go to Guide 3.
If you still feel unsure at the very beginning, go back to Upholstery for Beginners: Guide 1.
Is there any technique missing?
As a member, you have the privilege of suggesting future tutorials in the comments below. If there is a technique or chair style missing from the platform, leave your request here, your idea could inspire the next tutorial release.