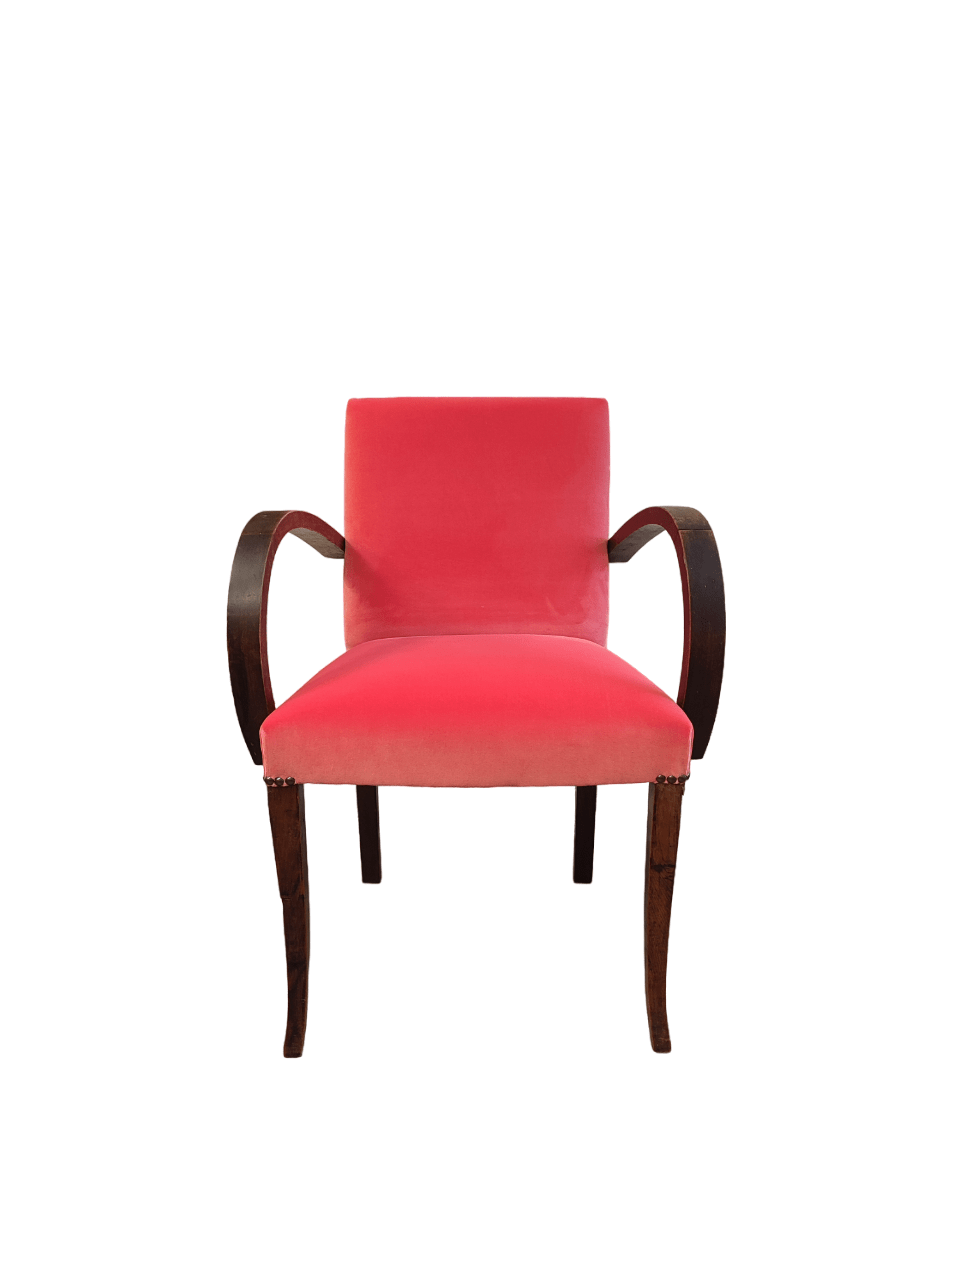
Among all the different type of upholstery project you may try, a bridge chair is a quite simple upholstery project, even for a beginner.
It is a modern chair with padded seat an back and some wooden arm.
Here everything you need to know to restore your bridge chair step by step like a pro. My favourite techniques when it comes to this kind of seat I must admit is elastic webbing and foam or coil springs and foam on the seat because in this very rare and specific case I think the traditional work is not the comfiest option (or the more time lasting).
What is a bridge chair ?
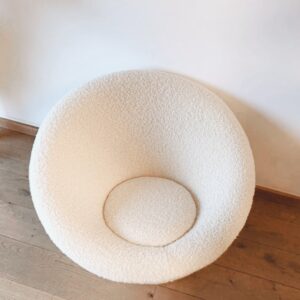
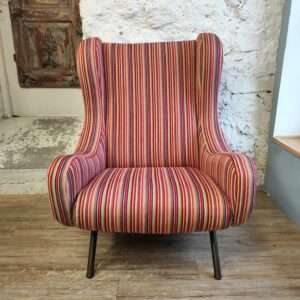
What we call a Bridge chair is originally this type of Art Deco style chair. It comes in different size and shapes but this is always the same concept.


Fabric and finishes
- 1 meter of fabric (140 centimeters wide) are efficient.
- you may need few nails to attach the fabric on the top of the legs at least
- You can use a simple welting cord around the back of the back if you want.
Working on a the frame
You will need to strip the chair (at least the fabric), maybe you need to glue back some parts or need to change something about the wood.
Link: Stripping and preparing the frame
Bridge chair project: what are the options
You have many option starting an upholstery project because it exists different way to upholster and to cover the same seat. Maybe you have to change everyting on your chair, maybe you can keep the back padding but need a new seat (springs or not? foam or natural fibers ?), maybe it’s just a covering. So what is your plan ? Click on the link to get your answer straight away !
- Your chair just need to be plumped a little ?
- You want to create a foam seat with elastic webbing ?
- You want coil springs and foam seat ?
- You want elastic webbing and foam seat.
- Do you just need a extra layer to keep the padding on the back ?
- Do you need to change the back or just use the old one ?
- Do you just need to do a covering ?
Let’s see all you can do step by step. My advice is to try to know where you need to go with your project before even stripping to avoid any mistakes. Many of my students regreted stripping the armes straight away to realise later they were in perfect condition. Let’s give this chair a little atention.
THE SEAT: 2 options now available for the seat
Elastic webbing and foam
Coil springs on traditional webbing + foam
- 1)Traditional webbing
- 2) Positioning springs
- 3) Simple springing
- 4) Sewing springs on Hessian
- 5) Padding seat with foam
THE BACK
If you need to create a whole new back with foam use this tutorial: same process than the seat but with a thiner foam.
If you just need an extra layer to make it looks new try this technique to add 1 cm all around it.
COVERING
Here the tutorial for covering: “How to cover a bridge chair“
Some questions left ?
Please feel free to comment and use the forum to share your pictures so I can have a look at your chair !
Members will find how to restore a modern bridge chair step by step through video an picture tutorials. You can also use the list of my favourite general upholstery suppliers to get the tools and materials you will need to make this chair by yourself.