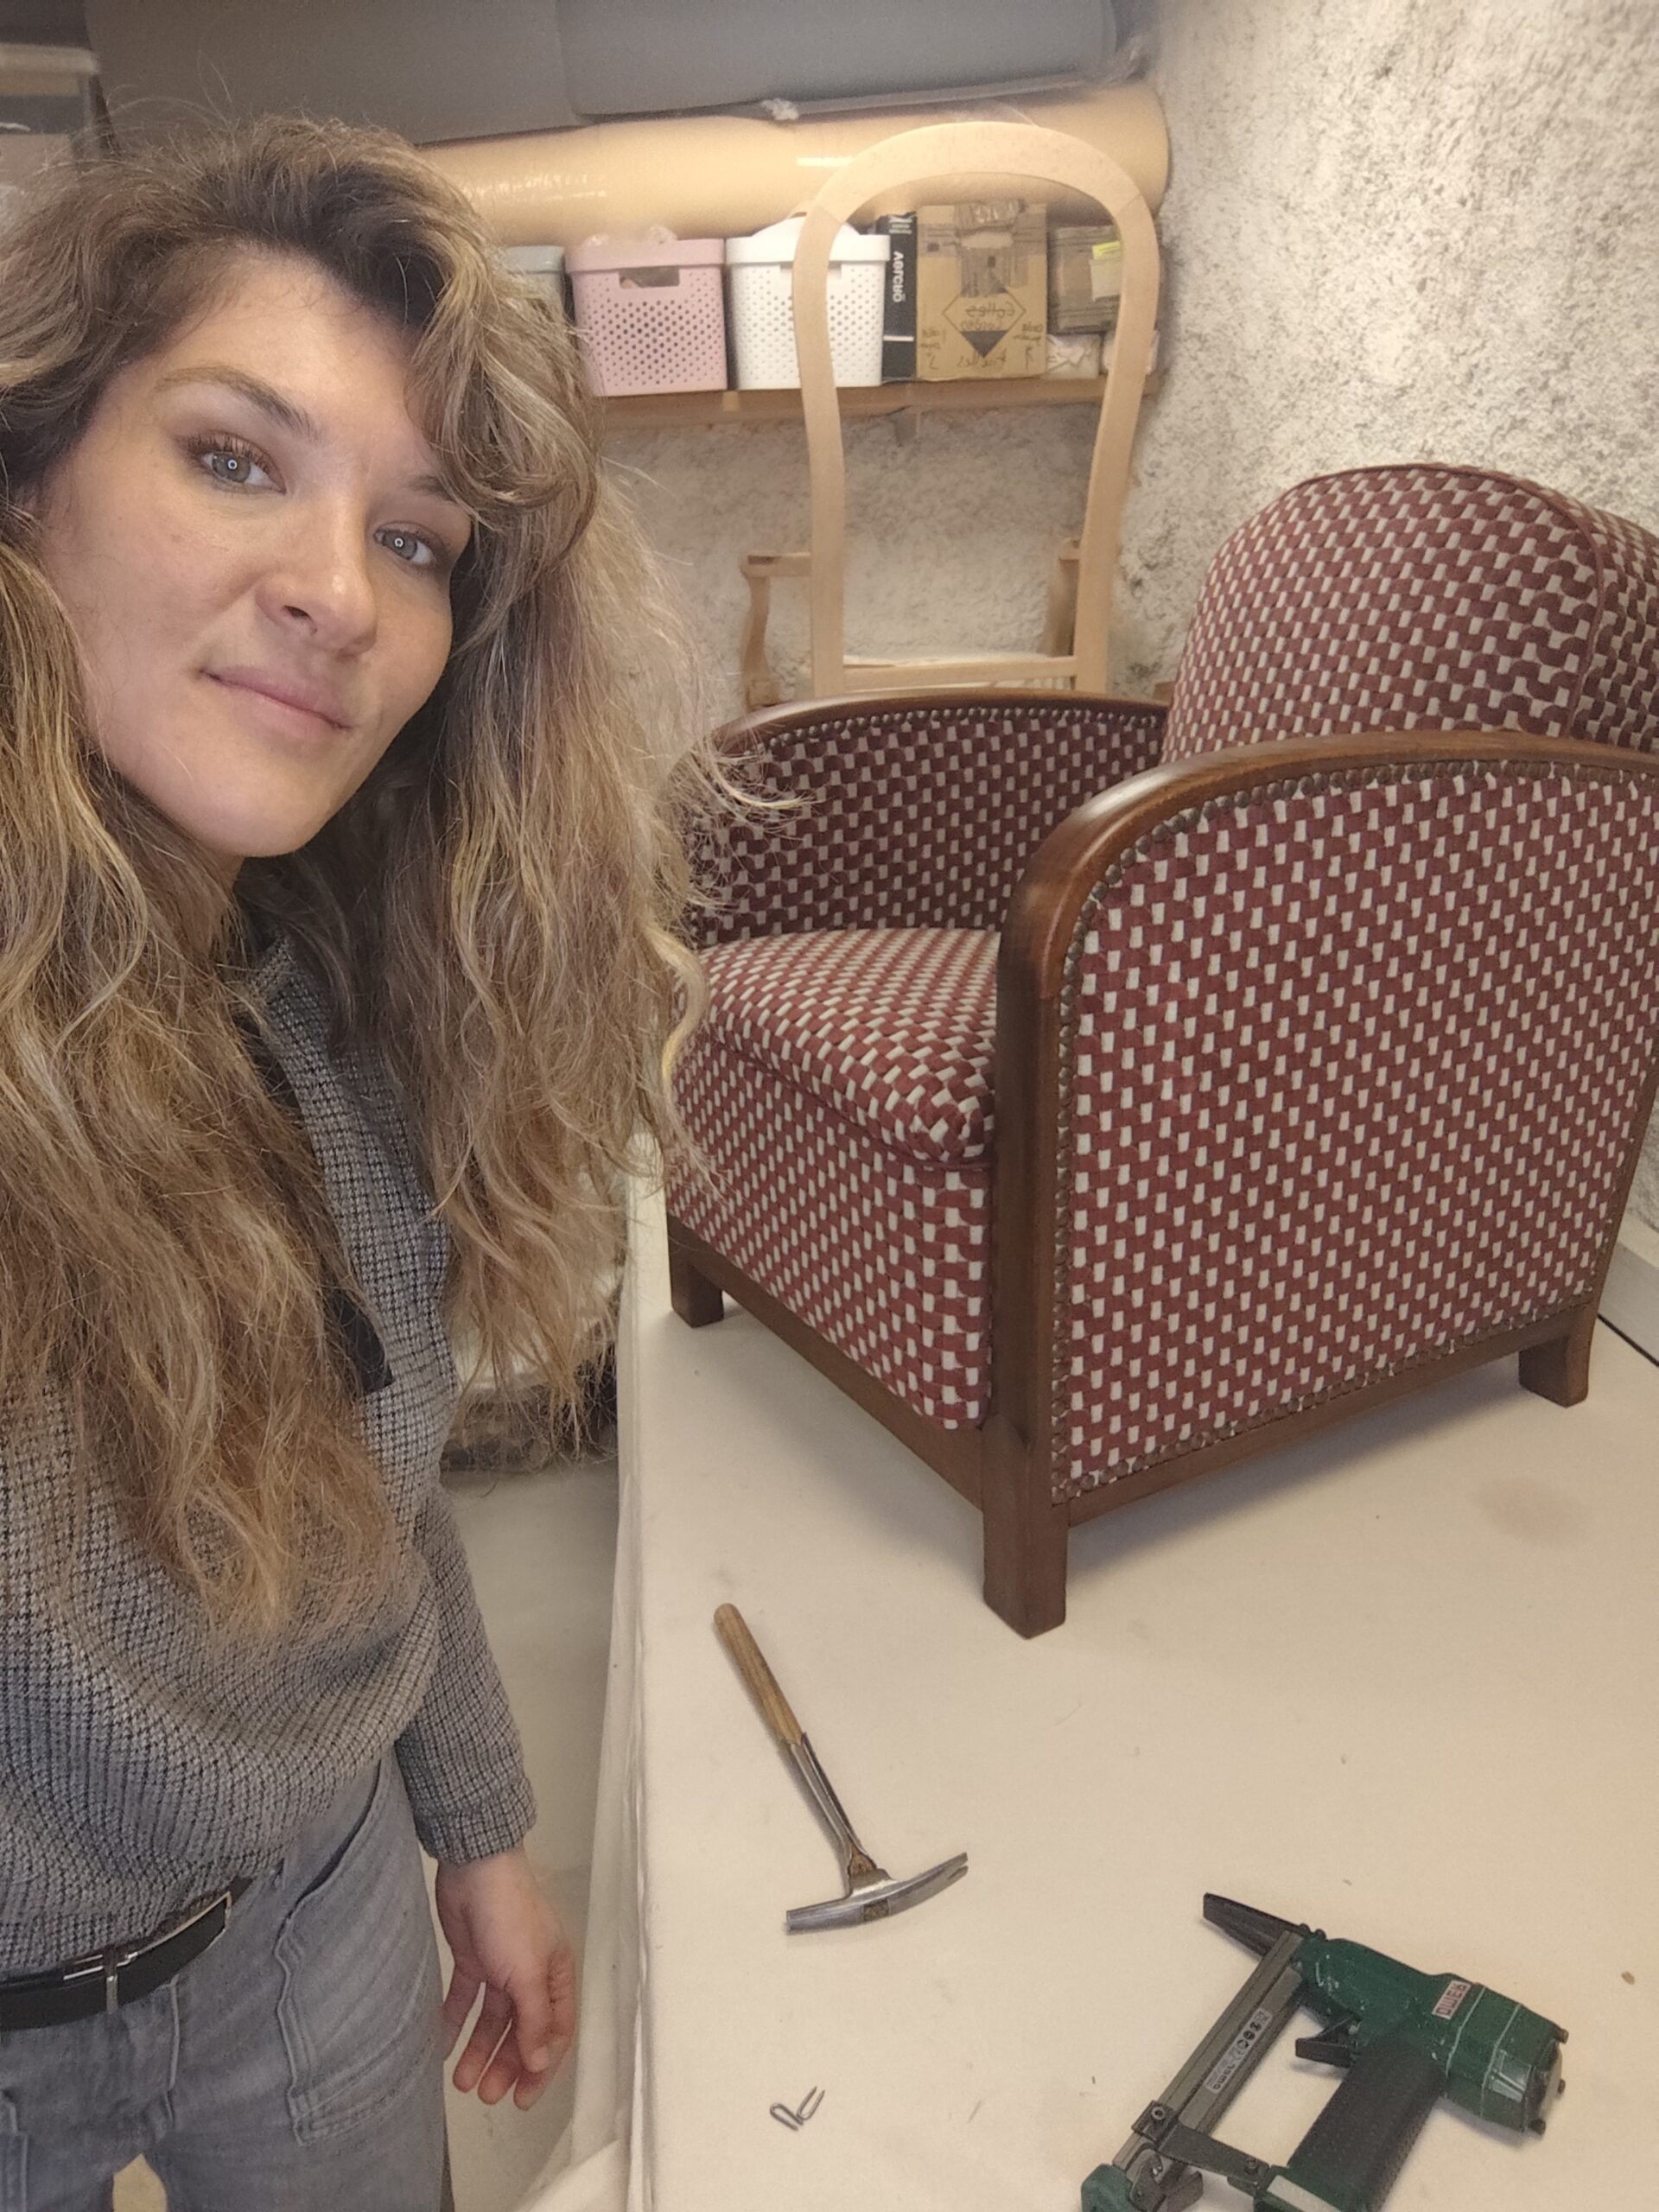
I was asked to redo a pair of confortable art deco chairs, this is the perfect occasion to show you how these big sprunged chairs are made INSIDE. There is so much more work than just upholstery on these kind of project. This is what I did before starting upholstering those chairs to get to the result.

But first let me tell you more about this kind of Art Deco Chair. This armchair reflects the Art Deco style, with its soft, enveloping lines and structure in stained beech, characteristic of the 1930s aesthetic. Its compact proportions and curved silhouette evoke the elegance and comfort-driven design of that period. However, beyond its stylistic references, the construction reveals a later production date. Both the seat and the back are built using pre-assembled spring units fixed onto jute webbing stretched across the wooden frame, a technique that became widely used in upholstery workshops from the 1950s onwards, particularly in the 1960s–70s. Mounted on a jute webbing foundation, these spring units create a true suspended comfort, offering flexibility, durability, and uniform support in both the seat and the backrest.A simple metal mechanism offers two positions: an upright sitting position, and a relax mode where the seat moves slightly forward while the backrest reclines, improving comfort without altering the overall structure of the chair.
Altogether, this piece combines Art Deco inspiration with mid-20th-century upholstery techniques, resulting in a chair that is both visually elegant and technically well-balanced.
Frame and so much more …
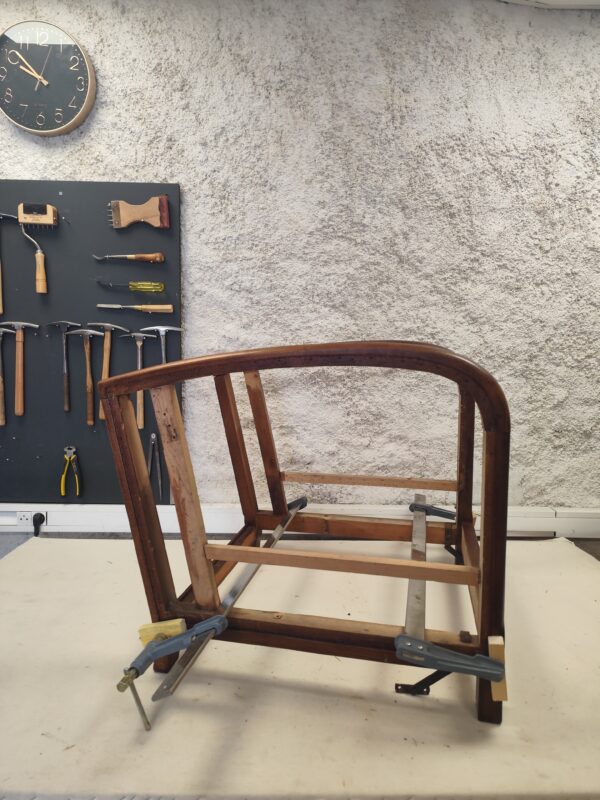
The first thing I did was strip the entire chair down to its bones.The old padding had to go – years of dust and wear had taken their toll, and this project was never going to be halfway. The goal was clear from the start: make this chair feel brand new, inside and out. No shortcuts. But before I could rebuild anything, I needed answers. What was hiding underneath all that fabric? Could the old spring unit still be salvaged, or was it too far gone? Was there any way to keep the back padding, or would that have to go too? And what about the metal mechanisms – could I free the chair of them entirely, or were they holding everything together? Stripping it down wasn’t just the first step. It was the moment of truth.
The frame
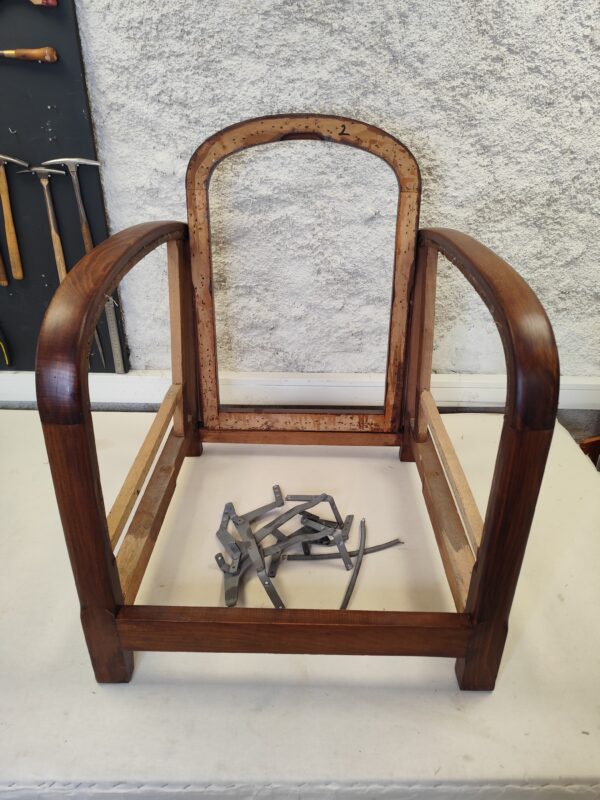
The frame wasnt in a bad condition at all considering the fact he’s coming straight from the . Some junctions were moving.
After stripping the frame was disassemble et glued before sending, tainting and getting a new varnish on.
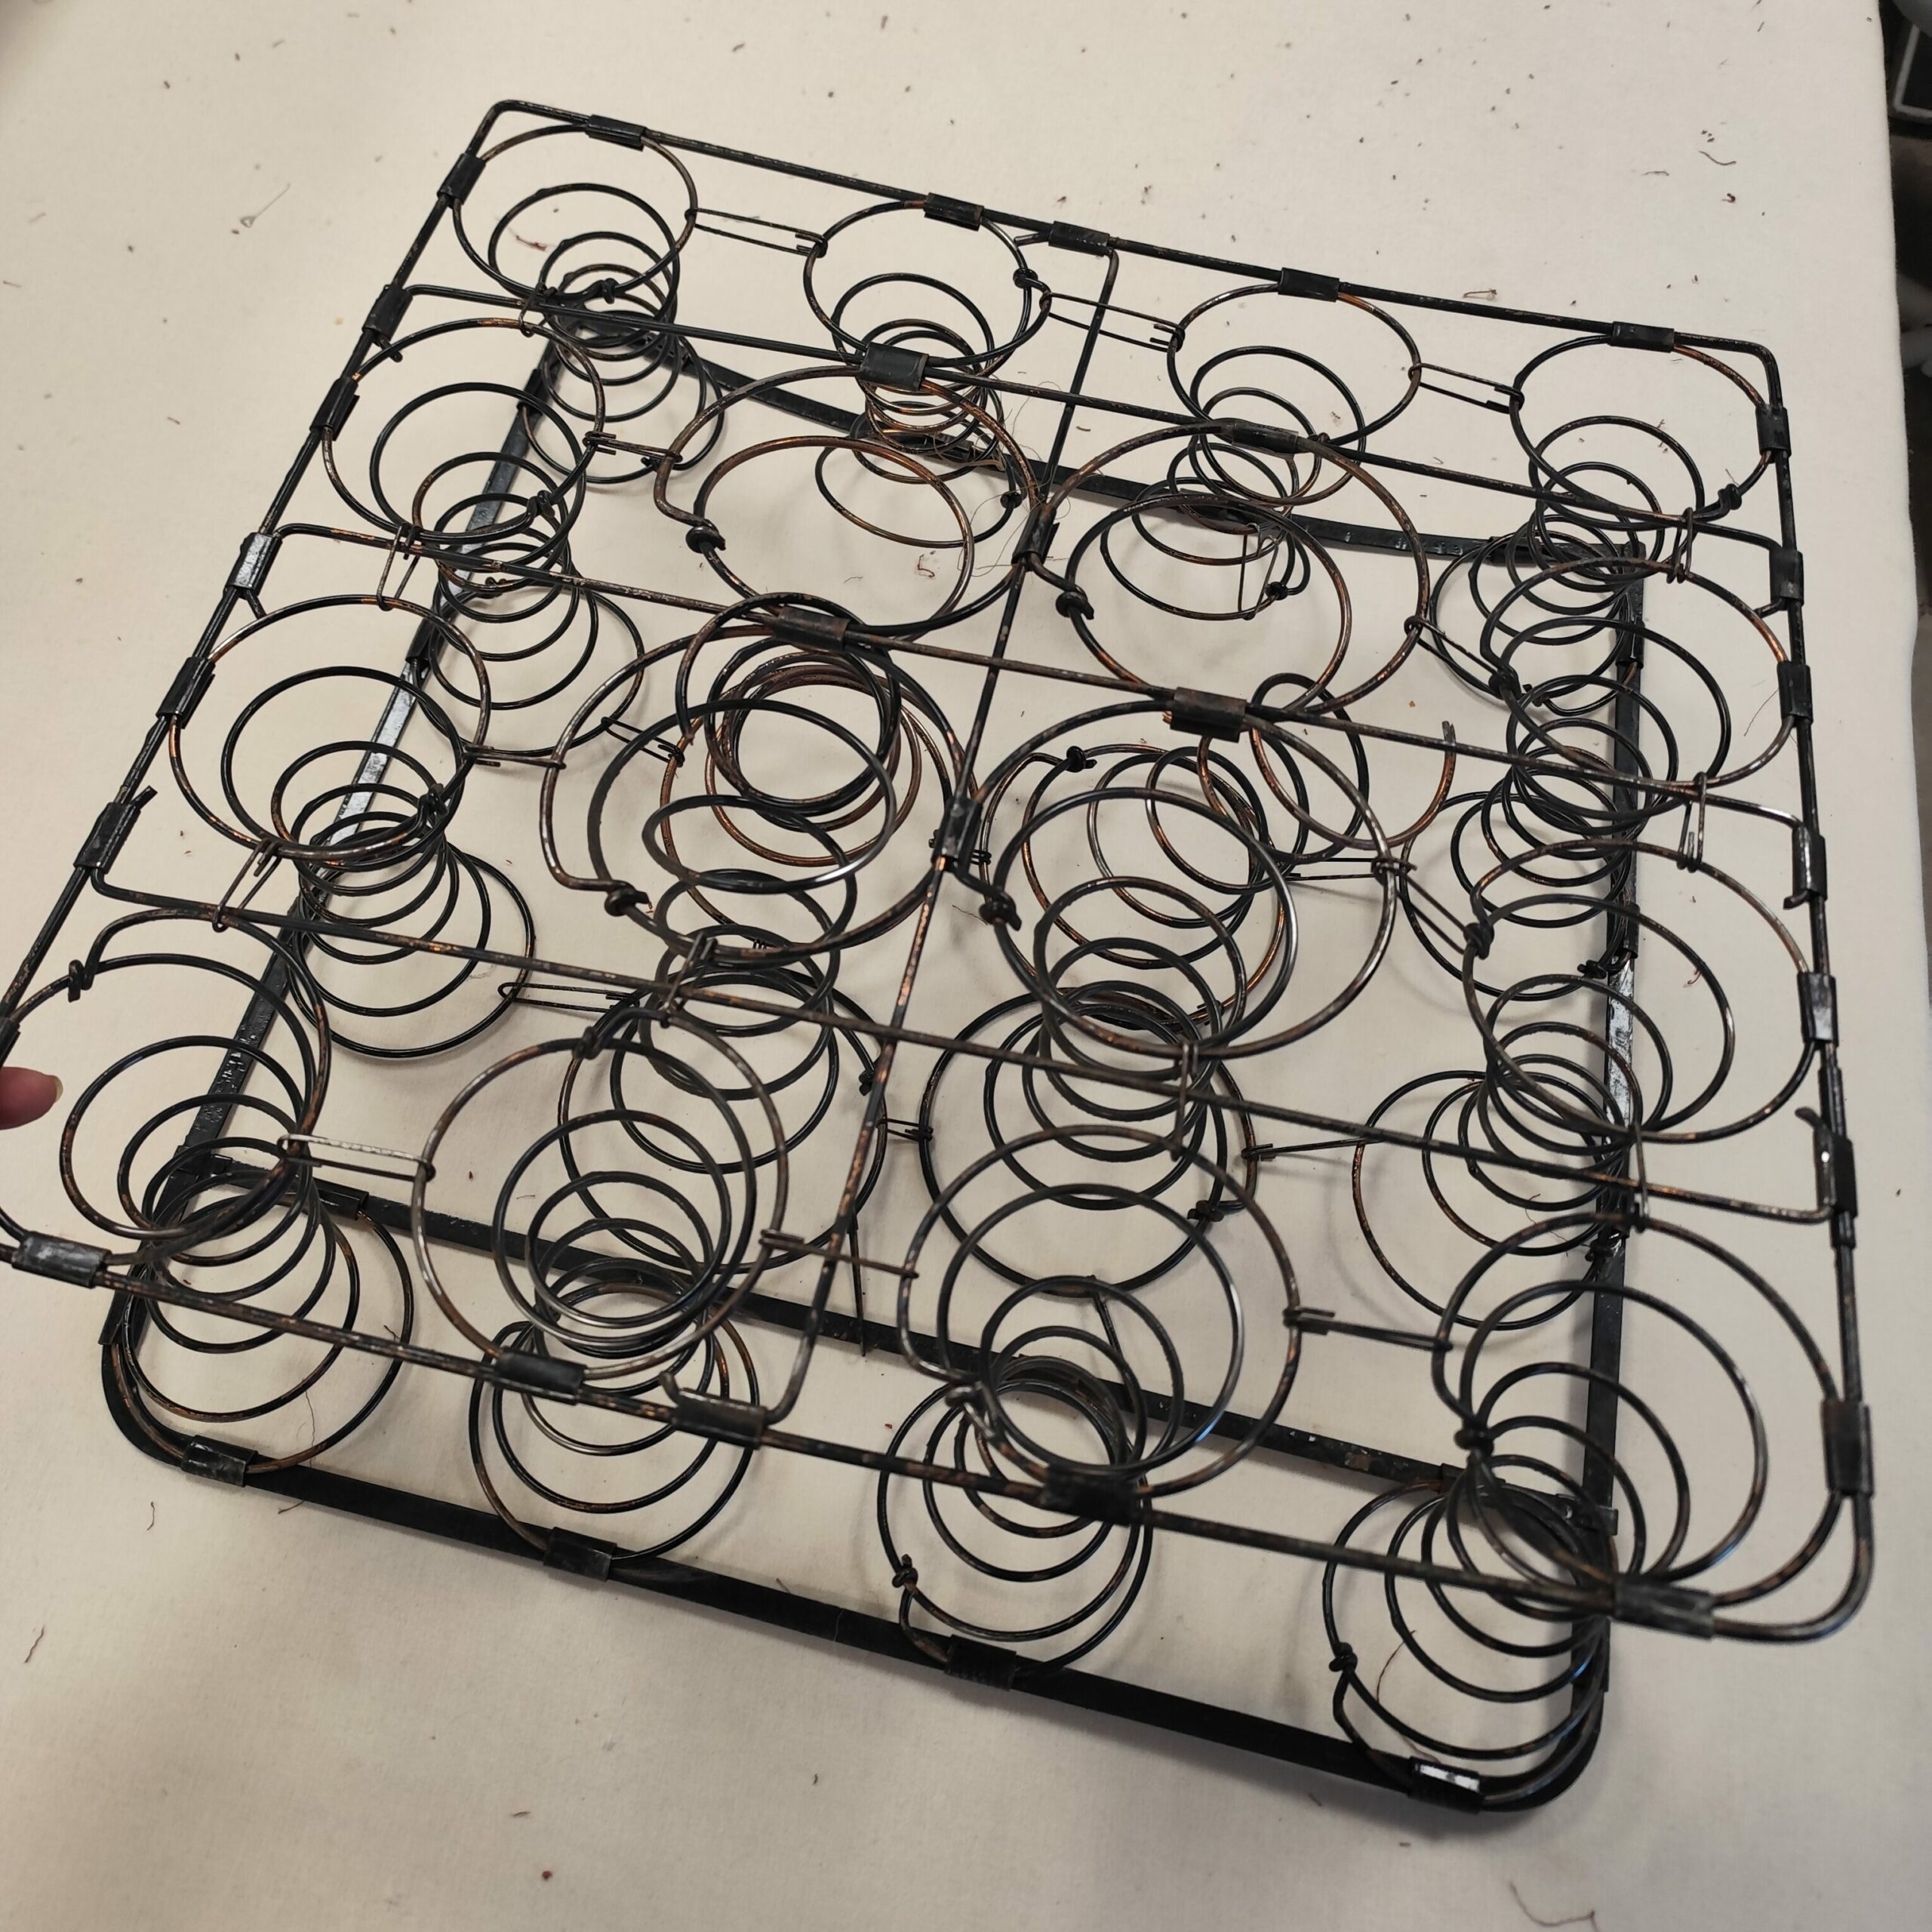
Springs units
I needed to check the springs unit and see If I can use them again. There were used for a quick, easy, efficient and resilient springing for the seat and the back. These are bespoke made and you better know the right address if you want to order bespoke springs units (but it still possible in very few places).
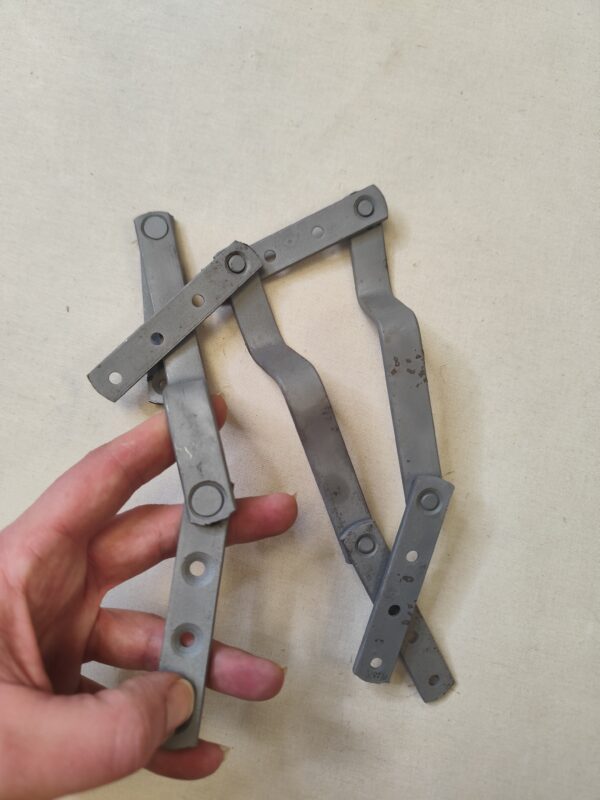
Mechanism
Same with the back and seat mechanism which allows the whole back and seat to extend on a nap position.
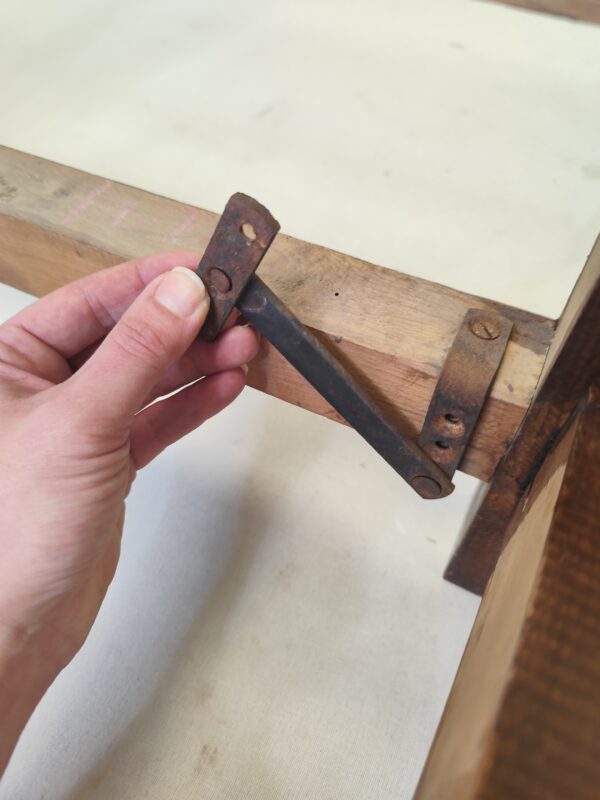
The old rusty system was removed and sanded. Then oiled to be like new.
Ready to start upholstery
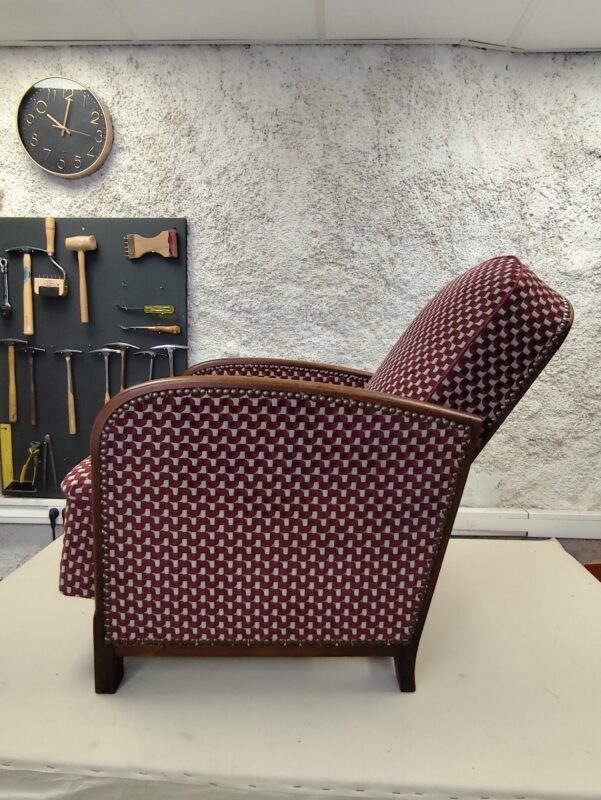
Frame, metallic mechanisms, This is all like brand new now ! This chair is now ready to be upholstered.
The Padding of a confortable Art Deco Chair
The Padding of a confortable Art Deco Chair is so comfy because they lay on springs.
The seat padding obviously needed a change so the old fibers one for a brand new modern one (using foam).
Seat upholstery
I really just keep the old wooden frame and did everything from the start before covering everything with wadding and fabric.
- A new webbing (jute)
- A new bespoke spring unit
- a strong burlap on top
- a foam padding
- a white calico
Back Upholstery
The old back was in good conditon but a little dusty so I just added a cover in jersey foam.
Art Deco chair arms upholstery
Numerous of these big confy armchair ar mostly wood on top and just the sides are slightly padding.
A chair rebuilt from the inside out
The before and after says it all. From a fully stripped frame with its mechanisms piled on the seat, to two complete, re-sprung armchairs ready for their final fabric – every step in between is what this post has been about.
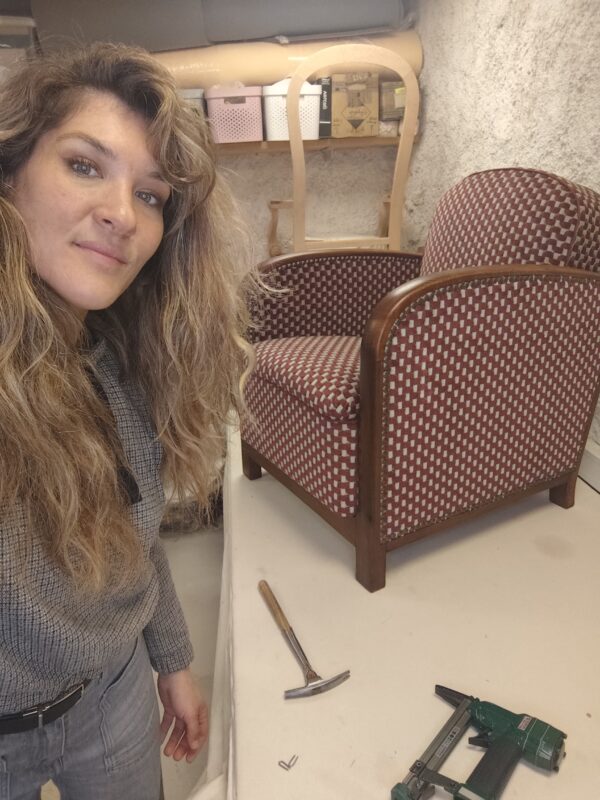
The new covering is a whole other story, and the transformation is striking. Before diving into the covering process, make sure your workshop is properly set up — it makes a real difference on a project this size. When it comes to the fabric work itself, mastering temporary tacking is what allows you to adjust and reposition before committing, and choosing the right thread will save you a lot of frustration on curved seams.
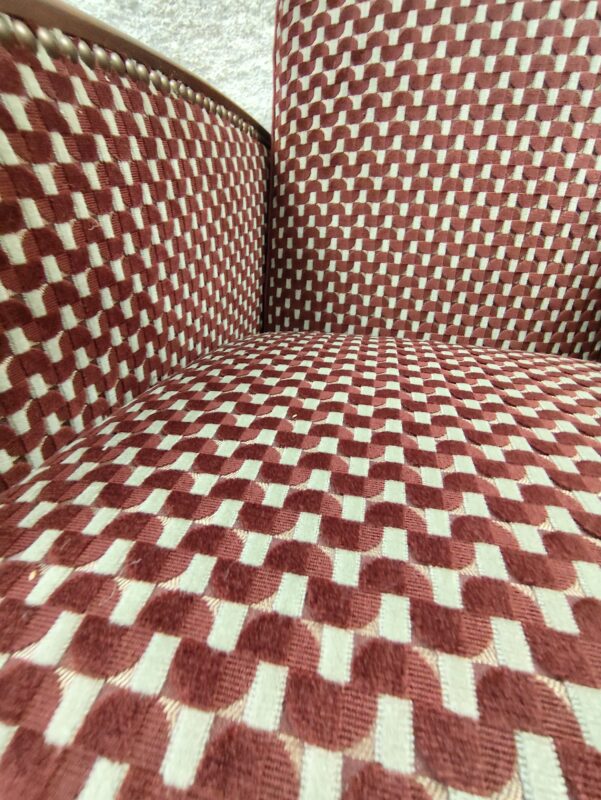
The full upholstery process (fabric layout, cuts, curves, and every finishing detail ) is covered in the next tutorial post on this Art Deco armchair restoration.
Ever got stuck
halfway through a
restoration?
That’s exactly why this space exists. What you just read is the preview — inside, you’ll find 80+ in-depth tutorials, trusted suppliers, honest tool reviews, and the real tips I only share with members.
Everything in one place, from someone who actually works in the workshop every day.
after sign-up