Here the seven best advices I could give you for a professional covering.
This is everything I always do to get every upholstery project perfect.
How to achieve a perfect chair covering at any time ?
Upholstery might be your job or your favourite DIY in any case if you’re here and you’re willing to do good that is an excellent first start. Having a perfectly upholstered chair is another one to achieve a beautiful cover: there is no perfect cover on an unperfect padding.
Here the best advices a professional upholsterer can give you.
Let’s talk about chair covering from a professional, technical, point of view. You already know it, at the end there is no secret but practice ! But, m mmpracticing without any technique is a lost of time. Here what you should take care about starting any new upholstery project to to get it perfectly covered.
1) Choose the perfect fabric for upholstered seat
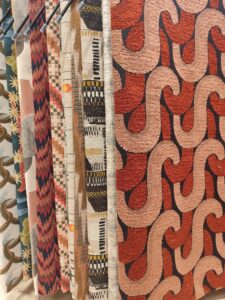
Some great fabrics aren’t great for making curtains, others should be avoided to make chairs. You should learn how to pick the right fabric for upholstery depending on the shape of the chair, it’s use and your own skills sometimes.
I always pick the fabric from on of my favourite quality fabric brands.
Working with high quality upholstery fabric is definitely easier than to work with cheap ones. Don’t worry strong fabric suitable for upholstery aren’t all expensive and there is a strength measure for fabrics called Martindale. I always go for at least 30000 Martindales for a domestic average use, 20000 are OK for decorative seats (like the ones in the bedrooms that aren’t used much).
2) Temporary tack the fabric first !
If you want to upholster a chair by yourself you definitely should learn what is temporary tacking before jumping on the many tutorials you can find online (or in your Upholstery books). Temporary tacks allow you to test the fabric position (tacks are hammered half way) before attaching it for real with other tacks (or staples).
3) Create perfect pattern
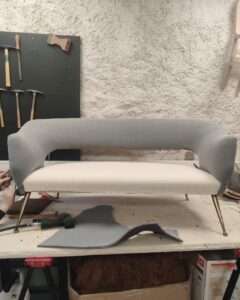
Sometimes you use the old fabric as a pattern and osometimes you have no choice but creating the perfect seat pattern, especially while working on curvy chairs or creating bespoke shaped seat cushion. This is basically what we call protyping.
4) Made some “tests”
If you follow the inside of my workshop on Instagram as one of my subscribers you know how much time I spend testing sometimes! When the shapes are curvy or tricky I always test the pattern I’ve made by sewing a white calico before the final fabric.
When you can you should always test the fabric cover all along the process before attaching it.
I love to add a white calico on the top foam, this is also the perfect test cover.
5) Mind the patterns
Getting a perfect pattern placement is also part of the job, as well as perfect pattern matching. You need to know how to create a perfect pattern junction.
6) Make perfect cuts
You will have to cut for any covering process. The cutting step is so important for the final results. Always place your fabric properly on the table, a straight thread on the edge to start.
Knowing how and where you will cut before starting will help you avoiding mistakes.
You should also use different cissors for fabrics and raw materials to keep the fabric cissors sharp! (And please no paper or polyester wadding with this fabric cissors).
7) Mind the finishes
You have many differents ways to finish a seat.
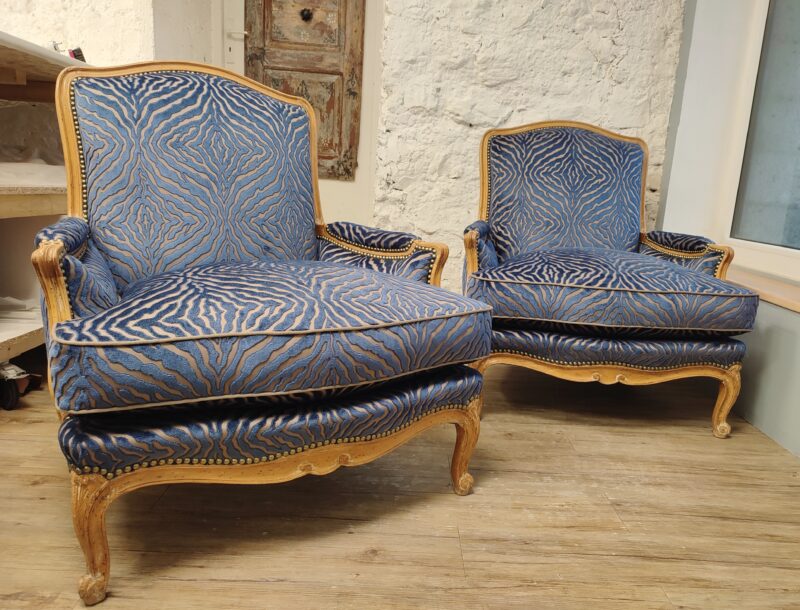
We need a way to finish the seat for some technical reason most of the time but we can also use them for fun. Nails and trimmings are the most common way to finish an upholstered piece of furniture.
Nails, Cord, piping and top stitchings are options to finish an upholstered seat.